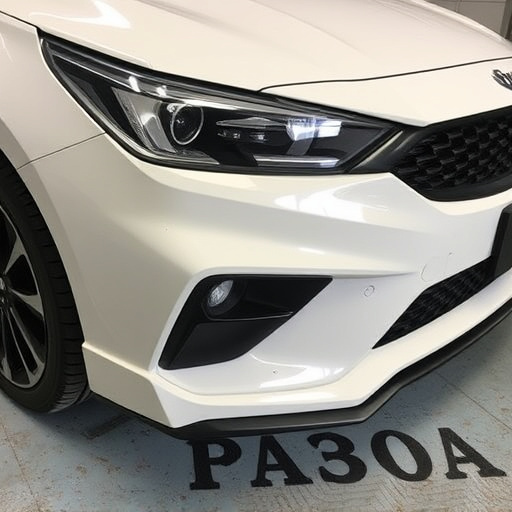

Clear coat application enhances paint durability and aesthetics, with urethane and polyurethane types offering flexibility and clarity respectively. It protects paint jobs, conceals imperfections, and revitalizes vehicles' appearances without extensive sanding or repainting. Proper preparation involves cleaning and smoothing surfaces, ensuring good adhesion. Application requires workspace prep, masking, even coats, drying, and inspection for a glossy, protected finish that boosts aesthetics and vehicle value.
“Unleash the power of protection and enhancement with our comprehensive guide to clear coat application. From understanding the fundamentals, including clear coat basics, types, and benefits, to mastering preparation techniques for various paint surfaces, this article is your ultimate resource. We’ll walk you through a detailed, step-by-step process, ensuring efficient application. Whether you’re a seasoned professional or a DIY enthusiast, learn how to achieve flawless results with clear coat application.”
- Understanding Clear Coat Basics: Types and Benefits
- Preparing Different Paint Surfaces for Coating
- Step-by-Step Guide: Applying Clear Coat Efficiently
Understanding Clear Coat Basics: Types and Benefits
Understanding clear coat basics involves grasping both its types and benefits. Clear coats are protective layers applied over finished paintwork to enhance durability and aesthetics. They can be categorized into two main types: urethane and polyurethane, with urethane being more common due to its superior flexibility and resistance to chips and scratches. Polyurethanes, on the other hand, offer excellent clarity and a harder finish, making them ideal for high-end automotive applications.
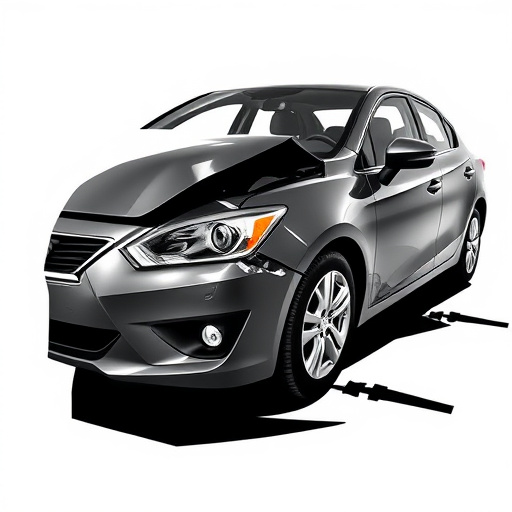
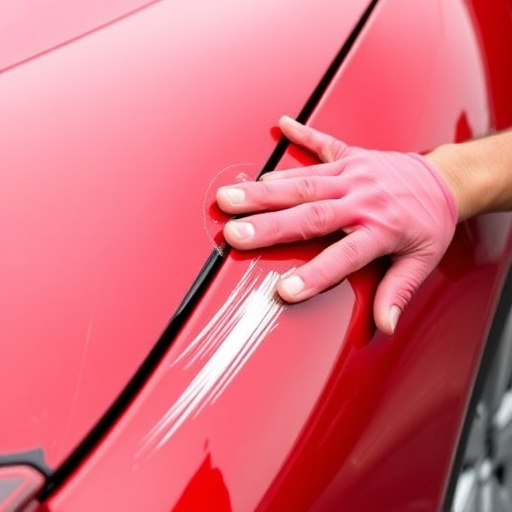
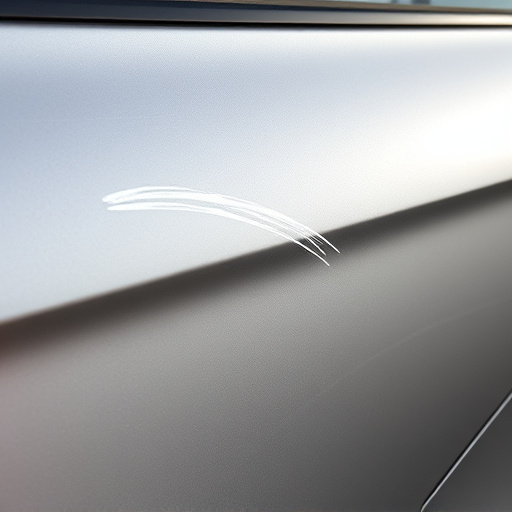
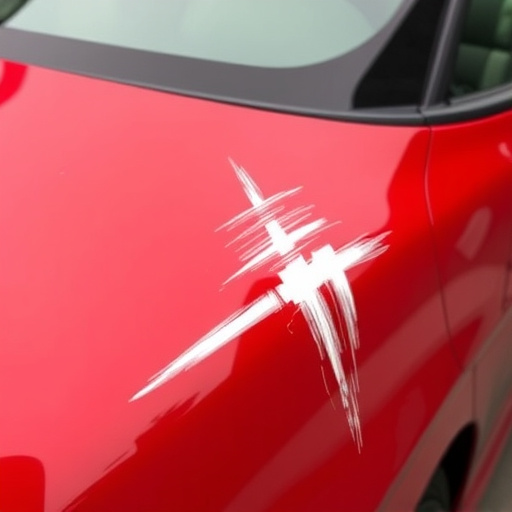
The benefits of clear coat application extend beyond aesthetic improvements. In vehicle body repair and automotive body work, clear coats play a crucial role in protecting the paint job, ensuring it stays fresh and vibrant longer. For those interested in paintless dent repair, a clear coat can also help disguise minor imperfections, revitalizing the overall look of a vehicle without extensive sanding or repainting.
Preparing Different Paint Surfaces for Coating

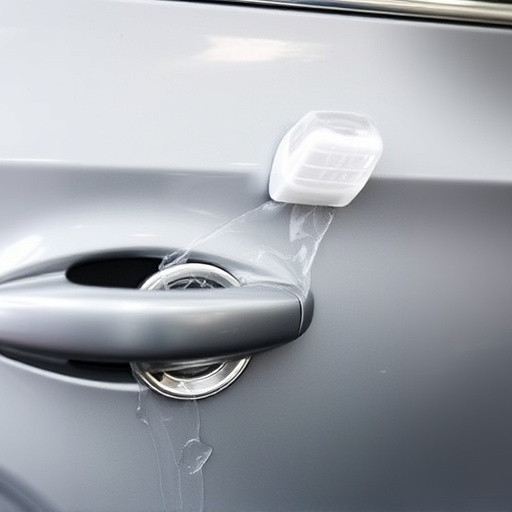
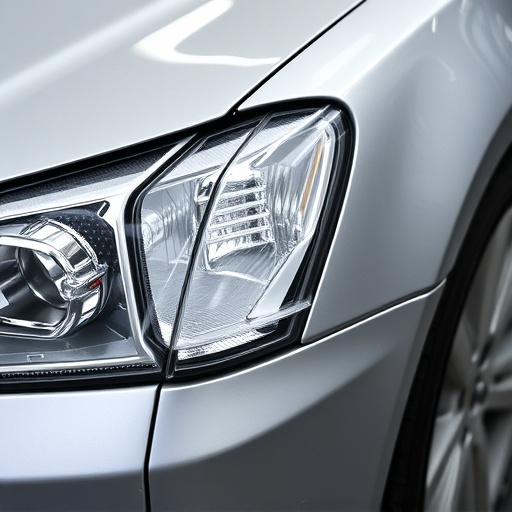
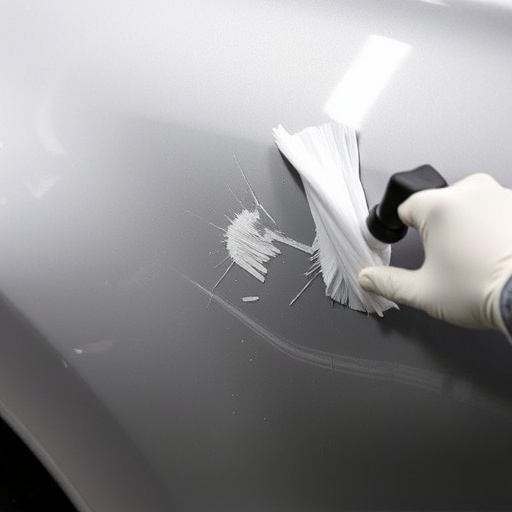
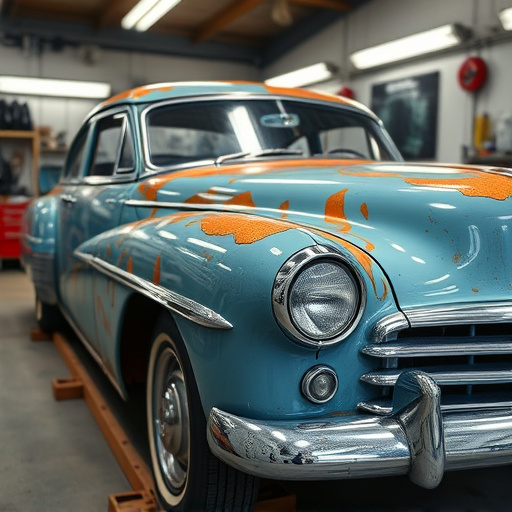
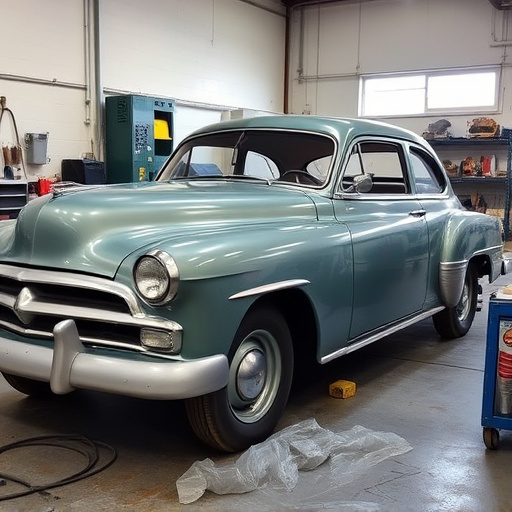
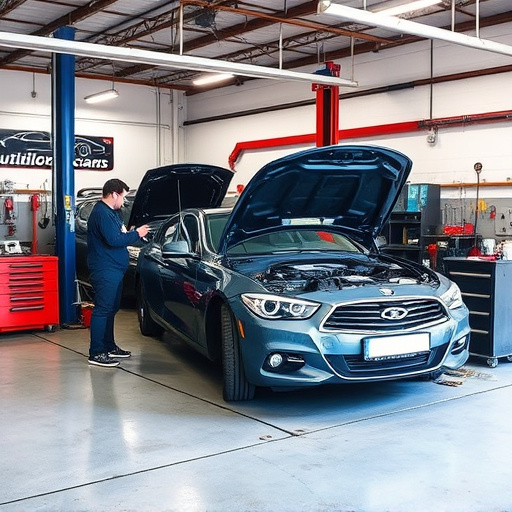
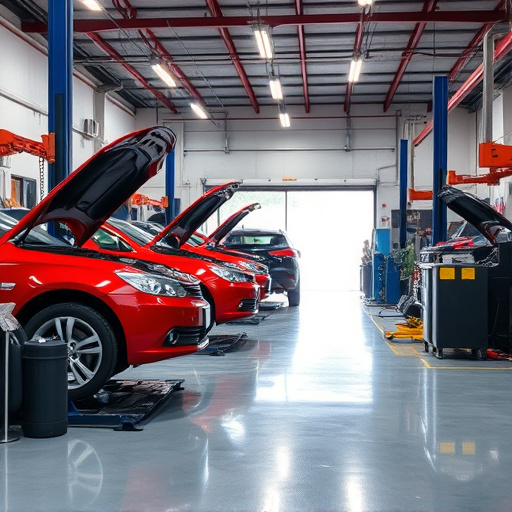
Before applying a clear coat, proper preparation of the paint surface is essential for achieving a durable and glossy finish. The process varies slightly depending on the type of paint and surface you’re working with. For example, in automotive restoration, preparing the car’s exterior involves cleaning the panel thoroughly to remove any dirt, grease, or old wax. This can be done using specialized cleaners and brushes to ensure every nook and cranny is addressed, especially around tight corners and crevices.
For auto glass repair or collision repair center work, surface preparation is equally critical. The glass must be free from any defects, such as cracks or scratches, which could compromise the adhesion of the clear coat. A gentle abrasive can be used to smooth out imperfections, followed by a meticulous cleaning process to eliminate any residue. This careful preparation ensures that the clear coat bonds well, resulting in a long-lasting and protective layer that enhances the aesthetics of both painted surfaces and auto glass.
Step-by-Step Guide: Applying Clear Coat Efficiently
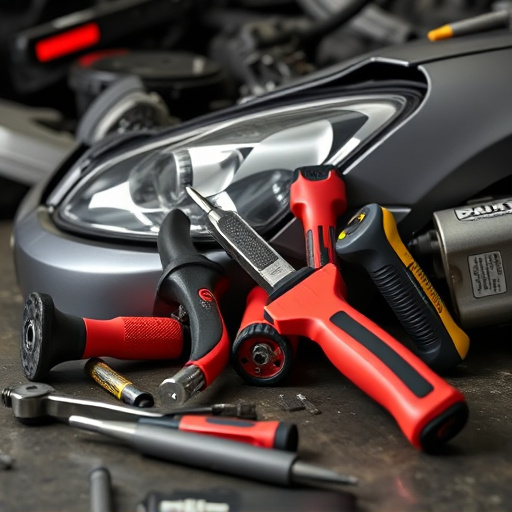
Applying a clear coat is an art that can transform your vehicle’s appearance, protecting its paint job and giving it a glossy finish. Here’s a straightforward guide to ensure you achieve a professional-looking result. First, prepare your workspace by ensuring good ventilation as clear coats often have strong odors. Gather all the necessary tools: a clean cloth, a clear coat spray can, a mask for protection, and gloves. Start by washing and drying your vehicle thoroughly to create a smooth base. Allow it to cool down before proceeding.
Now, mask off any areas not to be coated, such as wheels and trim. Use tape or plastic sheeting to avoid overspray. Shake the clear coat can vigorously for several minutes to ensure proper mixing of the contents. Maintain a consistent distance from the surface, about 8-12 inches, and apply even coats. Work in sections, allowing each layer to dry slightly before adding another. For best results, follow the product’s drying time instructions. Once complete, remove masks, inspect your work, and enjoy the new glossy shield on your vehicle, enhancing both aesthetics and protection through proper auto maintenance practices or emergency scratch repair solutions.
Applying a clear coat is a versatile technique that enhances various paint types, offering protection and a glossy finish. By understanding different surface preparations and efficient application methods, you can achieve professional results for any project. This guide has provided a comprehensive overview of clear coat application, ensuring your paints stay protected and look their best.