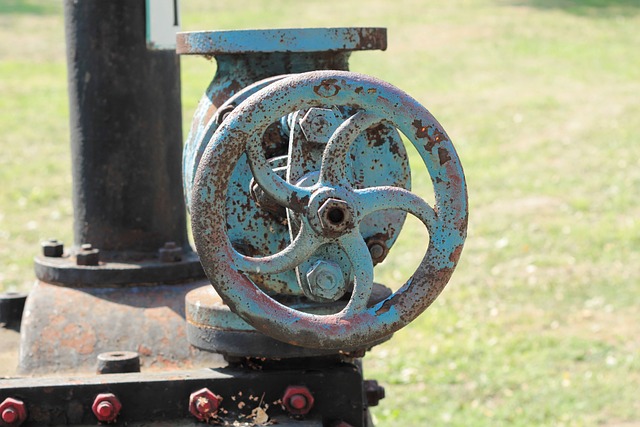


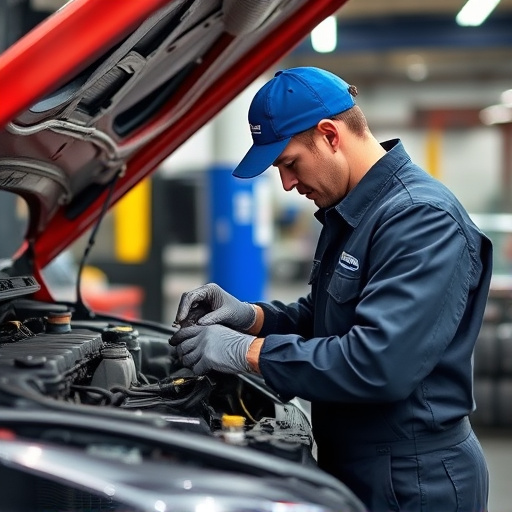
Proper paint preparation is crucial for DIY auto repair projects, especially Mercedes Benz repair. This involves thorough cleaning and decontaminating to remove dirt, grease, and wax, followed by meticulous sanding with appropriate grits to create a smooth base. This process enhances work quality and prolongs new paint lifespan, making DIY repairs rewarding. Using high-quality cleaners, microfibre cloths, and soft-bristled brushes ensures thorough cleaning without damaging the paint. Sanding smoothes surfaces, removes scratches, and creates an even base for painting, using fine-grit sandpaper (220-grit) for best results. Always wear protective gear and prepare the surface thoroughly for a high-quality, long-lasting paint job.
Are you a DIY auto repair enthusiast looking to perfect your painting skills? Paint preparation is a crucial step in achieving professional-grade results. This guide breaks down essential tips and techniques for successful paint preparation, ensuring your DIY projects turn out flawless. From understanding the basics of surface cleaning to mastering sanding techniques, equip yourself with the knowledge to transform any car or vehicle into a vibrant masterpiece using these invaluable paint preparation insights.
- Understanding Paint Preparation Basics for DIY Projects
- Essential Tools and Materials for Effective Surface Cleaning
- Sanding Techniques: Preparing Surfaces Before Painting
Understanding Paint Preparation Basics for DIY Projects
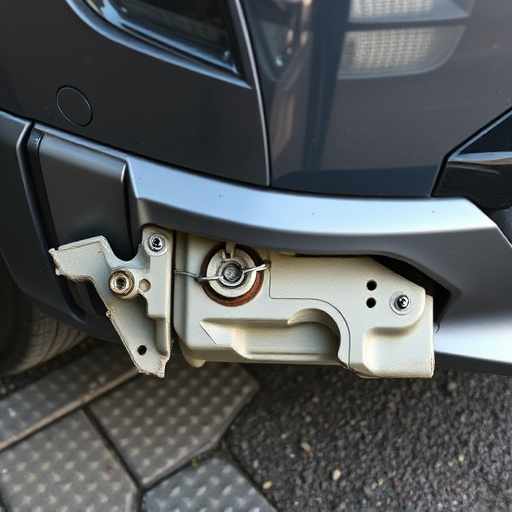
When taking on DIY auto repair projects, proper paint preparation is paramount for achieving professional-looking results. Before tackling any dent repair or frame straightening tasks, ensure your car’s surface is clean and ready for painting. Start by thoroughly washing and decontaminating the area to remove any dirt, grease, or wax residues that could hinder adhesion. This initial step is crucial in setting the foundation for a successful paint job.
For enthusiasts taking on projects like Mercedes Benz repair, understanding paint preparation basics is essential. Sanding is another critical aspect; it helps create a smooth surface and ensures paint adheres evenly. Use appropriate sandpaper grits for different stages of preparation, from coarse for removing imperfections to fine for achieving a seamless finish. This meticulous approach will not only enhance the quality of your work but also extend the lifespan of the new paint, making your DIY auto repair endeavors truly rewarding.
Essential Tools and Materials for Effective Surface Cleaning
Before diving into any DIY auto repair project, ensuring your car’s surface is clean and prepared is paramount for achieving professional-grade results. Effective paint preparation begins with the right tools and materials. Top on your list should be high-quality cleaning solutions tailored for automotive use, such as degreasers and all-purpose cleaners. These will help remove stubborn grease, dirt, and grime from the paint’s surface.
Don’t underestimate the importance of proper brushes, rags, and sponges. Opt for microfibre cloths and brushes with soft, synthetic bristles to avoid damaging the paint. Additionally, consider investing in a good pressure washer if you have access to one—it can swiftly and efficiently clean hard-to-reach areas. Remember, a thorough surface cleaning is a crucial step that sets the stage for successful frame straightening and top-notch car paint services.
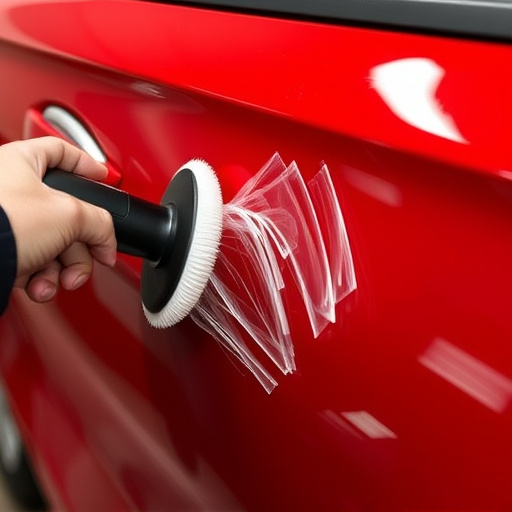
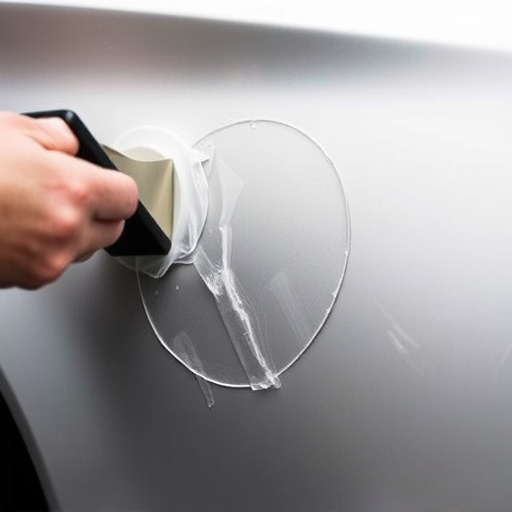
Sanding Techniques: Preparing Surfaces Before Painting
Sanding is a crucial step in paint preparation for DIY auto enthusiasts tackling repairs on their vehicles. It involves using sandpaper to smooth out rough surfaces, remove imperfections like scratches or dents, and ensure an even base for painting. For dent repair or scratch repair, fine-grit sandpaper (often 220-grit) is ideal for achieving a flawless finish; start with coarser grits for deeper imperfections and gradually move to finer ones for subtle touches.
Remember, when preparing your luxury vehicle for paint, the sanding technique is an art. It requires patience and precision. Always wear protective gear, including goggles and a respirator mask, as sanding can generate fine particles. Start with light, gentle strokes and build up speed and pressure only when necessary to avoid damaging the surrounding paint or leaving scratches of your own. Proper surface preparation not only enhances the quality of your paint job but also ensures it lasts longer.
For DIY auto repair enthusiasts, proper paint preparation is key to achieving professional-grade results. By understanding basic paint prep techniques, investing in essential tools and materials, and mastering sanding methods, you can ensure a smooth and successful painting process. Remember, effective paint preparation not only enhances the quality of your finish but also prolongs the life of your vehicle’s exterior. So, whether you’re tackling a small dent or a complete repaint, these tips will serve as your reliable guide for achieving impeccable results.