


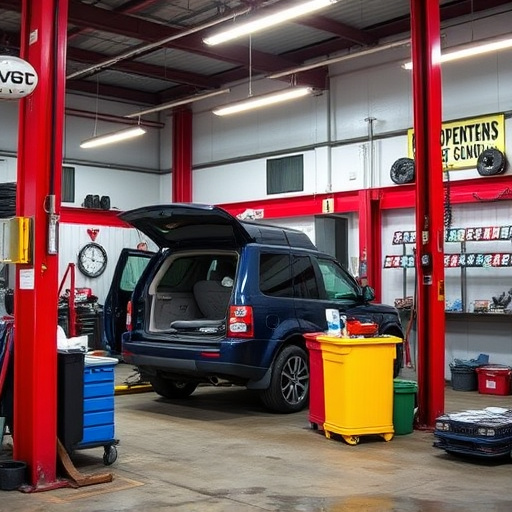

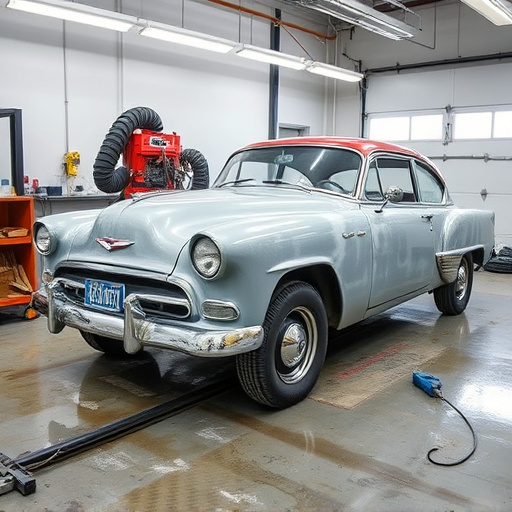
ADAS recalibration repair in auto shops demands a comprehensive understanding of the process to restore advanced driver-assistance systems (ADAS) like adaptive cruise control and lane-keeping assist to optimal performance. It involves assessing damaged components, using specialized tools for sensor calibration based on manufacturer guidelines, and adhering to industry standards. Essential tools include diagnostic scanners, calibration jigs, power tools, protective gear, and a well-ventilated workspace. The structured process begins with diagnosis, followed by meticulous sensor calibration, testing, and documentation, ensuring precise repairs for enhanced safety and vehicle resale value.
In today’s advanced automotive landscape, ADAS (Advanced Driver Assistance Systems) recalibration repair is a crucial skill for any shop aiming to stay competitive. This comprehensive guide delves into the essential process of ADAS recalibration, providing a clear understanding of its significance and the steps involved. From recognizing the need for recalibration to acquiring the necessary tools and following a step-by-step approach, this article equips professionals with the knowledge to offer top-notch ADAS repair services.
- Understanding ADAS Recalibration Repair Process
- Tools and Equipment Required for Calibration
- Step-by-Step Guide to Effective ADAS Recalibration
Understanding ADAS Recalibration Repair Process
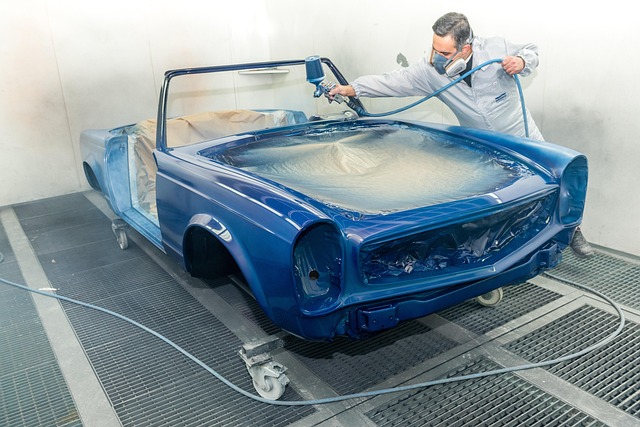
Applying ADAS recalibration repair in your shop involves understanding a meticulous process designed to restore advanced driver-assistance systems (ADAS) to their optimal functioning state. This is crucial given the integral role these systems play in modern vehicles, enhancing safety features like adaptive cruise control, lane-keeping assist, and automatic emergency braking. The initial step entails assessing the specific ADAS components requiring recalibration due to potential damage from collision repair services or routine wear. Following this, skilled technicians utilize specialized tools to calibrate each sensor accurately, ensuring precise performance in real-world driving conditions.
The process extends beyond mere technical expertise; it demands adherence to manufacturer guidelines and adherence to industry standards for vehicle body repair. This meticulous approach guarantees not just the functionality of ADAS but also the safety and reliability of the vehicle. By integrating these advanced systems seamlessly, your shop can offer comprehensive collision damage repair services that meet modern automotive standards, enhancing customer satisfaction and vehicle resale value.
Tools and Equipment Required for Calibration
To successfully perform an ADAS recalibration repair, several specialized tools and equipment are essential. These include advanced diagnostic scanners capable of interfacing with your vehicle’s computer systems, ensuring accurate readings from various sensors. Calibration jigs and templates are also necessary to precisely adjust and align sensor positioning, mimicking real-world conditions. For safe and effective adjustments, high-quality power tools designed for car body repair, such as precision drills and impact wrenches, play a crucial role.
Additionally, you’ll need protective gear like safety glasses and gloves, which are essential for any vehicle repair services. In terms of environmental considerations, a well-ventilated space is important given the sensitive nature of ADAS components. These tools collectively enable car bodywork services to restore optimal sensor performance, ensuring your vehicle’s advanced driver-assistance systems function at peak efficiency after an ADAS recalibration repair.
Step-by-Step Guide to Effective ADAS Recalibration
Applying ADAS recalibration repair in your shop requires a systematic approach to ensure precise and effective results. Here’s a step-by-step guide tailored for car repair shops and auto body shops looking to offer this specialized service:
1. Safety First: Begin by ensuring the vehicle is secure and all power sources, including the battery, are connected and functional. This safety measure is crucial for any successful ADAS recalibration repair. Next, consult the manufacturer’s guidelines and use only approved tools and software to avoid damaging the advanced driver-assistance systems (ADAS) sensors.
2. Diagnose the Issue: Utilize diagnostic tools to identify the problem with the ADAS system. This step is vital as it helps pinpoint which sensors require recalibration, whether it’s due to damage from a collision repair or normal wear and tear. Once diagnosed, proceed to the calibration process using specialized software designed for this purpose.
3. Calibrate Each Sensor: Different ADAS components like cameras, LiDAR, and radar need individual attention. Calibrate each sensor meticulously following the software’s instructions. This may involve adjusting internal settings, recalibrating the sensor’s field of view, or even replacing faulty hardware in severe cases, especially after a collision damage repair.
4. Test and Validate: After completing the recalibration, perform thorough testing to validate the system’s functionality. Drive the vehicle (or use a test track) to ensure all ADAS features work seamlessly, enhancing safety without any glitches.
5. Documentation: Keep detailed records of the entire process, including diagnostic findings, calibration settings, and test results. This documentation not only aids in future references but also demonstrates your shop’s professionalism and adherence to quality standards in collision damage repair.
ADAS recalibration repair is a specialized service that requires accurate tools, thorough understanding, and precise execution. By following the steps outlined in this guide, your shop can offer effective solutions for modern vehicle safety systems. Embracing these practices ensures customer satisfaction and maintains your workshop’s reputation as a leader in automotive technology. Remember, staying updated with ADAS advancements is key to providing top-tier services.