
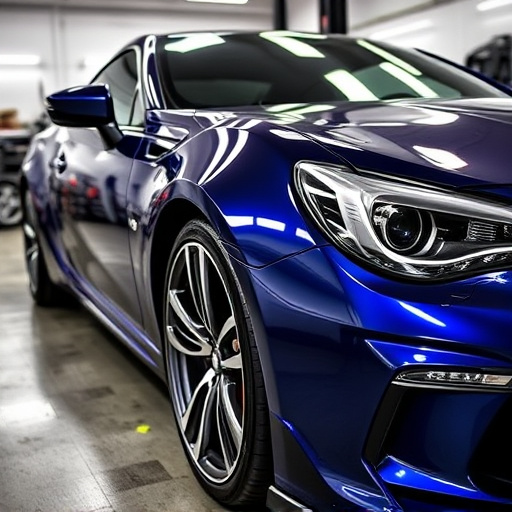
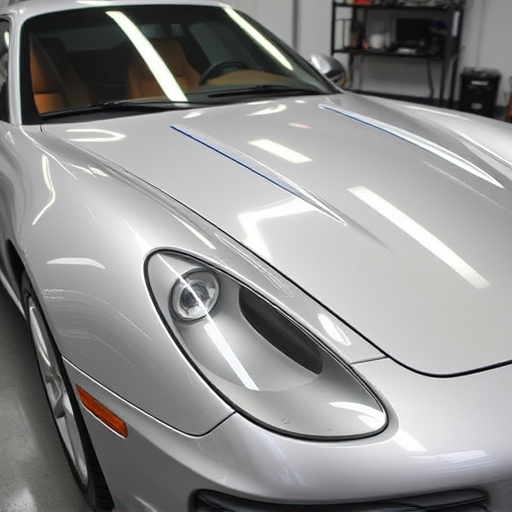
Bumper cover replacement is a detailed process requiring removal of existing hardware and precise preparation of the car's surface. Use appropriate tools, including jack stands, wrench sets, screwdrivers, gloves, safety glasses, and protective gear. Gather essential tools and materials before starting, ensuring a seamless fit for both safety and aesthetics when installing a new bumper cover.
Looking to refresh your vehicle’s look with a new bumper cover? The process is surprisingly straightforward, but it does involve removing the old hardware. This step-by-step guide breaks down the process into manageable sections, equipping you with the knowledge and tools needed for a successful bumper cover replacement. From gathering essential safety gear to understanding the removal process, we’ve got you covered.
- Understanding Bumper Cover Removal Process
- Gather Necessary Tools and Safety Gear
- Step-by-Step Guide to Efficient Replacement
Understanding Bumper Cover Removal Process
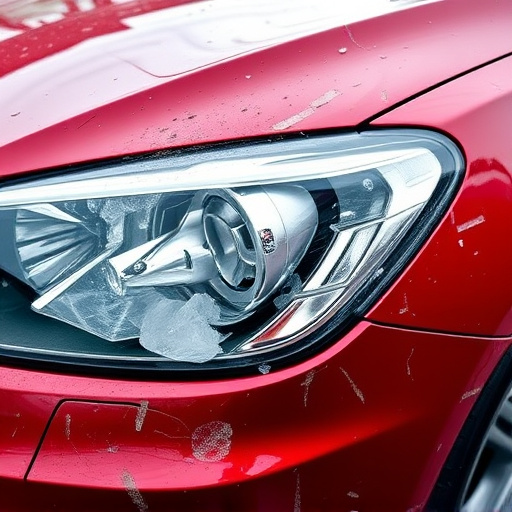
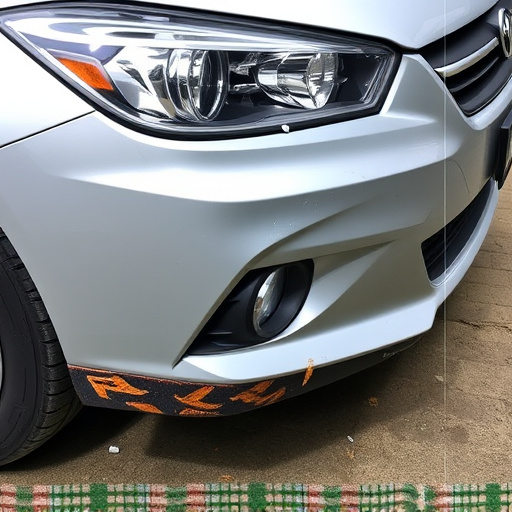
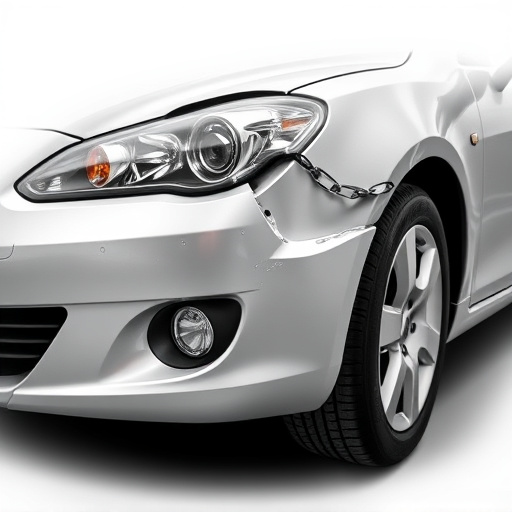
The process of replacing a bumper cover involves more than just swapping out the old for new. It’s a meticulous task that requires understanding how the bumper is secured to your vehicle’s body. Typically, this includes removing any existing hardware, such as bolts or brackets, that hold the bumper in place. This step is crucial for ensuring a seamless fit and proper alignment of the new bumper cover.
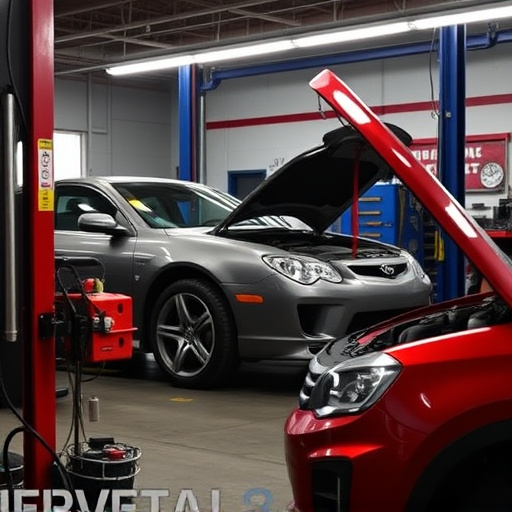
At a reliable collision repair center, technicians are trained to handle these vehicle body repair tasks with precision. They’ll use specialized tools to carefully remove the old bumper cover and its attachments. This process may also involve dent removal techniques to ensure the surrounding panels are smooth and free from damage before installing the new bumper cover, enhancing both the aesthetic appeal and safety of your vehicle.
Gather Necessary Tools and Safety Gear
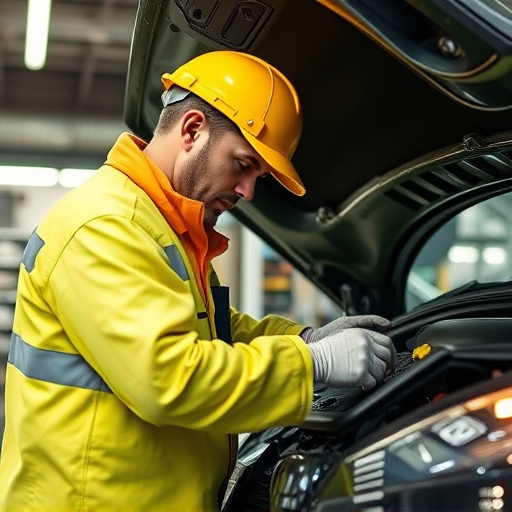
Before beginning a bumper cover replacement, it’s crucial to gather all the necessary tools and safety gear. For this task, you’ll need a variety of items, including jack stands, a wrench set, screwdrivers, and possibly a new bumper cover. Don’t forget protective gear like gloves and safety glasses; these are essential for automotive collision repair.
Additionally, ensuring your workspace is well-lit and organized will make the process smoother. If you’re heading to an auto repair shop or considering collision damage repair, having these items readily available demonstrates your preparedness and can even save time. Remember, proper tools and safety measures are key to a successful bumper cover replacement.
Step-by-Step Guide to Efficient Replacement

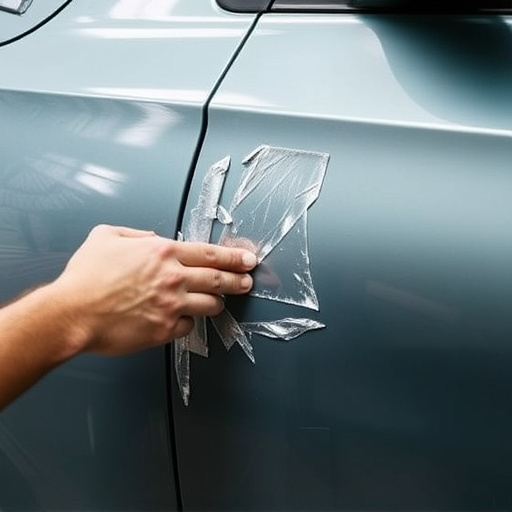
Removing the old hardware is a crucial step in the bumper cover replacement process and can be achieved efficiently with some basic tools and a systematic approach. Begin by identifying all the screws, bolts, or clips securing the existing bumper cover in place. Using a suitable socket set or screwdriver, carefully loosen and remove each piece of hardware, taking note of their positions and any specific markings for proper reinstallation later. Once all hardware is removed, gently pull the old cover away from the car, being mindful of any retaining mechanisms or seals that might need to be addressed separately.
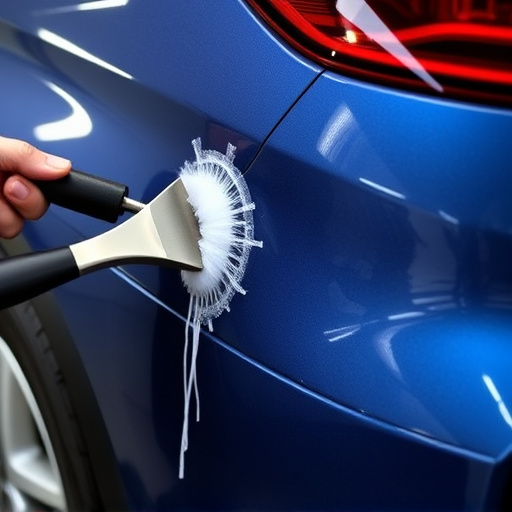
For a seamless bumper cover replacement, it’s essential to prepare the surface thoroughly. After removing the old cover, inspect the car’s automotive body work for any signs of damage, such as dents or scratches, especially if there was hail damage repair needed previously. Clean the area and ensure all debris is cleared. Then, apply a thin layer of primer to the car’s surface, allowing it to dry completely. This step prepares the paint surface for receiving the new bumper cover, ensuring better adhesion and a more durable finish with car paint services.
Bumper cover replacement is a straightforward process that can significantly enhance your vehicle’s appearance. By understanding the removal process, gathering the right tools, and following a step-by-step guide, you can efficiently replace your old or damaged bumper cover. Remember to prioritize safety during the process and enjoy the satisfaction of improving your car’s aesthetic with this relatively simple DIY task.