Tesla tint damage from installation issues, impacts, or UV exposure requires professional replacement to maintain aesthetics and structural integrity. Skilled experts use specialized tools for a seamless finish, avoiding unsightly defects. Proper preparation, cleaning, application, and sealing are crucial for optimal results. Regular maintenance prolongs tint effectiveness.
Tesla owners often invest in window tints for enhanced privacy and style. However, improper or damaged installations can lead to discoloration, bubbling, or peeling. This article guides you through understanding common Tesla tint damage causes and offers a step-by-step process for effective replacement. We also provide preventive tips for ensuring trouble-free future installations. Learn how to restore your Tesla’s pristine look with expert advice on Tesla tint replacement.
- Understanding Tesla Tint Damage and Its Causes
- The Process of Replacing Tesla Window Tints
- Preventing Future Issues: Tips for Proper Installation
Understanding Tesla Tint Damage and Its Causes
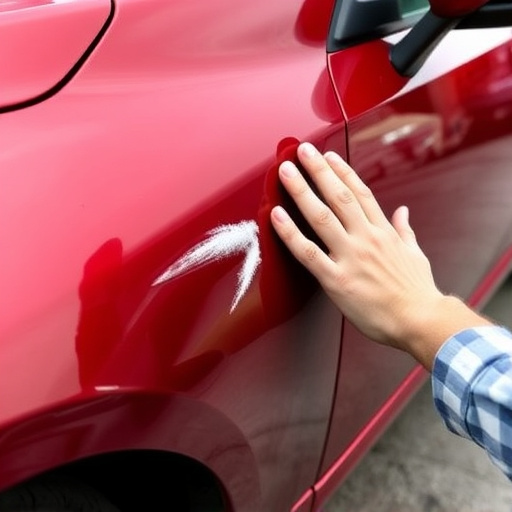
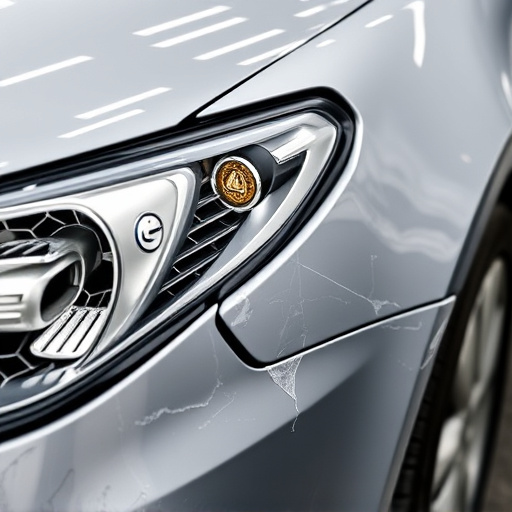
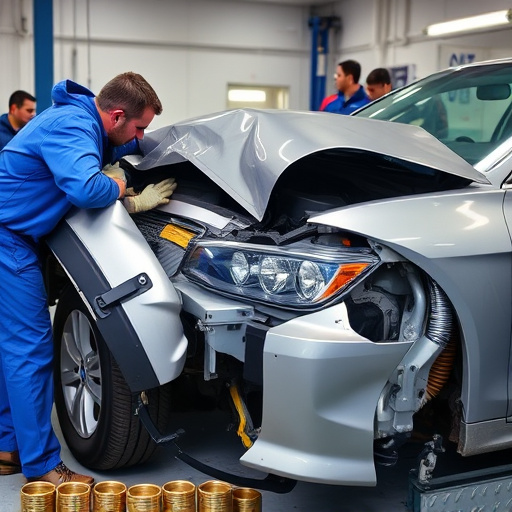
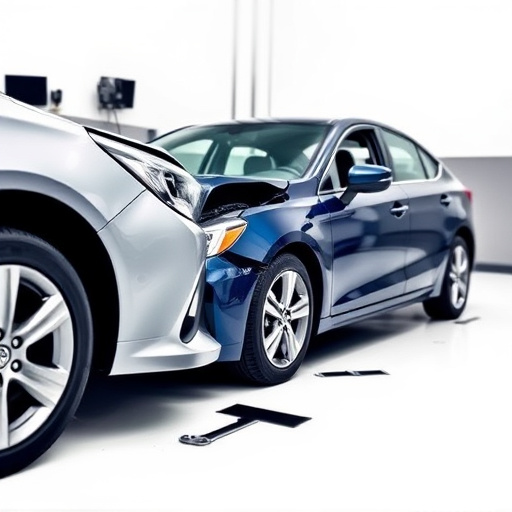
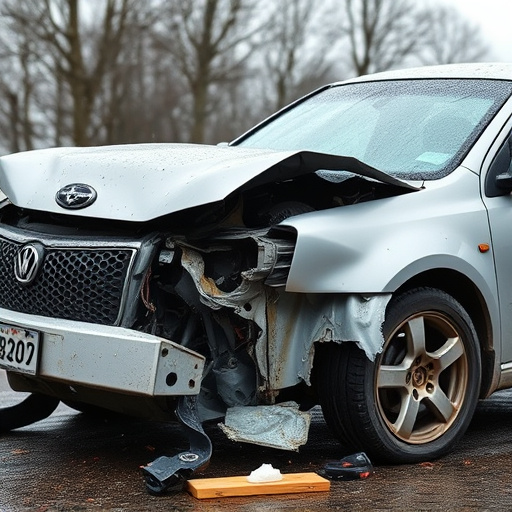
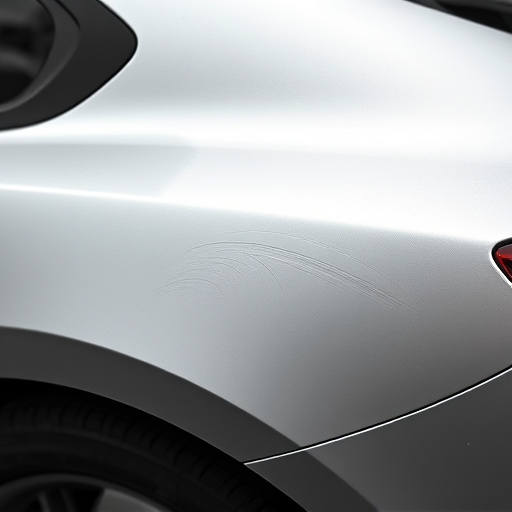
Tesla tint damage can arise from various factors, often requiring a Tesla tint replacement. Improper installation is a common culprit, leading to issues like bubbles, lines, or uneven application. This can be due to inexperienced installers or poor-quality films. Another cause is physical damage, such as stone chips or minor accidents, which can compromise the integrity of the tinted film. Over time, UV exposure can also degrade the tint, causing it to become faded, brittle, or peel away from the window. Given the delicate nature of automotive glass and tinting technology, it’s crucial to trust professional luxury vehicle repair services for Tesla tint replacement when damage occurs.
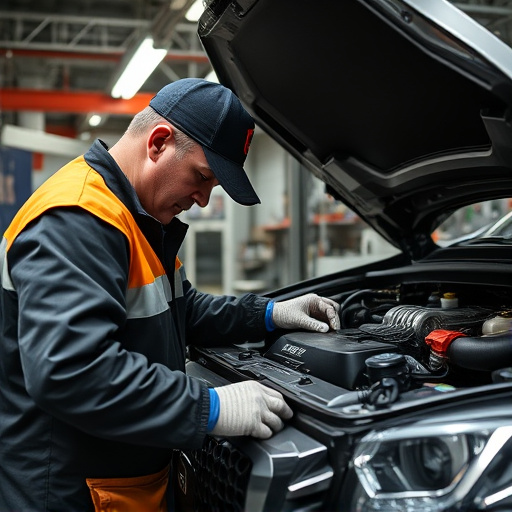
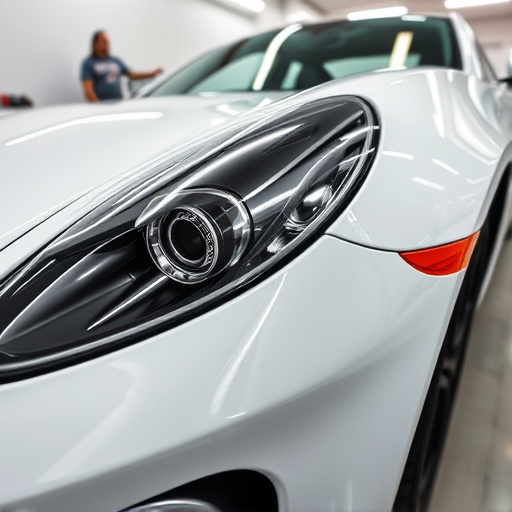
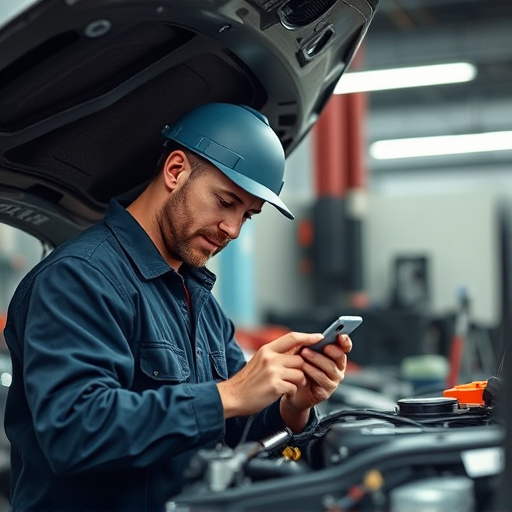
Automotive collision repair experts with experience in car bodywork are best equipped to handle such repairs. They possess the knowledge and tools to remove damaged tint without causing further harm to the window or surrounding areas. Professional installers ensure a seamless, factory-like finish that maintains the vehicle’s aesthetic appeal and structural integrity. When compared to DIY solutions or subpar auto repair shops, professional Tesla tint replacement services offer superior results, ensuring your luxury vehicle retains its high-end appearance and value.
The Process of Replacing Tesla Window Tints
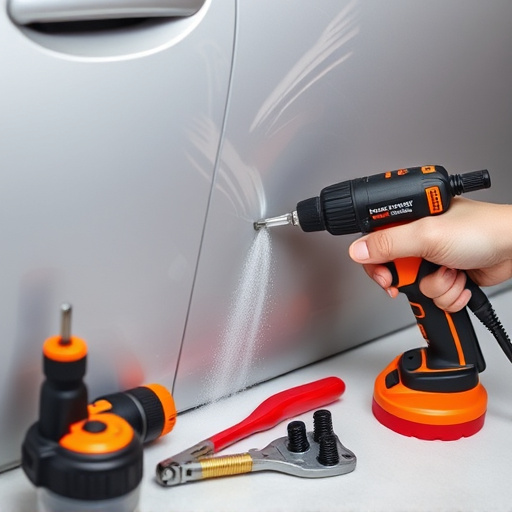
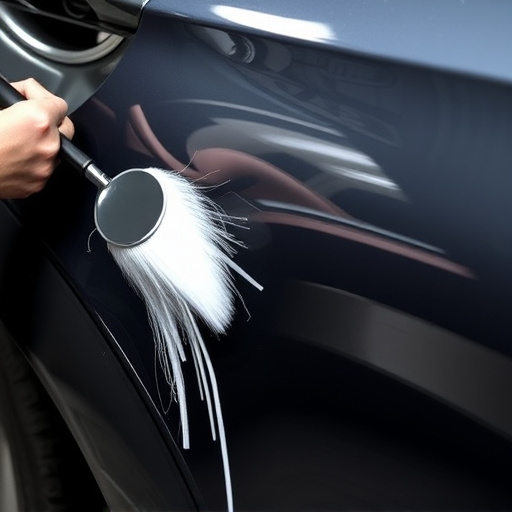
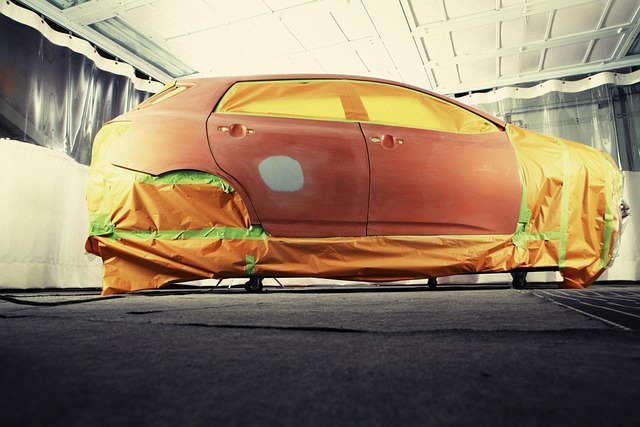
Replacing Tesla window tints involves a meticulous process designed to ensure precision and quality. First, inspect the existing tint for any signs of damage or failure, such as peeling, cracks, or discoloration. If the damage is minimal, removing the old tint might be straightforward, using specialized tools to lift and separate it from the glass surface. However, for more extensive damage, auto glass repair techniques may be required, including replacing the damaged sections of the window with new ones.
Once the area is prepared, applying new Tesla tints demands careful alignment and pressure to ensure a secure fit. This process involves cleaning the window thoroughly, applying a layer of soapy water to facilitate adherence, and then slowly pressing the tint into place. After ensuring complete coverage and no air bubbles, a clear protective film is applied to safeguard the tint from scratches or further damage, enhancing both its durability and aesthetic appeal. Consider this meticulous approach for any Tesla tint replacement, especially after hail damage repair or car dent repair, to restore your vehicle’s windows to their optimal state.
Preventing Future Issues: Tips for Proper Installation
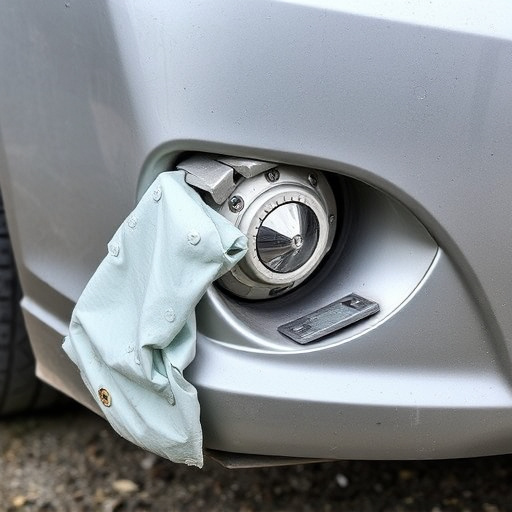
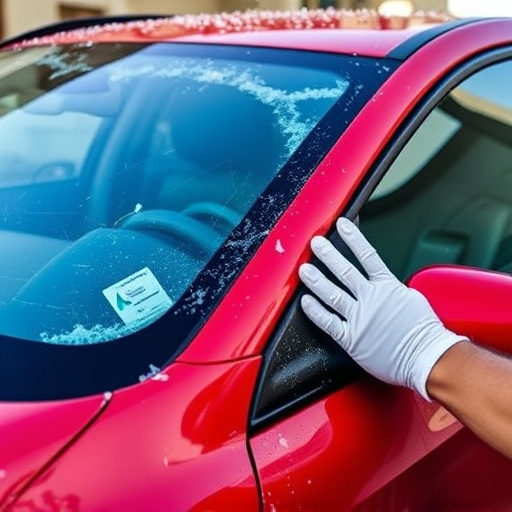
To prevent future issues with your Tesla tint replacement, proper installation techniques are crucial. Start by ensuring the window is clean and free from any debris or residue that could interfere with the adhesion of the tint film. Use specialized cleaning solutions designed for automotive windows to achieve optimal results. Next, prepare the surface by removing any existing tape or residue from previous installations, as this can affect the new tint’s adherence.
When applying the tint, follow the manufacturer’s instructions carefully. Use a smooth, even pressure when laying down the film to avoid bubbles or wrinkles. Ensure all edges are properly aligned and sealed to prevent seepage of light. Regular maintenance, such as cleaning the tinted windows periodically, will also help prolong their effectiveness and ensure your Tesla maintains its sleek, stylish look, avoiding the need for additional automotive repair or frame straightening measures, even if there are minor scratches on the surface.
Tesla tint replacement can be a necessary step after improper or damaged installation. By understanding common causes of damage and following a meticulous process, you can ensure a smooth replacement experience. Preventive measures like using certified materials and professional installers significantly reduce future issues. With these tips in mind, you’ll be well-equipped to maintain your Tesla’s window tints, enhancing both aesthetics and functionality without compromising safety or warranty validity.