

Tesla Model 3 front fascia repair involves careful assessment and structured steps to ensure safety and aesthetics. Remove damaged fascia, inspect, prepare surface, and use high-quality paint with precise color matching technology for a durable, seamless finish that restores the vehicle's modern appearance while maintaining structural integrity.
“Discover how to expertly restore and repaint your Tesla Model 3’s front fascia. This comprehensive guide delves into common damage types, offering a detailed step-by-step repair process for DIY enthusiasts or professionals. Learn the art of color matching, ensuring a perfect finish that seamlessly blends with your vehicle’s unique identity. From identifying minor scuffs to major scratches, we provide insights into Tesla Model 3 front fascia repair, empowering you to bring your car’s exterior back to its sleekest state.”
- Understanding Tesla Model 3 Front Fascia Damage
- Repair Process: Step-by-Step Guide
- Color Matching: Achieving Perfect Paint Finish
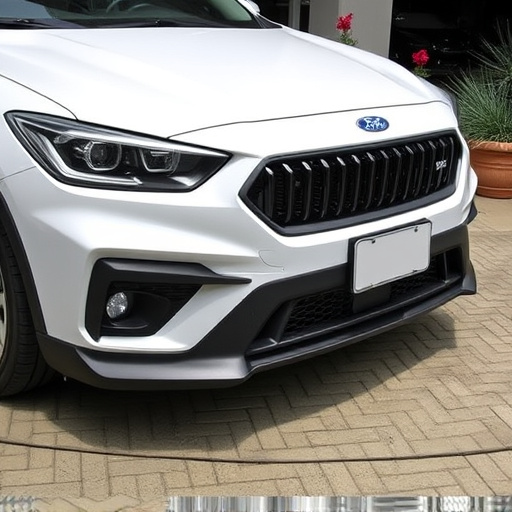
Understanding Tesla Model 3 Front Fascia Damage
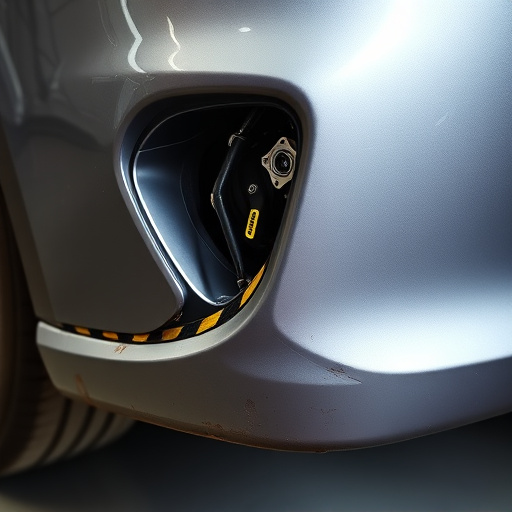
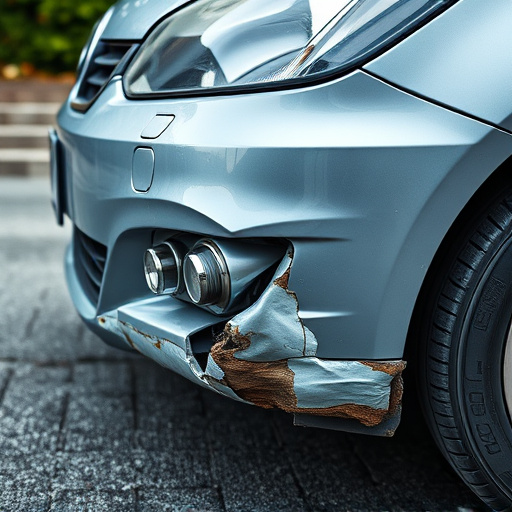
The Tesla Model 3, like many modern vehicles, features a sleek and distinctive front fascia that’s both aesthetically important and structurally vital. However, this component isn’t immune to damage. Common issues can include dents from minor collisions, scratches from curbs or parking obstacles, or even visible wear and tear over time. These problems aren’t just cosmetic; they can impact the vehicle’s aerodynamics and potentially affect its performance.
When addressing Tesla Model 3 front fascia repair, understanding the extent of the damage is crucial. For simple dents and scratches, a professional touch-up might be sufficient, focusing on precise paint color matching to restore the original look. More severe cases, like significant crumple or structural damage, may require comprehensive car body restoration techniques, ensuring not just visual perfection but also maintaining the vehicle’s safety standards.
Repair Process: Step-by-Step Guide
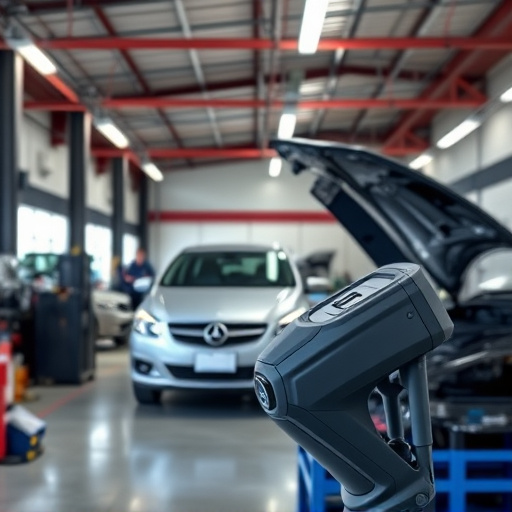
Repairing a Tesla Model 3 front fascia involves a meticulous process that requires precision and attention to detail. Here’s a step-by-step guide for a successful repair:
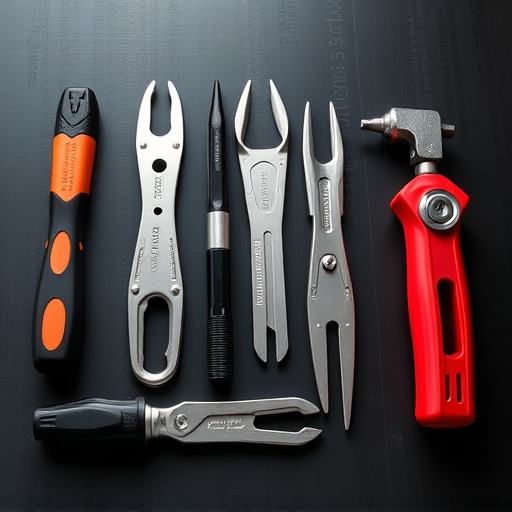
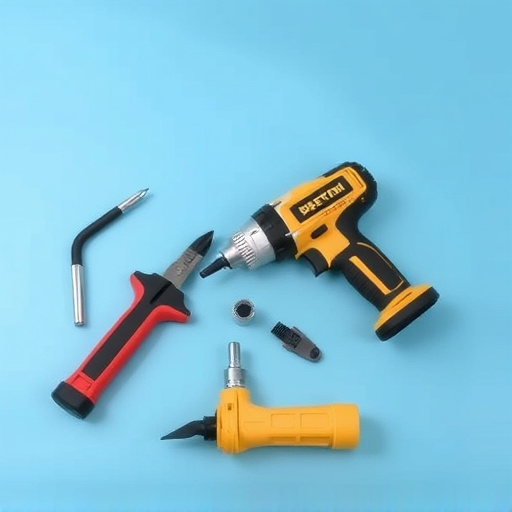
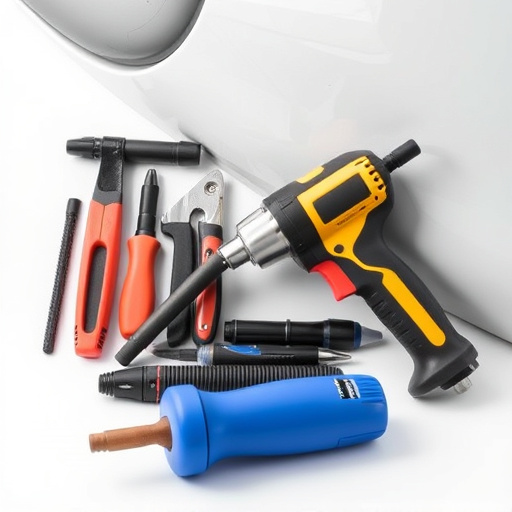
1. Safety First: Begin by ensuring your workspace is well-lit and secure. Put on protective gear, including gloves and safety glasses. Remove the damaged front fascia carefully, using tools designed for vehicle bodywork, to expose the underlying components. This step requires patience as you want to avoid causing further damage.
2. Assessment and Preparation: Inspect the damaged area closely to determine the extent of repair needed. Clean the surface thoroughly to remove any debris or old paint. If necessary, use sandpaper to even out the surface, removing any remnants of the old fascia. This is a crucial step in achieving accurate color matching during repainting.
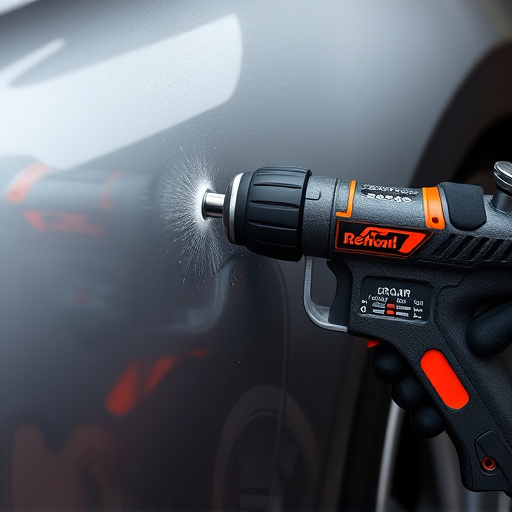
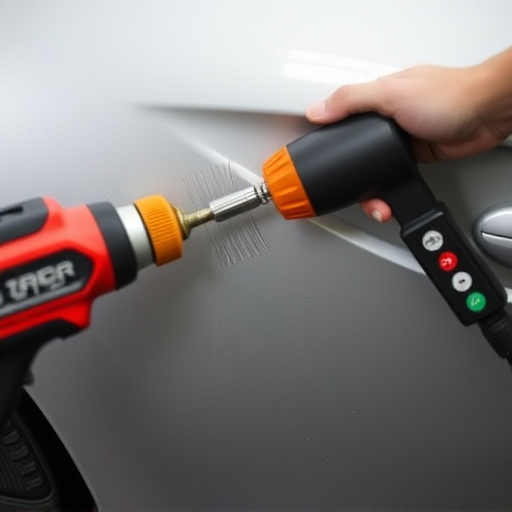
3. Color Matching: Accurate color matching is key to a successful repair. Use high-quality car paint services to get the exact shade of your Tesla Model 3. Mix the paint according to manufacturer specifications and apply it evenly using brushes or a spray gun, following the recommended application techniques for optimal adhesion and finish.
4. Painting and Drying: Apply multiple thin coats of paint, allowing each coat to dry thoroughly between applications. This process ensures a smooth, durable finish that matches the original vehicle bodywork. Once the final coat is dry, inspect the repair for any imperfections, and if needed, lightly sand and re-paint for a flawless appearance.
Color Matching: Achieving Perfect Paint Finish
Achieving perfect paint finish when repairing a Tesla Model 3 front fascia requires meticulous attention to detail and precise color matching. The process involves using advanced technology, such as spectrophotometers, which accurately measure and match the original paint code. This ensures that every shade, hue, and tone is identical to the vehicle’s factory-applied finish.
Professional technicians first prepare the damaged area by thoroughly cleaning and decontaminating it to prevent any impurities from affecting the final result. They then apply a base coat and several layers of high-quality paint, allowing each coat to dry completely before moving on to the next. By following these meticulous steps, auto body repairs on the Tesla Model 3 front fascia can be restored to its original condition, maintaining the vehicle’s sleek and modern appearance.
Repairing and restoring your Tesla Model 3’s front fascia is a feasible task for dedicated owners. By understanding common damage types, following a structured repair process, and mastering color matching techniques, you can achieve a flawless finish that seamlessly blends with your vehicle’s original design. Armed with the right tools and knowledge, taking on this project can enhance your Model 3’s aesthetics and ensure it stands out on the road.