


Water intrusion into Tesla charging ports poses significant risks, leading to costly repairs. The port's design makes it vulnerable to humidity and rainfall, causing short-circuits and charging issues. Auto body services identify and repair these issues through inspection, diagnostics, and specialized techniques. Initial checks include inspecting connections and the area for debris or moisture. Advanced tools diagnose electrical discrepancies if initial checks are negative. Prompt action is crucial to prevent severe damage. The repair process involves safety precautions, disassembly, cleaning, drying, component replacement, reassembly, and final testing.
Experiencing water or moisture damage in your Tesla’s charging port? You’re not alone. The ports, while robust, are susceptible to corrosion and malfunction due to exposure. This article guides you through understanding common Tesla charging port damage from water, effectively diagnosing the issue, and offers a step-by-step repair process for restoration. Learn how to tackle this common problem head-on with our detailed approach to Tesla charging port repair.
- Understanding Tesla Charging Port Damage from Water
- Diagnosis: Identifying Moisture Intrusion Issues
- Repair Process: Step-by-Step Guide to Restoration
Understanding Tesla Charging Port Damage from Water
Water and moisture intrusion into a Tesla’s charging port can cause significant damage to its internal components, leading to costly repairs. This issue often arises due to the port’s design, which leaves it vulnerable to environmental factors, especially in regions with high humidity or frequent rainfall. The charging port, being an external interface, is more exposed to water than other vehicle parts, making it a common area for damage.
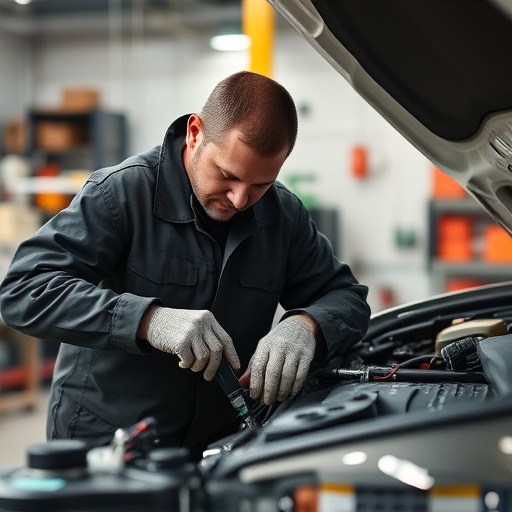
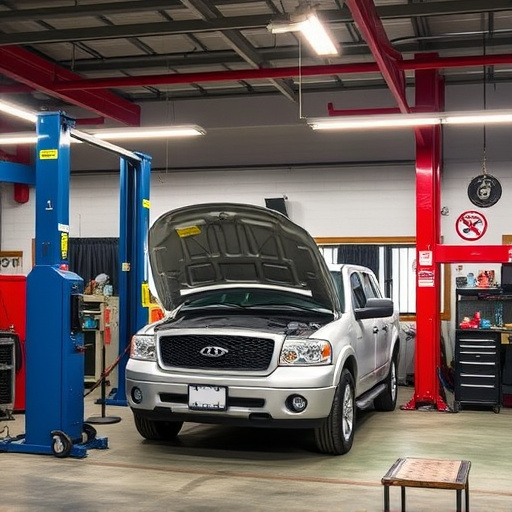
When moisture seeps into the charging port, it can short-circuit sensitive electronic parts, potentially leading to malfunctioning of the entire system. Over time, this can result in charging issues or even prevent the car from accepting a charge altogether. Auto body services specializing in Tesla repairs often receive cases where customers have noticed water intrusion after observing signs like corrosion, loose connections, or odd smells coming from the port area. An automotive body shop with expertise in Tesla charging port repair will first inspect for damage, using advanced diagnostic tools to identify any internal harm before suggesting a suitable course of action, which may include replacement parts and specialized repairs.
Diagnosis: Identifying Moisture Intrusion Issues
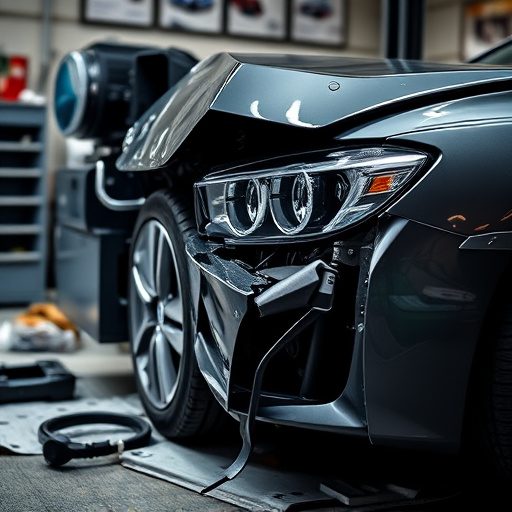
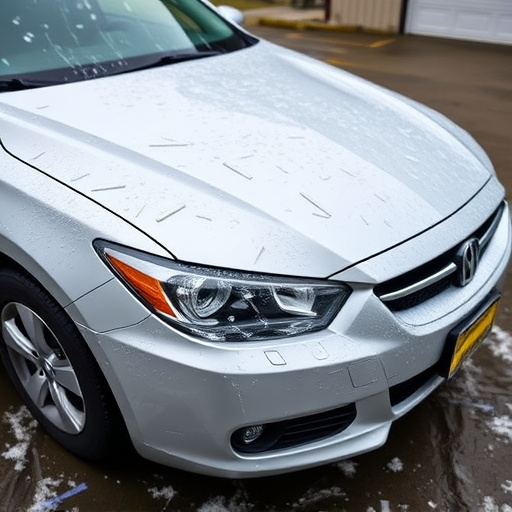
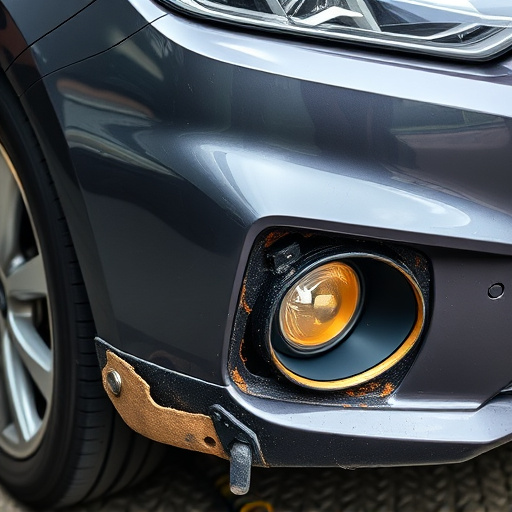
When it comes to diagnosing Tesla charging port repair issues related to water or moisture intrusion, the first step is to inspect the physical connections. Look for any visible signs of damage, corrosion, or loose fittings. The charging port itself should be free from debris and moisture-related residue. Check the surrounding area, including the bumper and its components, as these can often protect the port but also attract water and humidity.
If the initial inspection reveals no obvious issues, further investigation may be required. Advanced diagnostic tools can help identify any electrical discrepancies or communication problems between the charging port and the vehicle’s system. In some cases, moisture intrusion can cause intermittent charging errors or even prevent the car from recognizing a connected charger, necessitating professional Tesla charging port repair services. Remember that prompt attention to these issues is crucial to prevent more severe damage, similar to how automotive restoration experts deal with subtle signs of wear and tear in vehicles’ exteriors.
Repair Process: Step-by-Step Guide to Restoration
Repairing a Tesla charging port affected by water or moisture intrusion involves a meticulous process to ensure seamless functionality and longevity. Here’s a step-by-step guide for restoration:
1. Safety First: Disconnect the car battery to prevent any short circuits during the repair. This is crucial, especially when dealing with electrical components like the charging port. Once safe, carefully remove the damaged port from the vehicle.
2. Port Disassembly: The process begins by disassembling the charging port. This involves detaching any connected cables and carefully removing the outer casing to expose the internal components. Take note of how each part is connected for an efficient reassembly later.
3. Clean and Inspect: Thoroughly clean the affected area using a suitable degreaser or cleaning solution, removing all traces of moisture, dirt, or debris. Inspect every component, including the connectors, for any signs of damage or corrosion.
4. Drying and Desiccation: To prevent further issues, ensure every inch of the port is completely dry. You can use desiccants to absorb any remaining moisture. This step is vital in car restoration to avoid short circuits or functional failures.
5. Component Replacement (if necessary): If any internal components are damaged beyond repair, replace them with new ones. Ensure all parts fit seamlessly and are compatible with your Tesla model.
6. Reassembly: Reassemble the charging port, reconnecting all cables and securing each part in its proper place. Double-check your connections for a complete and safe installation.
7. Final Testing: After reassembly, test the charging port’s functionality to ensure it operates smoothly and securely. This step is crucial for peace of mind when recharging your Tesla.
The restoration of a Tesla charging port affected by water or moisture intrusion is both feasible and necessary, as outlined in this guide. By understanding the potential damage and following a systematic repair process, owners can ensure their vehicle’s charging capabilities remain reliable and effective. Remember that prompt action upon noticing any issues is crucial to minimizing further complications, making this a valuable resource for all Tesla enthusiasts. For any unforeseen challenges, professional assistance is readily available, ensuring a secure and efficient Tesla charging port repair solution.