

Tesla vegan leather repair requires a unique approach due to its synthetic nature. Auto body shops should focus on structural reinforcement and precise color/texture matching for repairs. Right tools, including adhesive compounds, thread, tape, and specialized equipment, ensure durable fixes. Begin with a clean surface, use dedicated kits with color-matched components, clean seam edges thoroughly, and allow adequate curing time for strong, seamless restoration matching Tesla's interior aesthetic.
Tesla owners often face the challenge of maintaining their vehicle’s aesthetic, especially with the unique vegan leather interior. This article delves into the art of repairing and reinforcing seams on Tesla vegan leather. We’ll explore the distinctive materials and challenges associated with this material, along with an in-depth guide to effective repair techniques. Learn about essential tools, supplies, and step-by-step instructions to ensure a seamless restoration, enhancing your Tesla’s luxury appeal.
- Understanding Tesla Vegan Leather: Materials and Challenges
- Tools and Supplies for Effective Repair and Reinforcement
- Step-by-Step Guide to Seamless Repair Techniques
Understanding Tesla Vegan Leather: Materials and Challenges
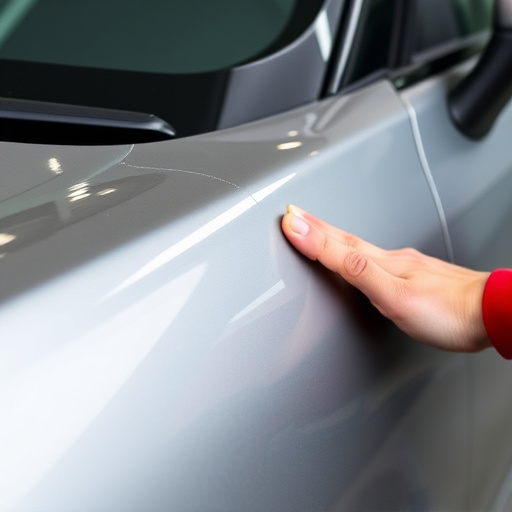
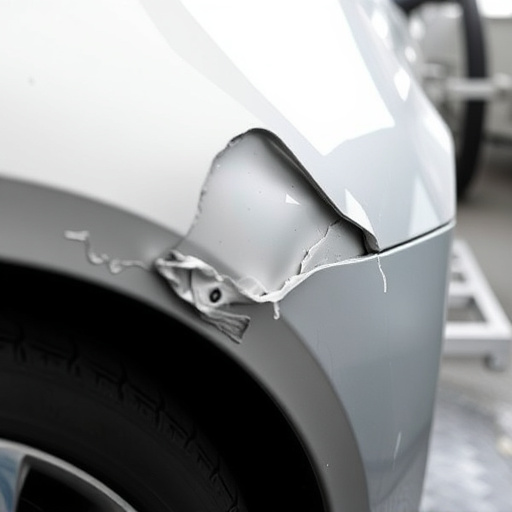
Tesla vegan leather, a revolutionary material designed to reduce environmental impact, presents unique challenges when it comes to repair and reinforcement. Unlike traditional leather, this synthetic alternative is made from sustainable sources like pine resin and plant-based oils, making it lighter, more flexible, and less susceptible to cracking or tearing. However, its composition also means that conventional leather repair techniques may not always be effective. Fading, scuffs, and minor tears can still occur, requiring specialized care to maintain the material’s integrity and aesthetic appeal.
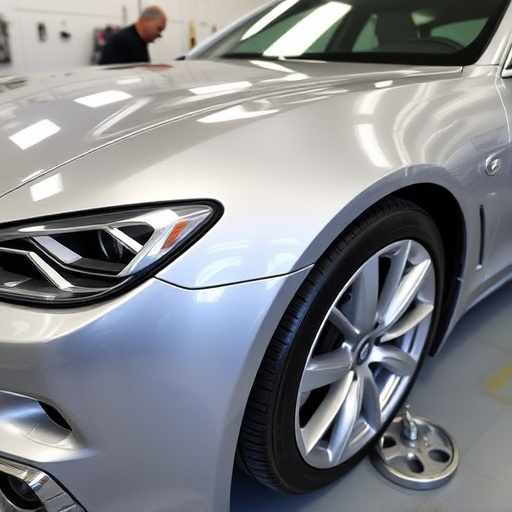
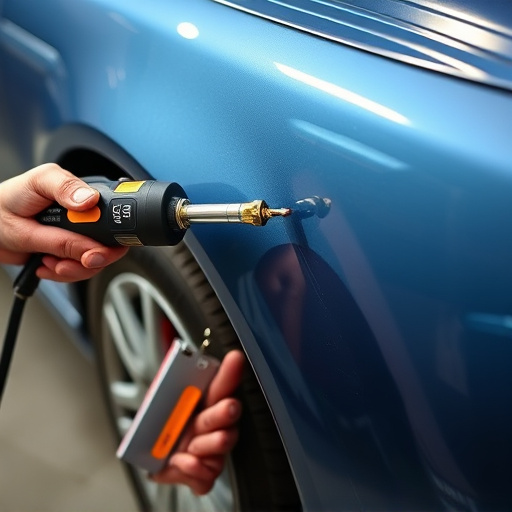
In an auto body shop or collision center, Tesla vegan leather repair calls for a nuanced approach. Techniques must consider both the structural and visual aspects of the material. Seams, for instance, need to be meticulously reinforced to prevent further damage, while surface repairs should aim to match the material’s subtle texture and color variations. Understanding these nuances is crucial for car repair shops looking to offer high-quality services that preserve the longevity and beauty of Tesla’s vegan leather interiors.
Tools and Supplies for Effective Repair and Reinforcement
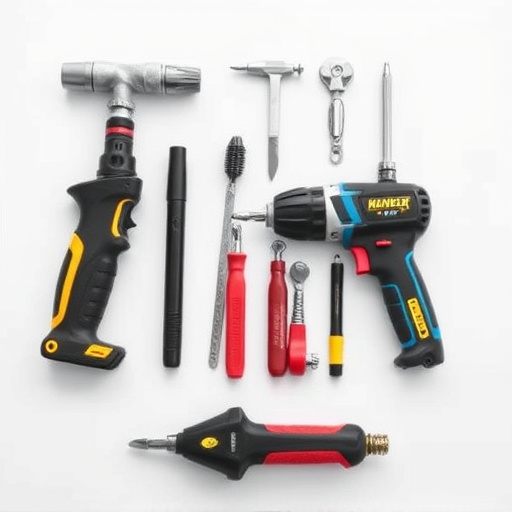
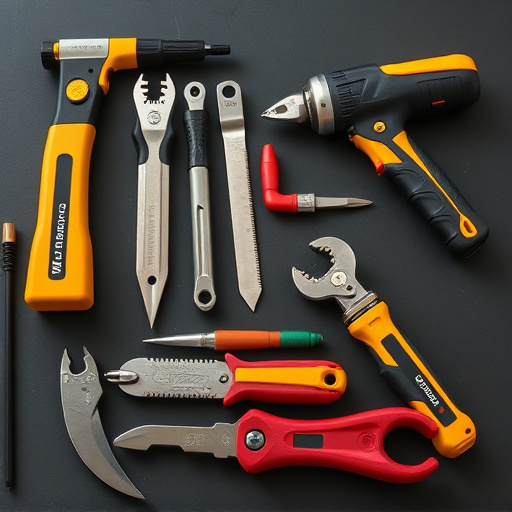
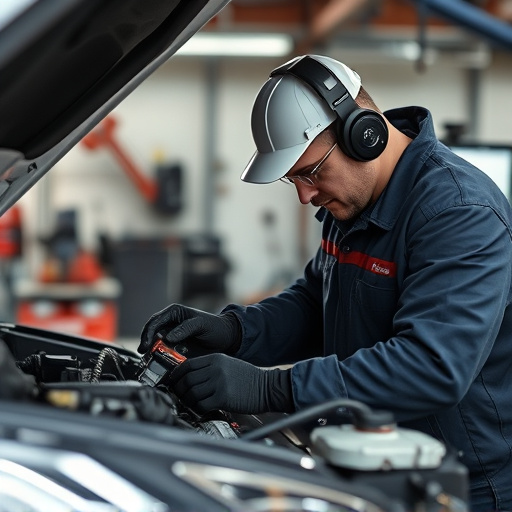
When it comes to Tesla vegan leather repair and seamless reinforcement, the right tools and supplies are essential for achieving a professional and durable fix. For an effective repair, one should invest in high-quality materials specifically designed for automotive leather, including adhesive compounds, thread, and reinforcing tape. These tools allow for precise cutting, stitching, and bonding, ensuring the renewed surface matches the original aesthetic of the Tesla vehicle.
Additionally, various equipment like needle-nose pliers, tweezers, and specialized leather repair kits are crucial. A well-stocked kit typically includes a variety of colors to match different shades of vegan leather, offering a seamless finish akin to professional auto body repair services. With these tools at hand, car dent repair for minor damage becomes manageable, extending the life of your Tesla’s interior while maintaining its contemporary and stylish appeal.
Step-by-Step Guide to Seamless Repair Techniques
Tesla vegan leather repairs require a meticulous approach to ensure the integrity and aesthetics of the vehicle’s interior. Here’s a step-by-step guide for achieving seamless results:
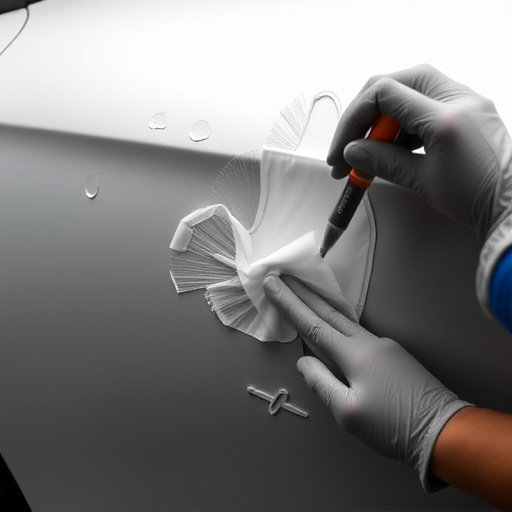
1. Preparation: Begin by thoroughly cleaning and drying the damaged area. Remove any debris or foreign objects lodged in the seams. This step is crucial for a successful repair, as it ensures that the materials bond properly later.
2. Material Selection: For Tesla vegan leather, choose a high-quality repair kit designed specifically for this material. These kits often include adhesive compatible with vegan leather, color-matched threads, and reinforcement tape. Make sure your chosen auto repair services or car bodywork services offer expertise in Tesla repairs to ensure the best outcome.
3. Seam Cleaning: Use a suitable cleaner to prepare the seam edges. This helps the adhesive penetrate better and creates a stronger bond. Allow it to dry completely according to the manufacturer’s instructions.
4. Adhesive Application: Follow the kit instructions for applying the adhesive along the seam. Ensure even coverage without gaps or overlaps. Let it set for the recommended time, usually a few minutes.
5. Seam Reinforcement: Once the adhesive is set, insert the color-matched thread through the eyelets or holes in the leather and secure it with tight knots. For added strength, apply the reinforcement tape over the seam, pressing firmly to ensure good contact.
6. Curing: Allow the repair to cure fully according to the manufacturer’s guidelines. This might involve leaving it undisturbed for a set period or using heat (if applicable) to speed up the process without compromising quality.
Tesla vegan leather repair is both an art and a science. By understanding the unique materials and challenges involved, along with mastering effective tools and techniques, you can achieve seamless repairs and reinforce the integrity of your Tesla’s interior. With these steps and strategies, you’ll be equipped to maintain the look and longevity of your vehicle’s vegan leather, ensuring a satisfying and sustainable driving experience.