


Before Mercedes aluminum trim repair, inspect, clean area with pH-neutral cleaner and microfibre cloths, degrease stubborn marks, clear workspace, wear protective gear, and ensure ventilation for optimal preparation and successful repair.
Before tackling any Mercedes aluminum trim repair, ensuring your surfaces are clean is paramount. This meticulous process involves a structured approach to prepare your car’s interior for restoration. Begin by assessing the damage and gathering specialized cleaning supplies tailored for delicate aluminum. Next, deeply clean and degrease the affected areas to achieve optimal results. By following these steps, you lay the foundation for successful Mercedes aluminum trim repair, enhancing the longevity and aesthetic appeal of your vehicle’s features.
- Assess Damage and Prepare Surface
- Gather Cleaning Supplies and Tools
- Deep Clean and De grease for Optimal Results
Assess Damage and Prepare Surface
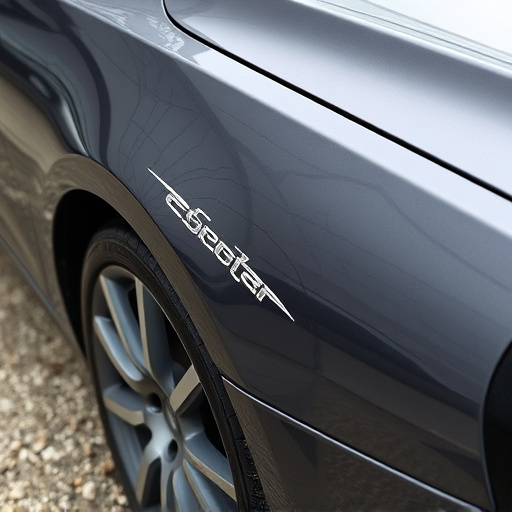
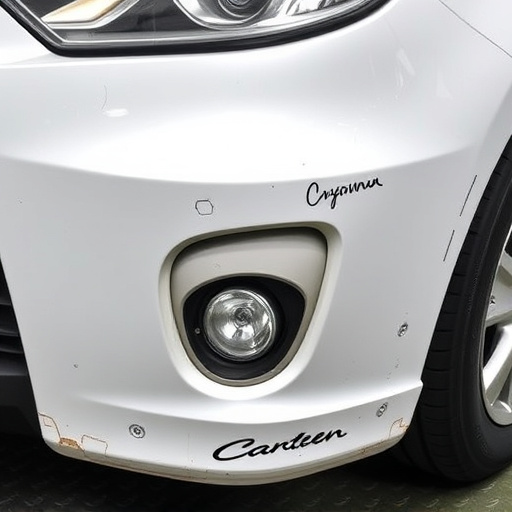
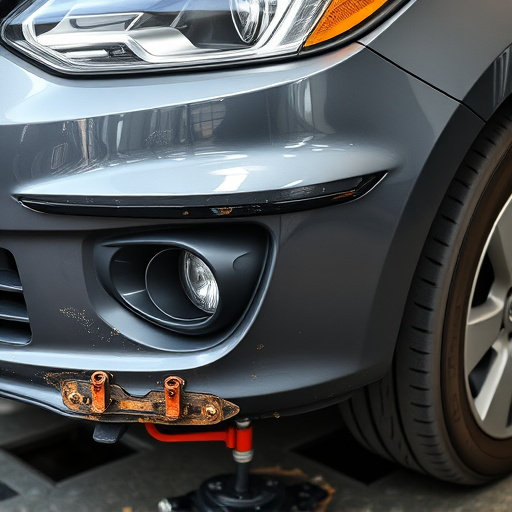
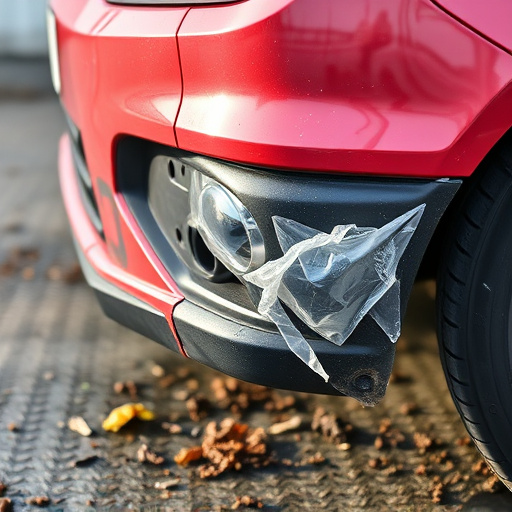
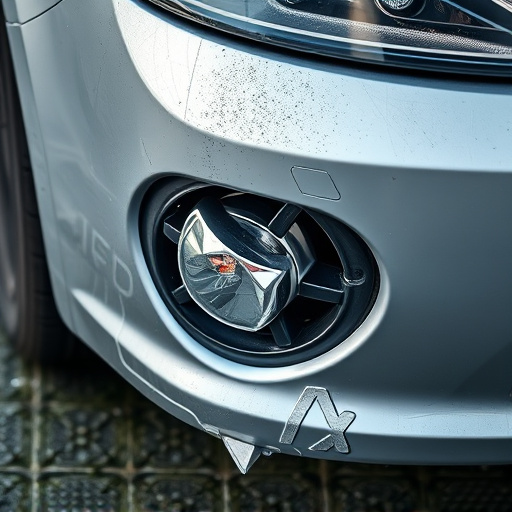
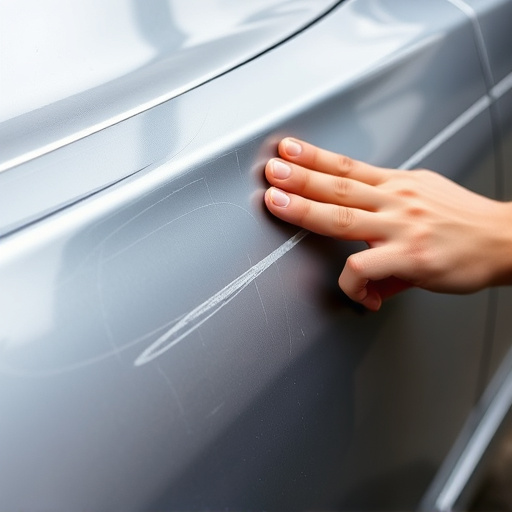
Before diving into Mercedes aluminum trim repair, it’s crucial to assess the damage and prepare the surface accurately. Start by inspecting the affected area thoroughly to determine the extent of the damage. Note any dents, scratches, or other imperfections that need attention. For minor issues like scratches or subtle dents, you might consider using a bumper repair kit or car dent removal tools to bring the surface back to its original condition.
In cases of more significant damage, such as cracked or broken trim pieces, it’s essential to prepare the area accordingly. Remove any loose debris and dust from the surface using a soft cloth or vacuum cleaner. Ensure that the area is clean and free from contaminants to guarantee a seamless repair process for your Mercedes aluminum trim.
Gather Cleaning Supplies and Tools
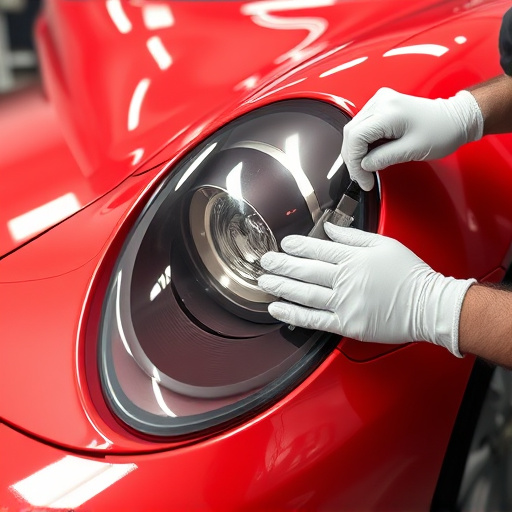
Before diving into Mercedes aluminum trim repair, ensuring your workspace is clean and free of debris is crucial. Start by gathering all necessary cleaning supplies and tools tailored for delicate automotive surfaces. Opt for a mild, pH-neutral cleaner designed specifically for aluminum to avoid damaging the material during the repair process. Additionally, secure microfibre cloths, as their soft fibers effectively remove dust and dirt without leaving scratches.
For more extensive or commercial fleet repair services, consider investing in industrial vacuum cleaners and specialized cleaning solutions. These tools are instrumental in achieving a spotless surface, especially when dealing with vehicle repair services or Mercedes benz collision repairs. Prepare your workspace by removing all loose items, don protective gear, and ensure adequate ventilation to create an ideal environment for precise and effective Mercedes aluminum trim repair.
Deep Clean and De grease for Optimal Results

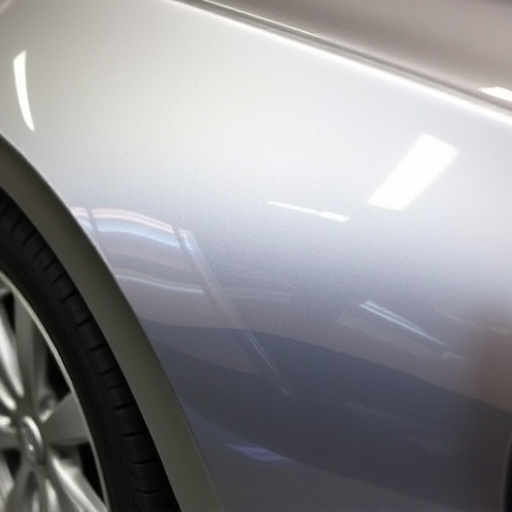
Before attempting any Mercedes aluminum trim repair, it’s crucial to start with a deep clean and de-grease process. This step ensures that all surfaces are free from dirt, dust, and oil residue, which can hinder the adhesive strength of repair products. Begin by removing all loose debris and using a dedicated cleaner to tackle stubborn marks and stains. Focus on hard-to-reach areas and pay extra attention to edges and corners where grime tends to accumulate.
For optimal results, employ a degreaser designed for automotive use, especially those formulated for aluminum. Apply the degreaser with a clean cloth or sponge, allowing it to saturate the surface for several minutes. Then, use another clean cloth to wipe away the residue, ensuring no greasy remnants are left behind. This meticulous pre-cleaning process is vital, as it prepares your Mercedes’ aluminum trim for a successful and lasting repair, whether you’re handling a vehicle dent repair or addressing more intricate collision repair center work.
Before undertaking any Mercedes aluminum trim repair, ensuring your surfaces are clean and de-greased is paramount. The deep cleaning process detailed in this article—which includes assessing damage, gathering the right supplies, and thoroughly degreasing the area—is a fundamental first step to achieve professional results. By following these steps, you’ll create a solid foundation for repairing your Mercedes’ aluminum trim effectively and ensuring it looks as good as new.