


Mercedes license plate lights require prompt repair for safety and aesthetics. Loose connections, faulty wiring, damaged bulbs, or weather degradation cause issues. Troubleshooting involves visual inspection, voltage testing, and identifying damaged parts. Repair guides emphasize safety, detailing simple inspections, connection repairs, bulb replacements, and reassembly. For vintage cars, consider auto painting services for a restored look. Key: Mercedes license plate light repair.
Are your Mercedes’ license plate lights flickering or not illuminating at all? This can be a frustrating issue, but it’s often a simple fix. In this article, we’ll guide you through understanding common license plate light problems, diagnosing loose connections specific to Mercedes models, and providing a step-by-step repair process. Learn how to restore proper lighting and enhance road safety with these straightforward steps tailored for Mercedes owners.
- Understanding Mercedes License Plate Light Issues
- Diagnosing Loose Connections in Your Mercedes
- Step-by-Step Repair Guide for Better Lighting
Understanding Mercedes License Plate Light Issues

Mercedes license plate lights are integral to a vehicle’s safety and visibility, especially during nighttime driving or in low-light conditions. Issues with these lights can range from flickering or intermittent illumination to complete failure, which may be caused by various factors. Common problems include loose connections at the light assembly or socket, faulty wiring, or damaged bulbs. Over time, exposure to harsh weather conditions and road salt can degrade components, leading to reduced performance or complete malfunction.
For vehicle owners, particularly those invested in classic car restoration projects, addressing these issues promptly is crucial. Timely Mercedes license plate light repair not only enhances safety but also preserves the overall aesthetic appeal of the vehicle. A well-maintained lighting system contributes to a vehicle’s overall condition, making it stand out among its peers. Whether dealing with a modern or vintage model, understanding basic troubleshooting and seeking professional assistance for more complex repairs is key in keeping these essential components functioning optimally.
Diagnosing Loose Connections in Your Mercedes

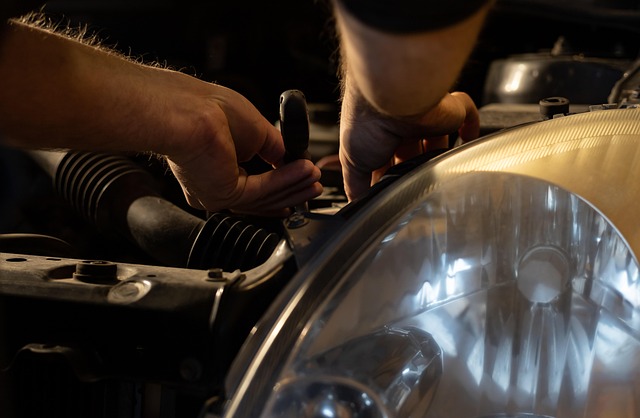
Diagnosing loose connections in your Mercedes is a crucial step before attempting any repair work, especially when it comes to the license plate lights. The first sign that something is amiss is often an intermittent light or a complete failure to illuminate. Check for any visible damage around the license plate area, as this could indicate a broken wire or connector.
A quick and easy way to test for loose connections is to inspect the bulb sockets with a voltage tester. If you notice a significant drop in voltage when testing a specific socket, it’s likely that the connection within the socket has become damaged or detached due to wear and tear, vibration, or even a previous vehicle collision repair. Regular maintenance checks, including examining tire services and other exterior components, can help prevent these issues from escalating and save you from costly repairs down the line.
Step-by-Step Repair Guide for Better Lighting

Performing a Mercedes license plate light repair is a straightforward process that can significantly enhance the visibility and safety of your vehicle at night. Here’s a step-by-step guide for DIY enthusiasts or those seeking to improve their car repair services:
1. Identify the Issue: Start by inspecting the license plate lights for any loose connections, damaged wires, or burnt-out bulbs. This quick check will help you pinpoint the source of the problem and ensure you’re focusing on the right areas during the repair.
2. Gather Your Tools: For this job, you’ll need basic automotive tools like a screwdriver, wire strippers, new bulbs (preferably LED for better efficiency), and possibly some electrical tape or wire connectors depending on the extent of the damage. Remember, safety is paramount, so always wear protective gear when handling car repair services.
3. Disconnect Power: Before you begin any work, make sure to disconnect the negative battery cable to avoid short circuits. This ensures your safety and prevents accidental shocks during the process.
4. Access the Connections: Remove the license plate light assembly by unscrewing any holding bolts or clips. Once exposed, locate the wire connectors and gently pull them apart if they’re loose. If there’s significant damage to the wires, carefully strip off a small section of insulation to expose clean metal for new connections.
5. Replace Bulbs (if necessary): If a bulb is burnt out, replace it with a new one. Ensure the new bulb fits snugly and securely into its socket. For a seamless finish that matches your car’s aesthetic, consider auto painting services to restore the surrounding area to its original condition.
6. Reassemble: After making all necessary repairs and connections, carefully reassemble the license plate light assembly, ensuring everything is tightly secured. Reattach the negative battery cable once you’re satisfied with the work.
Repairing loose connections in your Mercedes’ license plate lights is a straightforward process that can significantly enhance nighttime visibility and overall vehicle safety. By understanding common issues, properly diagnosing problems, and following a simple step-by-step guide, car owners can quickly restore optimal lighting to their Mercedes. Don’t let a simple connection issue keep you from safe driving; take control with this informative repair tutorial and enjoy improved Mercedes license plate light functionality.