


Before repairing a flexible bumper, conduct a thorough assessment of damage to surrounding car body, using specialized tools for precise adjustments and high-quality adhesives/coatings to prevent further harm and ensure lasting results. Follow a step-by-step guide: assess, clean, fill/sand, prime, paint, prioritizing professional help for extensive issues to achieve optimal vehicle performance and appearance.
When it comes to flexible bumper repair, preventing further damage is crucial. This comprehensive guide walks you through essential steps to ensure a safe and effective repair process. From assessing the extent of the damage to using the correct tools and techniques, every detail matters. Follow our step-by-step approach to not only fix your flexible bumper but also safeguard against future issues. Learn how to inspect before repairing and adopt best practices for a successful, hassle-free restoration.
- Assess Damage: Inspect Before Repairing
- Correct Tools and Techniques for Safe Fixing
- Step-by-Step Guide: Preventing Additional Harm
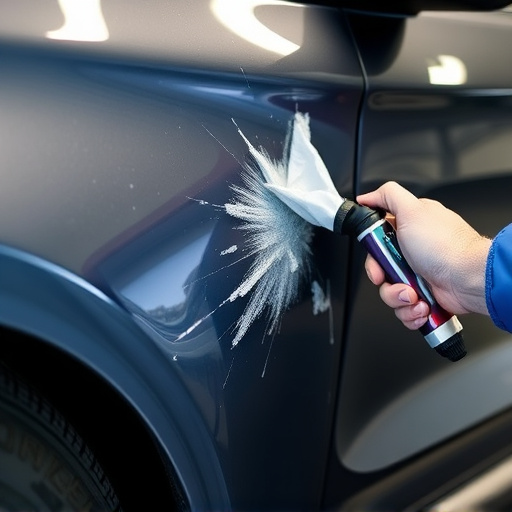
Assess Damage: Inspect Before Repairing
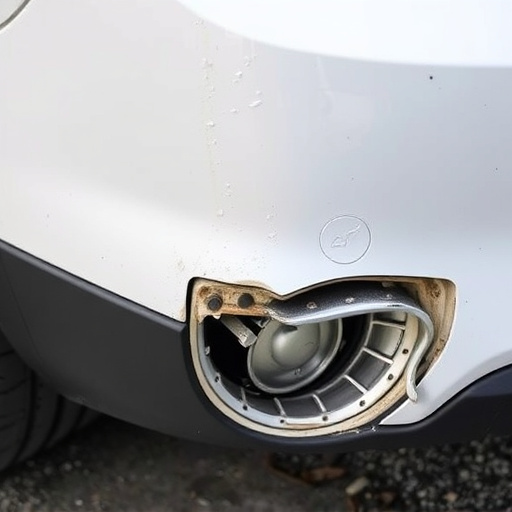
Before diving into any flexible bumper repair, it’s crucial to assess the extent of the damage. This step can’t be overstated, as proper evaluation ensures that no further harm is done during the repair process. Carefully inspect the bumper and surrounding car body restoration areas for cracks, dents, or any other anomalies. Remember, a thorough understanding of the issue at hand is key to successful flexible bumper repair.
During this initial phase, consider the interconnection between the bumper and the automotive restoration work. Damage in one area could potentially impact the integrity of adjacent components. Therefore, a holistic view of the car bodywork is essential. By doing so, you’ll not only prevent further damage but also ensure a more seamless and lasting repair outcome.
Correct Tools and Techniques for Safe Fixing
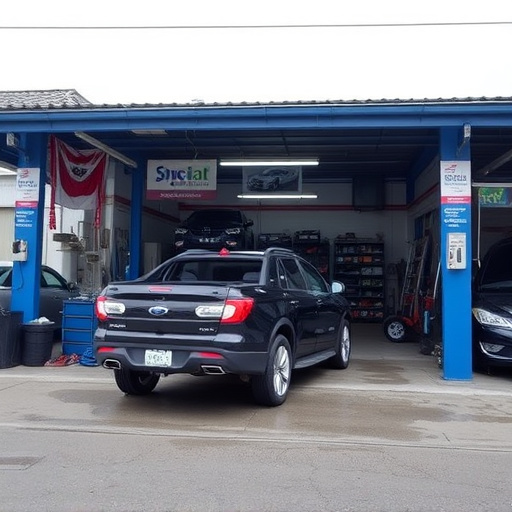
When undertaking a flexible bumper repair, it’s paramount to employ the correct tools and techniques to ensure safety and prevent further damage. Using inappropriate methods can lead to unsightly results or even compromise the structural integrity of your vehicle. Auto body services professionals recommend a systematic approach that starts with an accurate assessment of the damage. This involves inspecting the extent of the dent, crack, or bend in the bumper, identifying any related issues with surrounding panels, and determining the best course of action.
For precise fixing, a variety of tools tailored for flexible bumper repair are essential. These include specialized hammers, hydraulic presses, and precision-cut materials that match your vehicle’s original specifications. Skilled technicians leverage these tools to carefully adjust and realign the bumper, ensuring a seamless fit without excessive force or heat that could mar the finish. Additionally, tire services and automotive collision repair experts suggest using high-quality adhesives and coatings to enhance durability and protect against future damage.
Step-by-Step Guide: Preventing Additional Harm
When undertaking a flexible bumper repair, preventing further damage is paramount to ensure your vehicle looks as good as new and performs optimally. Here’s a step-by-step guide to help you navigate this process smoothly:
1. Assess the Damage: Before starting any repairs, carefully inspect the bumper to understand the extent of the damage. Look for cracks, dents, or punctures that need attention. If the damage extends to the frame or other components, consider seeking professional frame straightening services from a trusted auto repair shop near you.
2. Clean and Prepare: Once you’ve identified the issues, thoroughly clean the affected area using mild soap and water. Remove any debris or dirt embedded in the dents or cracks. Dry the surface completely before proceeding to the next step. A clean bumper ensures better adhesion for repair materials, preventing future damage from improper bonding.
3. Use Appropriate Repair Tools: Employ high-quality tools designed specifically for flexible bumper repair and car scratch repair, such as plastic wedges, putty knives, and sandpaper. Avoid using heavy machinery or incorrect tools that could cause further deformation or mar the bumper’s surface.
4. Fill and Sand: Apply a suitable body filler to cover dents and cracks, then gently smooth and sand until the surface is even with the surrounding bumper material. Ensure you wear protective gear during this process to avoid inhaling harmful fumes.
5. Paint and Finish: After sanding, apply a thin layer of primer to prepare the area for painting. Let it dry completely. Then, use high-quality paint specifically designed for flexible bumpers, matching the original color as closely as possible. Allow the paint to cure fully before adding any final touches or clear coat to protect the repair work.
Preventing further damage is crucial during a flexible bumper repair. By thoroughly assessing the damage, utilizing the correct tools and techniques, and following a step-by-step guide, you can ensure a safe and effective fix for your vehicle’s flexible bumper. Remember, proper inspection and careful execution are key to avoiding additional harm and achieving a lasting repair.