


Quarter panel replacement involves assessing damage, gathering tools, and following precise steps: preparation (cleaning, measuring, cutting), installation (adhesives, fasteners), sealing, and painting for a seamless finish. Safety is paramount, prioritizing protection from hazards during the process.
Looking to repair your vehicle’s damaged quarter panel? This comprehensive guide breaks down the quarter panel replacement process, from understanding these structural components to mastering the step-by-step installation. We’ll cover everything you need to know, including essential safety measures and tools required, ensuring a successful and precise auto body repair. Discover expert tips for efficient quarter panel replacement.
- Understanding Quarter Panels: Function and Damage Assessment
- Preparation for Replacement: Safety and Tools Required
- Step-by-Step Guide to Efficient and Precise Installation
Understanding Quarter Panels: Function and Damage Assessment

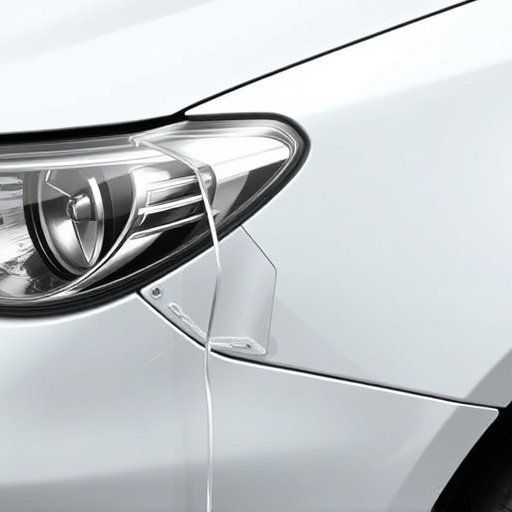
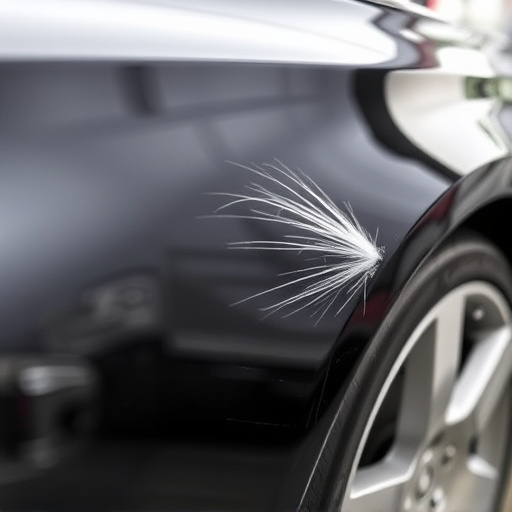
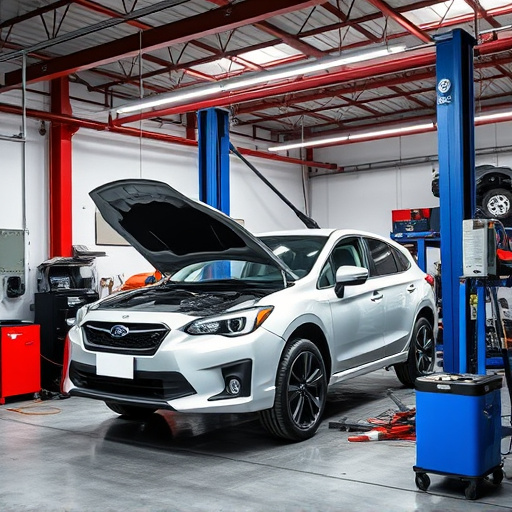
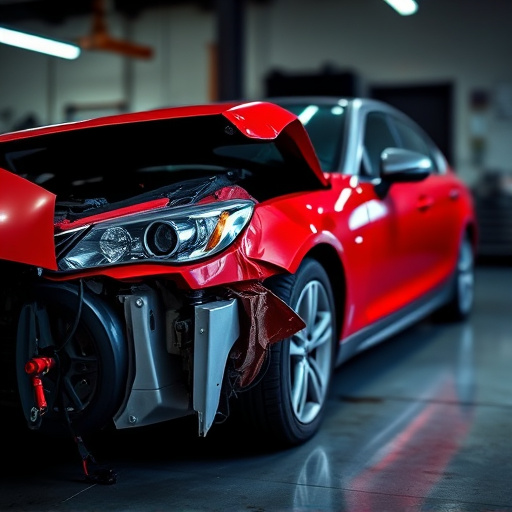
Quarter panels are integral components of a vehicle’s exterior, encompassing the areas between the doors and the fenders. They serve multiple functional roles, including protecting the car’s underbody from debris and providing structural support. Damage to quarter panels can arise from various incidents like collisions, road hazards, or even minor scratches. Proper assessment is crucial for determining the extent of repair required, ranging from simple touch-ups to complete quarter panel replacement.
During damage assessment, technicians inspect the panel for cracks, dents, or deformations. They consider factors such as the type and severity of damage, alignment with surrounding panels, and potential impact on vehicle performance and safety. Accurate evaluation ensures that only necessary repairs are conducted, thereby saving costs and enhancing the overall quality of auto maintenance. In some cases, especially after severe collisions, frame straightening might be required alongside quarter panel replacement to restore the car’s structural integrity.
Preparation for Replacement: Safety and Tools Required

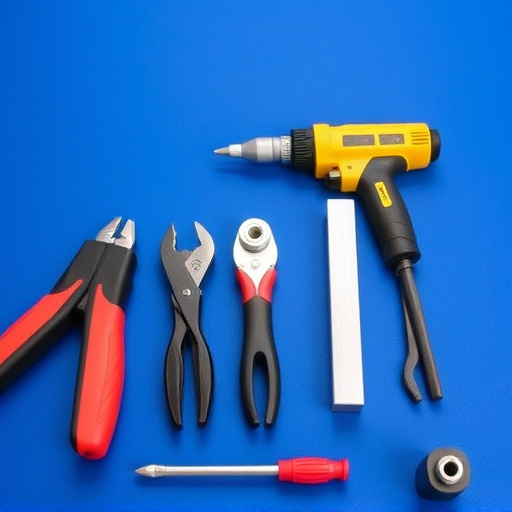
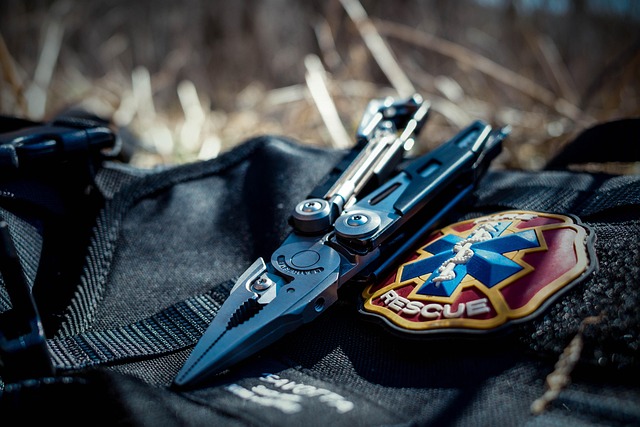
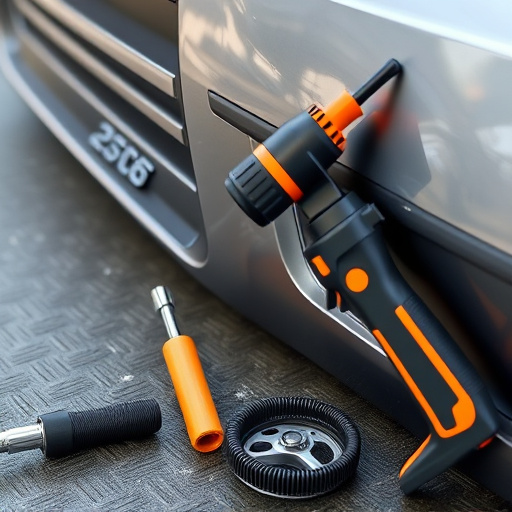
Before diving into the quarter panel replacement process, proper preparation is key to ensuring a successful and safe outcome. This involves gathering all necessary tools and safety equipment. For this specific task, you’ll require a set of impact wrenches for fastening and unfastening the panel, a hammer for careful removal, and various types of screwdrivers to suit different screw sizes. Additionally, a mask to protect against metal shavings and gloves for hand protection are essential. A well-lit workspace is crucial, so make sure your garage or body shop services area is equipped with adequate lighting.
Safety should always be at the forefront of any automotive repair services, especially when dealing with car damage repair. Take time to assess the area, ensuring no loose parts or sharp edges that could cause injury. Protecting yourself from potential hazards is just as important as mastering the quarter panel replacement technique itself.
Step-by-Step Guide to Efficient and Precise Installation

The quarter panel replacement process is a critical aspect of auto body repairs, demanding precision and expertise. Here’s a step-by-step guide to ensure efficient and precise installation:
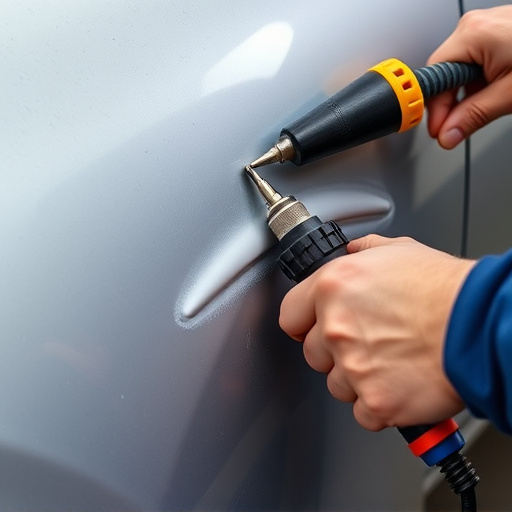
1. Prepare the Area: Start by thoroughly cleaning the affected area and removing any debris or old adhesive. Mask adjacent panels with protective film to prevent overspray during the painting stage. Ensure proper ventilation in the car body shop to maintain a clean working environment.
2. Measure and Cut: Utilize precise measurement tools to determine the exact dimensions of the damaged quarter panel. Cut the new panel with careful consideration, ensuring it fits seamlessly into the vehicle’s frame. This step requires skill and expertise to maintain the structural integrity of the car body, especially in complex shapes like curves or contoured edges.
3. Install the Panel: Position the new quarter panel carefully, aligning it precisely with the existing bodywork. Secure it using high-quality adhesives and mechanical fasteners such as bolts or rivets. Ensure all components are tightly fastened for a secure fit.
4. Sealant Application: Apply a bead of sealant along the edges of the quarter panel to create a waterproof barrier between the new part and the vehicle’s body. This step is crucial in preventing future rust or water damage, especially during collision repair services.
5. Painting and Finishing: After ensuring proper adhesion, begin the vehicle paint repair process. Carefully apply paint, following the vehicle’s original color specifications to achieve a seamless finish. This meticulous stage requires skill and attention to detail to match the paint job with the rest of the car’s tapestry.
The quarter panel replacement process, as outlined in this article, is a meticulous yet rewarding procedure that auto body repair professionals perform with precision. By understanding the integral role of quarter panels, properly assessing damage, and following a systematic approach, technicians can ensure a seamless restoration, maintaining vehicle integrity and safety. This guide equips readers with knowledge of both the theoretical and practical aspects of quarter panel replacement, fostering informed decisions in the event of auto body repairs.