

Infrared paint drying is a cutting-edge method for car bodywork, expediting dent removal and enhancing precision. It utilizes infrared heat lamps to rapidly cure paint, reducing repair times and minimizing errors, ideal for paintless dent repair. The right infrared dryer is key, with compact models suitable for DIY and powerful dryers for professional shops. To master this technique, prepare the workspace, apply paint in thin layers, use heat tools for monitoring, and finish with light sanding and clear coat for optimal results.
New to the world of infrared paint drying? This comprehensive guide is your starting point. Discover the technology behind this innovative drying method and how it can revolutionize your painting projects. We’ll walk you through choosing the ideal infrared dryer, from understanding key features to matching the right equipment with your needs. Then, master the step-by-step process for efficient, fast, and professional results.
- Understanding Infrared Paint Drying Technology
- Choosing the Right Infrared Dryer for Your Project
- Step-by-Step Guide to Efficient Infrared Paint Drying
Understanding Infrared Paint Drying Technology
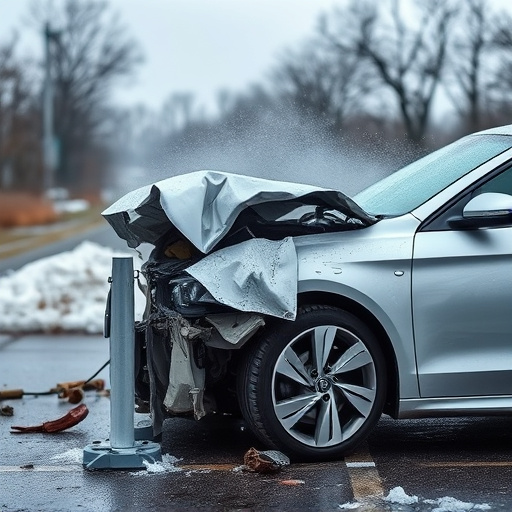
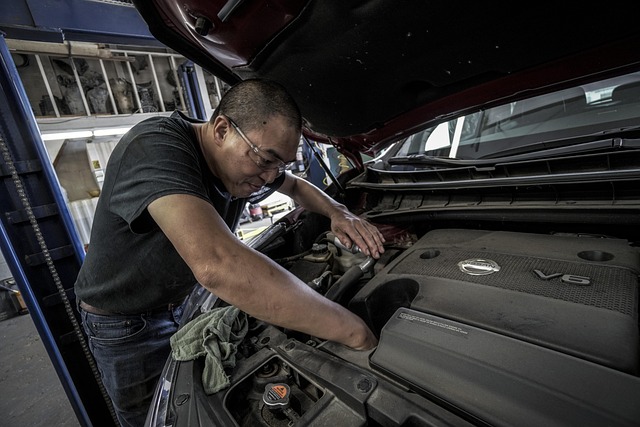
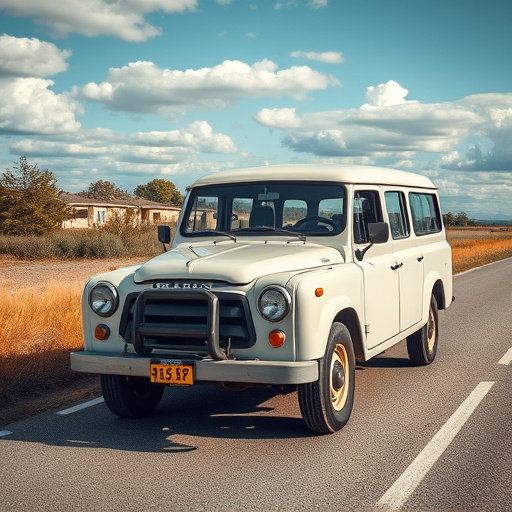
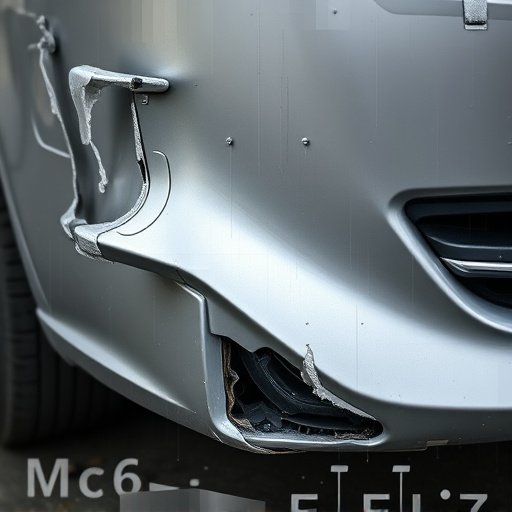
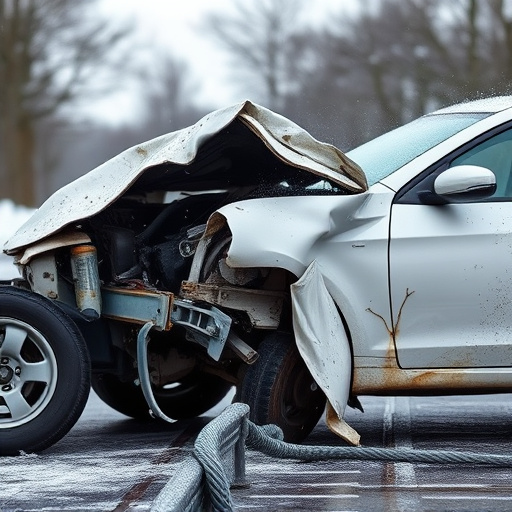
Infrared paint drying is a revolutionary technology that has transformed car bodywork services and dent removal processes. Unlike traditional methods that rely on ambient air to dry paints, this innovative approach utilizes infrared heat lamps to accelerate the curing process. By applying precise amounts of heat, the paint dries faster, reducing the time required for repairs and ensuring high-quality results. This not only enhances efficiency but also minimizes the risk of errors or imperfections often associated with manual drying techniques.
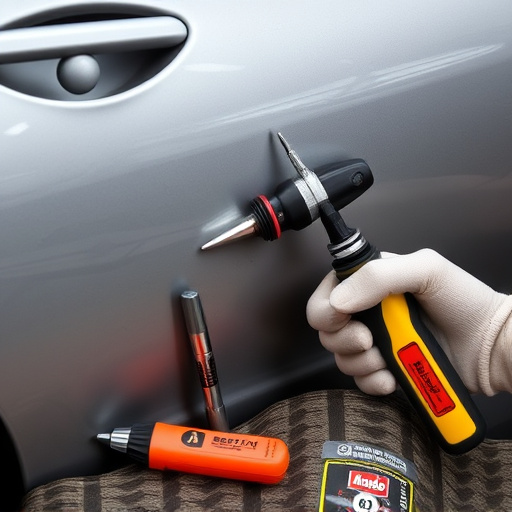
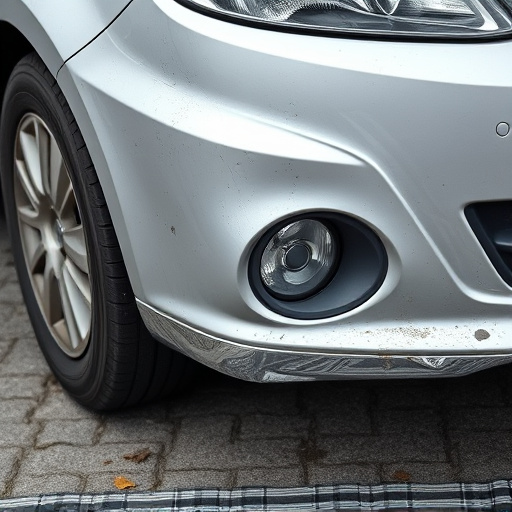
This technology is particularly useful in paintless dent repair, where the goal is to restore damaged panels to their original condition without painting. By quickly hardening the paint, infrared drying allows technicians to achieve seamless repairs, preserving the car’s aesthetics and resale value. As a result, many professionals now opt for this method due to its speed, precision, and ability to deliver top-notch dent removal solutions.
Choosing the Right Infrared Dryer for Your Project
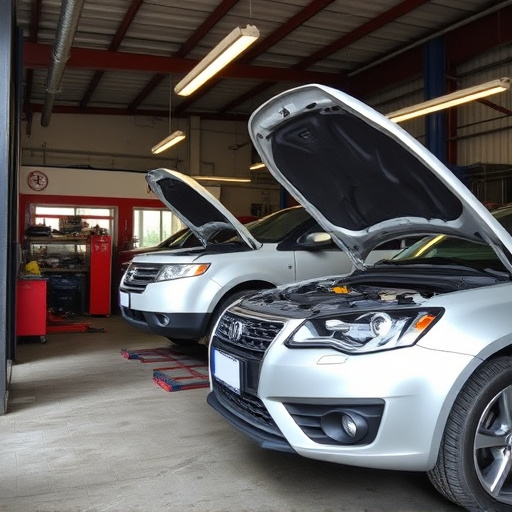
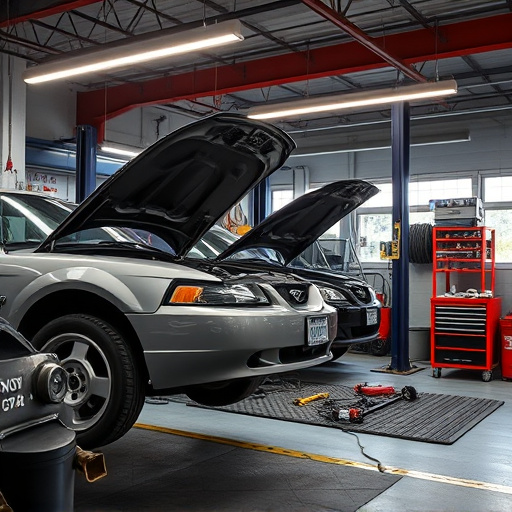
When starting out with infrared paint drying, selecting the suitable dryer is a key step to ensure optimal results for your project. The right choice depends on factors like the size and scale of your work, whether it’s an auto body repair or car body restoration job, and the specific requirements of the paint you’re using.
For smaller-scale projects or DIY enthusiasts, compact and portable infrared dryers can be a great option due to their convenience and ease of use. These devices are versatile and suitable for tasks like touch-ups or small areas in a car repair shop. On the other hand, larger-scale restoration projects might demand more powerful and industrial-grade equipment capable of handling extensive painting sessions. High-output dryers are designed for efficiency and speed, making them ideal for professional auto body repair shops where quick turnaround times are crucial.
Step-by-Step Guide to Efficient Infrared Paint Drying
Infrared paint drying is a revolutionary method for speeding up the curing process of paint, especially in automotive collision centers and dent repair shops where time is money. Here’s a step-by-step guide to efficiently mastering this technique:
1. Preparation: Ensure your workspace is well-ventilated and free from dust or debris. Apply an appropriate primer designed for infrared drying. This prepares the surface, improving adhesion and ensuring optimal paint performance.
2. Infrared Emitting Paint: Use high-quality infrared-emitting paint specifically formulated for faster drying. These paints contain additives that absorb infrared radiation, generating heat to expedite curing. Choose a color and finish suitable for your project—whether it’s a car body, furniture, or any other surface needing a fresh coat of paint.
3. Application: Apply the paint evenly using a spray gun or roller. For best results, maintain a consistent thickness across the entire surface. Allow a thin film to dry slightly before adding subsequent layers, following the manufacturer’s recommended drying time between coats.
4. Infrared Drying System: Position your infrared drying system strategically. Place it at a safe distance from the workpiece, ensuring it emits heat evenly without causing any damage. The system should be capable of reaching all angles and contours of the surface for consistent drying.
5. Monitor and Adjust: Regularly check the paint’s progress using a heat gun or infrared thermometer. Once the paint reaches the recommended dry time, turn off the infrared system. Continue monitoring to ensure there are no spots left wet. If needed, adjust the system’s settings or positioning for more uniform drying.
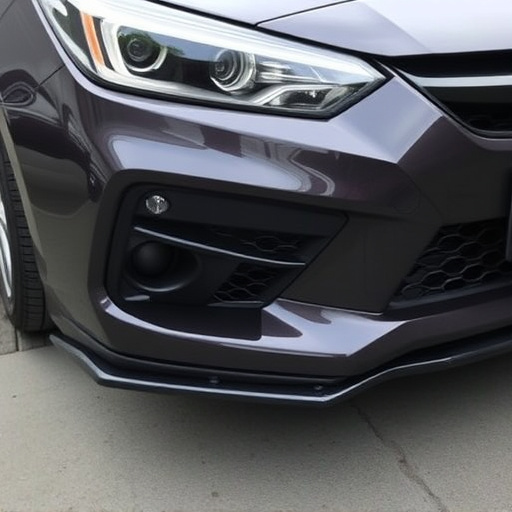
6. Finishing Touches: After complete drying, inspect the surface for any imperfections. Light sanding and a final coat of clear coat can enhance durability and aesthetics, making the finished product look as good as new in your collision center or dent repair shop.
Infrared paint drying is a revolutionary technology that streamlines your painting projects, offering faster and more efficient results. By understanding the basics outlined in this guide—from the science behind it to choosing the right tools—you’re now equipped to embark on your first infrared paint drying experience. With these steps, you can say goodbye to traditional, time-consuming methods and embrace a new level of convenience and quality in your painting endeavors.