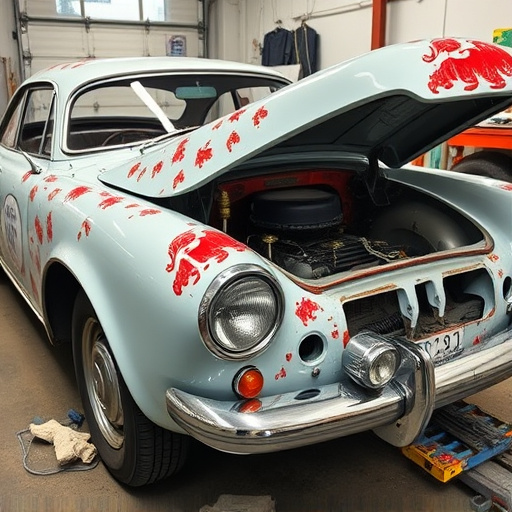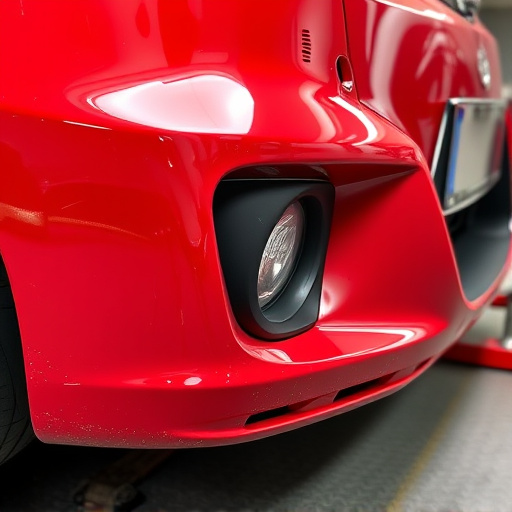
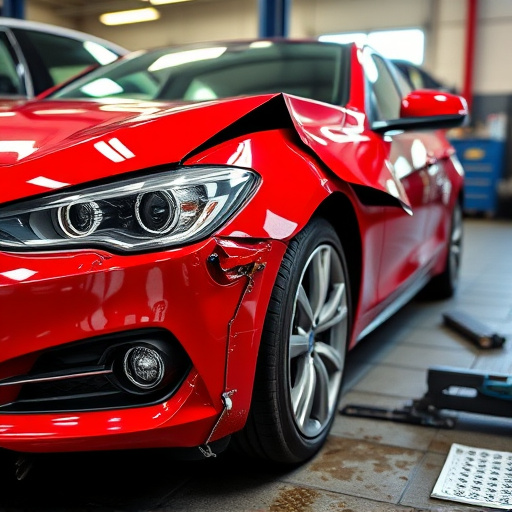


Tesla Model 3 front fascia repair is crucial for maintaining lease return standards due to its susceptibility to damage from road debris and wear. Skilled technicians address various issues, from simple glass replacement to complex bodywork, ensuring high vehicle value and presentation for potential buyers or lessees. This meticulous process involves careful inspection, precise demolition, gap filling, priming, and painting to restore the front fascia's original look and functionality.
Returning a Tesla Model 3 for lease can be smooth if you’re aware of potential challenges, especially regarding cosmetic damage. The sleek design of the Model 3 is renowned, but its front fascia—the vehicle’s frontal shield—is prone to scratches and dents due to bustling city streets. This article explores common issues, delving into the process of repairing a Tesla Model 3 front fascia to meet lease return standards. Understanding these steps can help ensure your car’s resale value and save costs.
- Understanding Tesla Model 3 Front Fascia Damage
- Common Lease Return Issues and Their Solutions
- Restoring Originality: Step-by-Step Repair Guide
Understanding Tesla Model 3 Front Fascia Damage
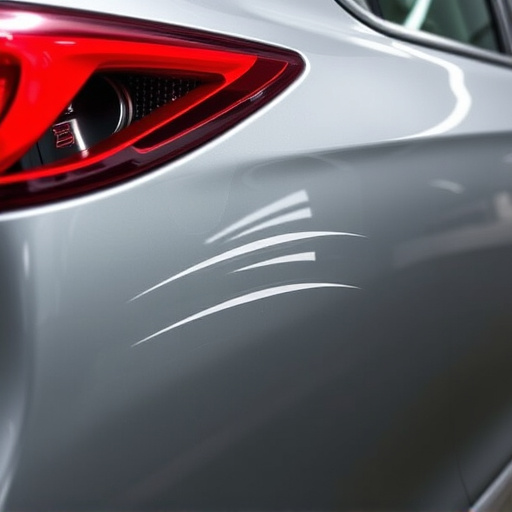
The Tesla Model 3, renowned for its sleek and modern design, can be prone to front fascia damage due to various factors such as road debris, minor collisions, or simple wear and tear. This component is not only an aesthetic feature but also plays a crucial role in protecting the vehicle’s sensitive underbody from potential hazards. When damage occurs, it’s essential to address it promptly for lease return standards.
Front fascia repair for the Tesla Model 3 involves skilled auto body repairs to restore both functionality and aesthetics. This may include replacing dents, cracks, or broken parts of the front bumper, grille, or surrounding components. Some common issues can be addressed through simple auto glass replacement, while more complex automotive body work might be required for significant damage. The goal is to ensure the vehicle meets the high standards expected upon lease return.
Common Lease Return Issues and Their Solutions
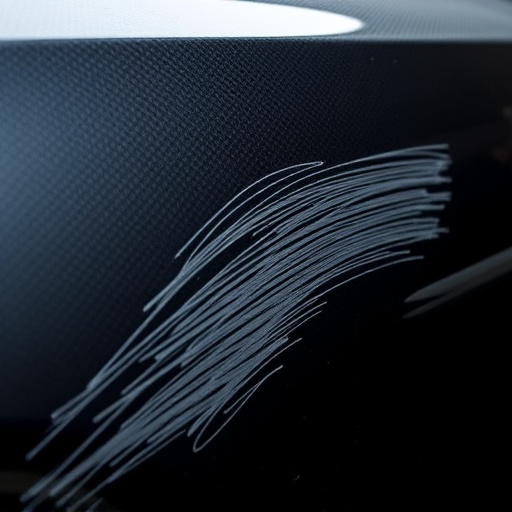
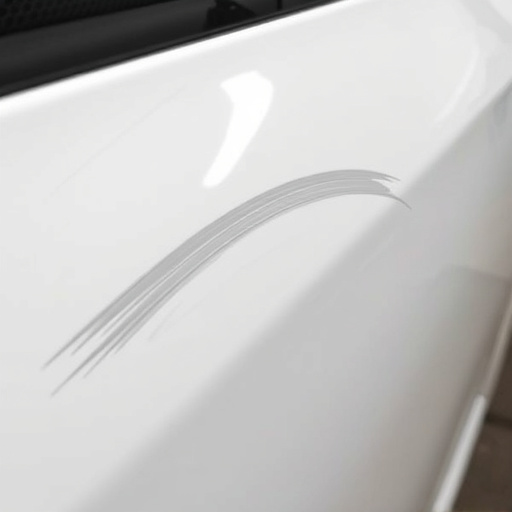
When a Tesla Model 3 is returned after a lease period, it often presents various cosmetic and minor damage issues that require attention. Common problems include scuffs, scratches, and dents on the vehicle’s exterior, with a particular focus on the front fascia—the car’s front grill and surrounding areas. These issues are understandable given the frequent use and exposure to various road conditions and environments during the lease term.
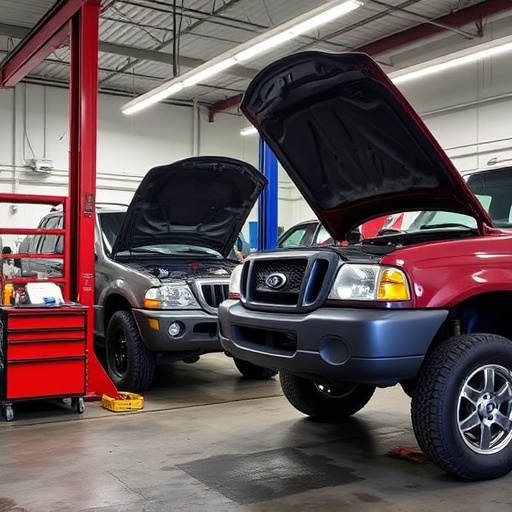
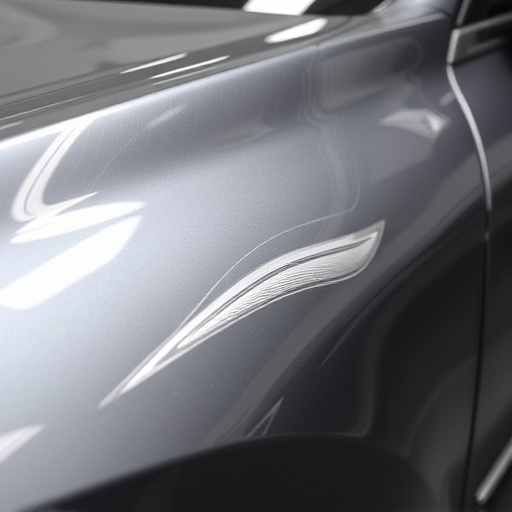
To meet lease return standards, addressing these concerns efficiently is crucial. Simple solutions like polishing and detailing can help restore the vehicle’s original appearance for a smaller dent or scratch. For more severe cases, a Tesla Model 3 front fascia repair might be necessary, involving professional collision repair services to replace damaged components. Such repairs ensure the car meets the highest standards of presentation when offered for sale or extended lease terms, enhancing its overall value and appeal to potential buyers or lessees.
Restoring Originality: Step-by-Step Repair Guide
Restoring Originality: Step-by-Step Repair Guide for Tesla Model 3 Front Fascia
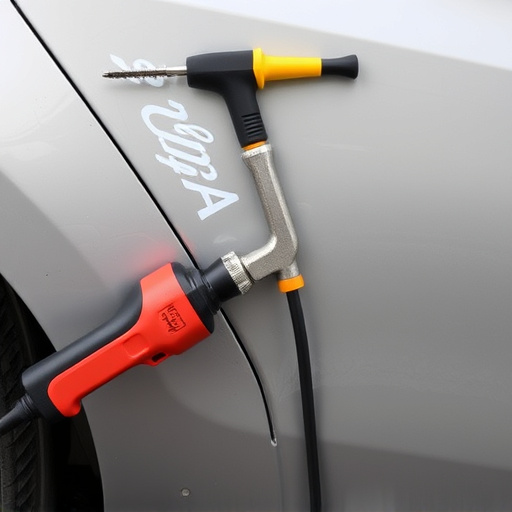
The front fascia is a significant component of your Tesla Model 3’s aesthetics, and ensuring it meets lease return standards involves meticulous care and precise repair techniques. This step-by-step guide will help you achieve that, focusing on both functionality and visual appeal. Begin by thoroughly inspecting the damaged area, identifying any cracks or dents. Next, gather the necessary tools: a set of precision screwdrivers, high-quality adhesives suitable for automotive use, and a paint matching kit if touch-ups are required.
Demolish the old or damaged fascia carefully, ensuring you don’t mar the surrounding surfaces. Clean the area thoroughly to remove any debris or dirt. If there are gaps or misalignments, use a putty knife to apply adhesive and carefully reshape the fascia to fit perfectly. Once the adhesive has set, prime the area with an appropriate automotive primer to ensure even paint application. Finally, apply the new front fascia, securing it with screws, and finish with a coat of matching car paint for a seamless, original-looking restoration. This meticulous process ensures your Tesla Model 3’s front fascia is ready to impress, both in terms of functionality and aesthetic appeal, when it comes time to return it.
When it comes to lease return standards, maintaining the integrity of your Tesla Model 3’s front fascia is paramount. By understanding common damage types and following a structured repair guide, you can ensure your vehicle meets the highest standards upon return. A meticulous restoration process, focusing on originality, not only enhances its aesthetic appeal but also boosts its resale value. Remember, proper care during ownership translates into better outcomes at lease conclusion, so take the necessary steps to keep your Tesla Model 3’s front fascia in pristine condition.