


Hood dent removal is a DIY project requiring specific tools like dent pullers and heat guns. Assess damage, gather materials (screwdrivers, putty, sandpaper), and follow steps to release and smooth out dents. Severe cases may need professional frame straightening. With practice, DIY enthusiasts can restore vehicle finish independently, saving costs while controlling the repair process.
Looking to fix a dented hood? DIY hood dent removal is an achievable task with the right know-how. This comprehensive guide breaks down the process, tools needed, and provides a step-by-step approach for successful results. Understanding the science behind dent removal empowers you to restore your vehicle’s appearance without professional costs. Learn how to achieve a smooth, dent-free hood using simple methods and readily available materials.
- Understanding Hood Dent Removal Process
- Tools and Materials Required for Repair
- Step-by-Step Guide to Successful Dent Removal
Understanding Hood Dent Removal Process

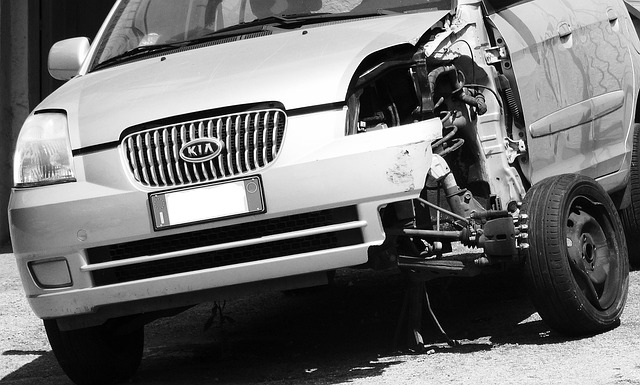
Hood dent removal is a process that involves repairing dents or dings on your car’s hood, restoring its original appearance. It’s an appealing DIY project for many vehicle owners looking to save money and avoid the cost of professional collision damage repair. Before attempting this process, understanding the steps involved in hood dent removal is crucial.
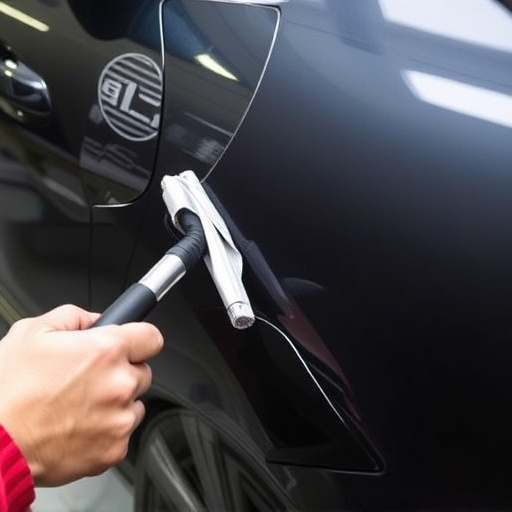
The first step typically includes assessing the extent of the damage and gathering the necessary tools, which might include specialized dent-pulling tools, a hammer, or even a heat gun for more severe cases. Once ready, the process usually begins by inserting the dent-pulling tool into the dented area, working it to release the tension around the dent, and then carefully pulling out the dented panel until it returns to its original shape. For deeper dents, applying heat with a heat gun can help make the metal more pliable before attempting to pull out the dent. This DIY approach to car dent repair is a popular way to fix minor collision damage, but for more complex cases or if you’re not confident in your abilities, seeking professional frame straightening services might be the best option.
Tools and Materials Required for Repair

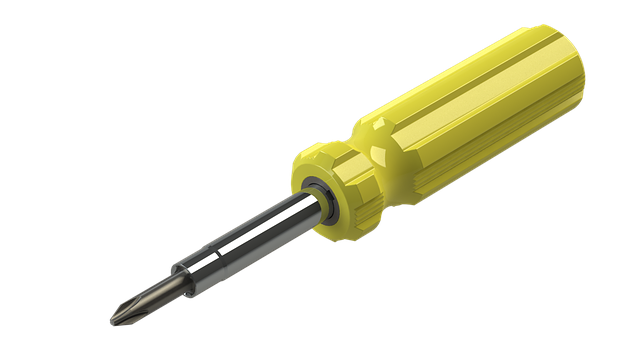
For successful hood dent removal, gathering the right tools and materials is essential. This process typically requires a few specialized items to ensure the job gets done effectively and with minimal damage to your car’s finish. The most common tools include a set of flat-head and Phillips screwdrivers, which are handy for removing any loose panels or components around the dented area; a pair of pliers, useful for gripping small parts and applying precise force; and a hammer, chosen for its malleability, allowing you to gently tap and manipulate the dent without causing further harm.
Additional materials such as a can of automotive-grade filler or putty, a body repair compound, sandpaper in various grits (from coarse to fine), and a clear coat or paint match for your car’s exterior are also necessary. For more severe dents, an air compressor and a dent puller tool could be required. These tools, combined with some patience and practice, empower you to tackle hood dent removal as a DIY project, potentially saving you costs on fleet repair services or car scratch repair, while ensuring your vehicle’s restoration remains in your hands.
Step-by-Step Guide to Successful Dent Removal

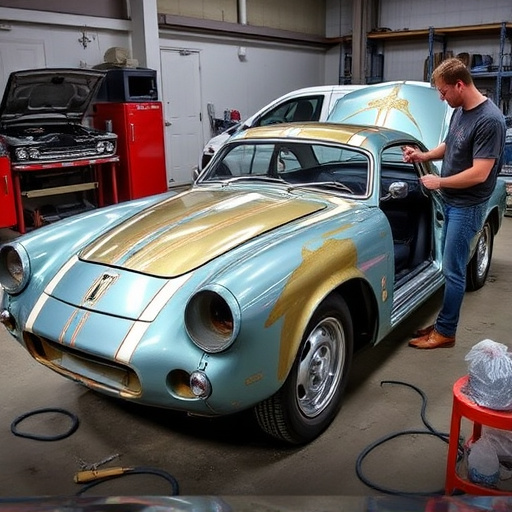
Removing a hood dent yourself can seem daunting, but with the right approach and tools, it’s achievable. Here’s a step-by-step guide to help you tackle this car collision repair task successfully. First, gather your supplies: a dent puller (also known as a slide hammer), pry bars, and some rubber mallets. Start by inspecting the dent and identifying its location and size. This will determine the best method for removal. Next, gently heat up the dented area using a heat gun or hair dryer to make it more pliable, allowing you to shape it back to its original form.
Once heated, use the dent puller to carefully pry out the dent from the inside, applying steady pressure. Be patient and work slowly to avoid causing further damage. After the dent is removed, use the pry bars and rubber mallets to smoothen out any remaining wrinkles or indentations. Remember, practice makes perfect, so don’t be discouraged if it takes a few tries to get it right. With these simple steps, you can effectively tackle hood dent removal and save money on auto body repairs.
Hood dent removal is a do-it-yourself (DIY) project that can save you significant costs compared to professional repair. By understanding the process, gathering the right tools and materials, and following a step-by-step guide, you can effectively remove dents from your hood and restore its original appearance. Remember, proper preparation and patience are key to achieving satisfying results. With the right approach, hood dent removal can be a manageable task for any car owner.