

Meticulously examine car surface for chips, cracks, fading, and discoloration using flashlight in areas prone to damage. Assess scale and extent of clear coat damage with magnifying glass, ranging from mild aesthetic issues to severe structural problems. Consult automotive expert for complex cases, ensuring effective clear coat repair and pre-damage finish restoration.
Before scheduling clear coat repair, meticulously assess the damage to ensure optimal results. Begin by inspecting the surface for chipped or cracked areas, signs of delamination, or blisters. Next, evaluate the extent of fading and discoloration, noting variations in gloss and color. Finally, determine the scale of damage, considering both local spots and widespread issues. This comprehensive evaluation will guide repair planning, ensuring a seamless and effective clear coat restoration.
- Inspect for Chipped or Cracked Surfaces
- Evaluate Degree of Fading and Discoloration
- Assess Scale and Extent of Damage for Repair Planning
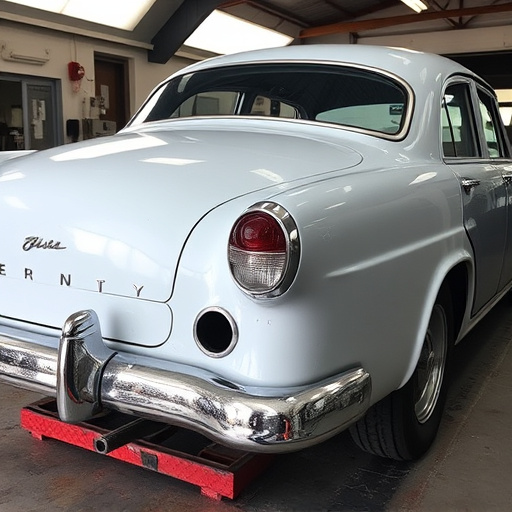
Inspect for Chipped or Cracked Surfaces
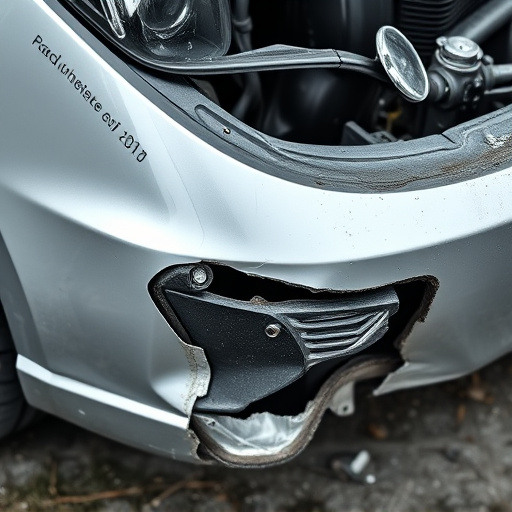
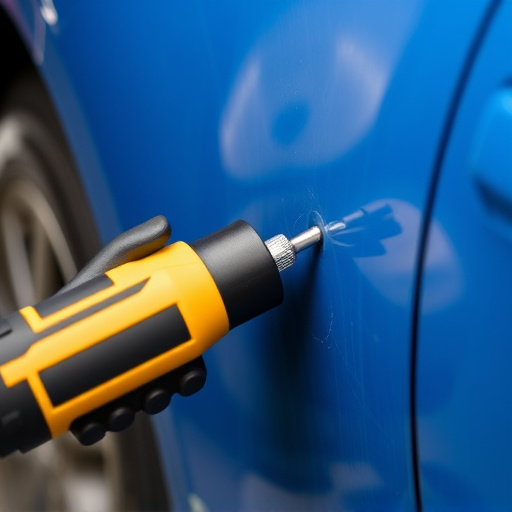
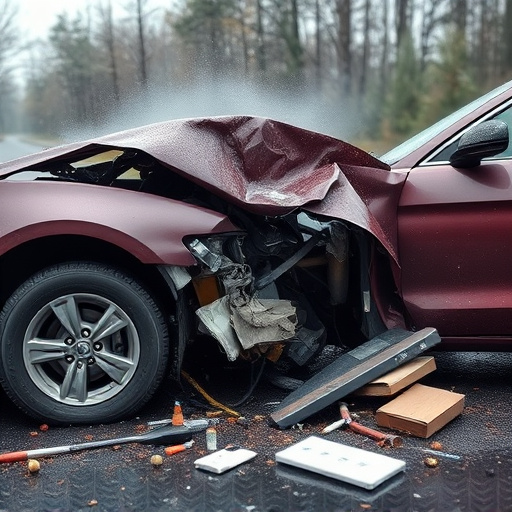
When assessing clear coat damage for potential repair, one of the initial steps is to carefully inspect the surface for any chips or cracks. These defects are common in clear coats and can range from tiny nicks to larger fractures. Close inspection with a flashlight can help you identify these issues, as they may be more visible under certain lighting conditions.
Pay close attention to areas prone to car damage repair, such as door edges, fenders, and bumpers, as well as corners and edges where tire services might have occurred. Clear coat cracks or chips not only affect the aesthetics but can also compromise the integrity of the paint job. Therefore, it’s essential to address them promptly to ensure long-lasting auto repair services and a seamless finish.
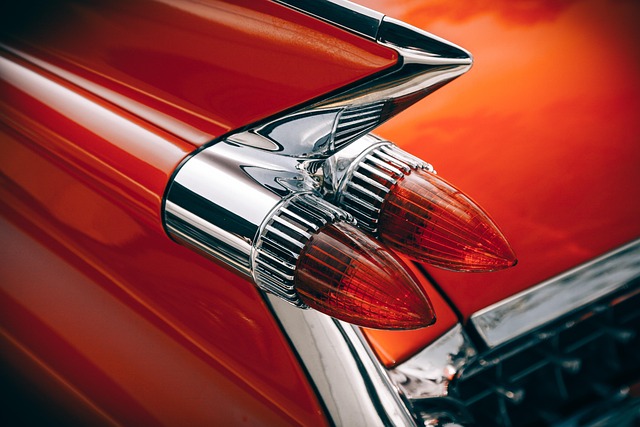
Evaluate Degree of Fading and Discoloration
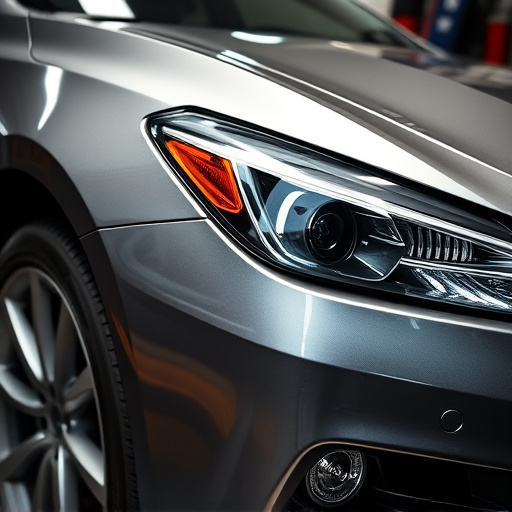
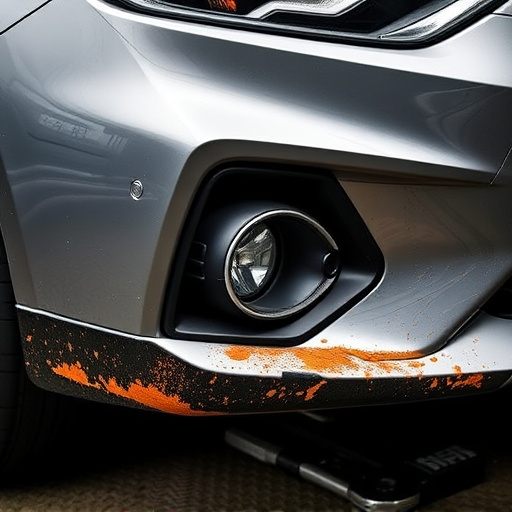
When assessing clear coat damage, one of the key indicators is the degree of fading and discoloration. Clear coat, a protective layer over your vehicle’s paint, can show signs of wear over time, leading to changes in color and vibrancy. Look for areas where the finish appears duller or has lost its original luster. This could be an early warning sign of damage that requires attention.
Inspect the affected areas closely. Fading might vary from subtle differences in tone to more pronounced patches of discoloration. In some cases, clear coat repair is necessary when the fading extends beyond minor imperfections, affecting the overall appearance of your vehicle’s body (auto painting). Remember, timely intervention can prevent further damage, ensuring effective dent removal and restoring your vehicle’s original finish (vehicle body repair).
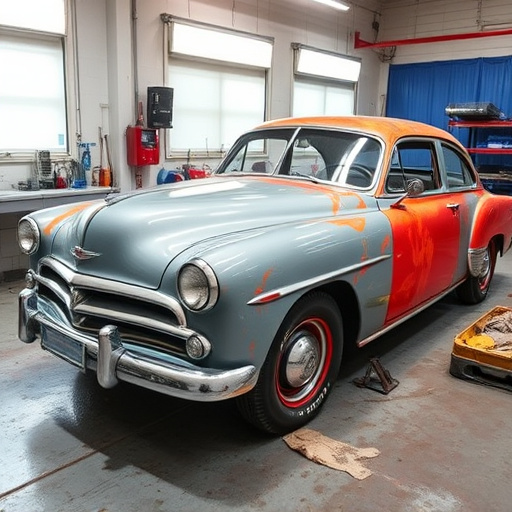
Assess Scale and Extent of Damage for Repair Planning
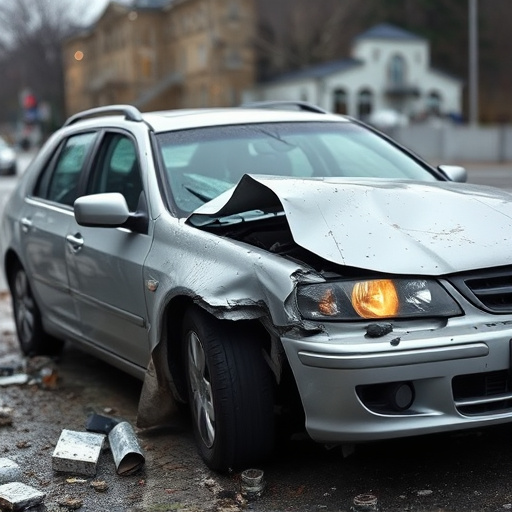
When assessing clear coat damage for repair planning, it’s crucial to understand both the scale and extent of the issue. Start by thoroughly inspecting the vehicle’s exterior, paying close attention to areas where chips, cracks, or scratches are visible. Clear coat damage can range from minor scratches that detract from the car’s appearance to significant dents or delaminations that compromise its structural integrity.
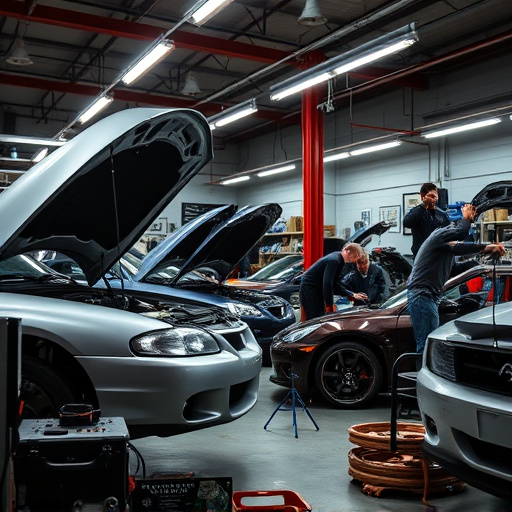
Use a magnifying glass if needed to get a closer look at the affected spots. For more severe cases, consider consulting with an automotive body work expert who can provide insights into the appropriate repair methods, whether it’s a simple scratch repair or something more complex like automotive collision repair. This step is essential in planning for effective clear coat repair and ensuring the vehicle’s finish is restored to its pre-damage condition.
When assessing clear coat damage, examining chipped or cracked surfaces, evaluating fading and discoloration, and understanding the scale of the issue are crucial steps before scheduling any repair. By meticulously inspecting these aspects, you can accurately plan for clear coat repair, ensuring your vehicle’s finish is restored to its former glossy condition.