


The Tesla Red Multi-Coat Finish requires professional repair due to its intricate layers and need for precise matching. While DIY is possible with proper tools, expert assistance ensures optimal results and maintains car aesthetics. Key steps include assessing damage, gathering materials (paint, primer, clear coat), sanding, priming, and carefully replicating the original finish using precision tools. Regular practice leads to successful repairs, saving costs while achieving professional-level results comparable to a body shop.
“Discover the art of repairing your Tesla’s iconic red multi-coat finish at home. This comprehensive guide breaks down the process into manageable steps, ensuring DIY success. From understanding the unique finish to gathering the right tools and materials, you’ll learn how to achieve a factory-like result. No longer limited to professional services, this step-by-step repair manual empowers you to restore your Tesla’s vibrant red coat seamlessly.”
- Understanding Tesla Red Multi-Coat Finish
- Tools and Materials Needed for DIY Repair
- Step-by-Step Guide to Successful Repairs
Understanding Tesla Red Multi-Coat Finish
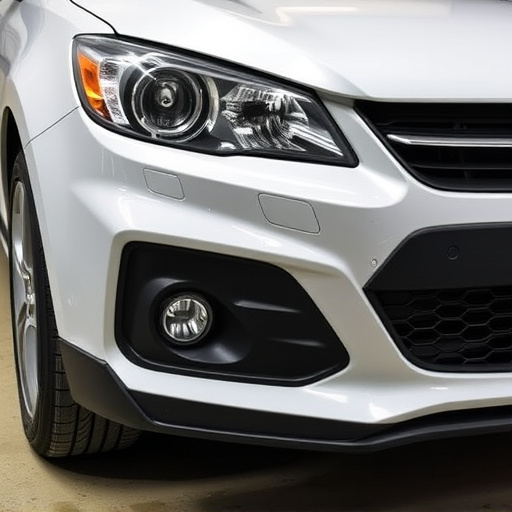
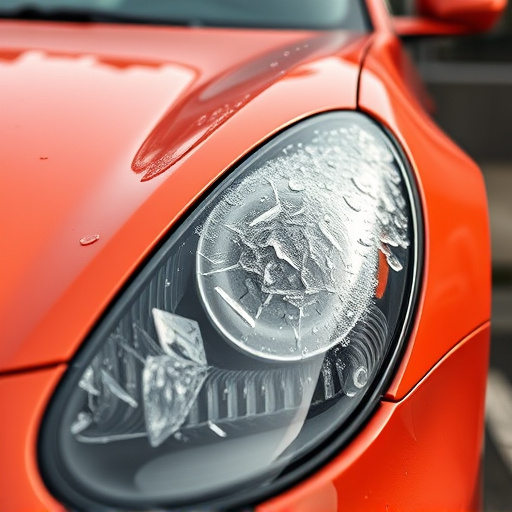
The Tesla Red Multi-Coat Finish is a unique and distinctive feature of Tesla vehicles, renowned for its deep, rich color and glossy, multi-layered appearance. This sophisticated coating isn’t just about aesthetics; it’s designed to withstand the rigors of daily driving and maintain its brilliance over time. However, like any vehicle finish, it can sustain damage from scratches, chips, or even minor dents.
When considering DIY Tesla Red Multi-Coat repairs, understanding the composition of this finish is crucial. Unlike conventional paints, multi-coat finishes consist of several layers—a base coat, color coat, clear coat, and sometimes additional protective layers. This intricate structure requires precision and specialized tools for successful repair to ensure the final result matches the original finish both in terms of color and texture, preventing further damage or unsightly inconsistencies. For best results, many vehicle body shops, including those specializing in Tesla repairs, recommend seeking professional assistance for Tesla red multi-coat repair.
Tools and Materials Needed for DIY Repair

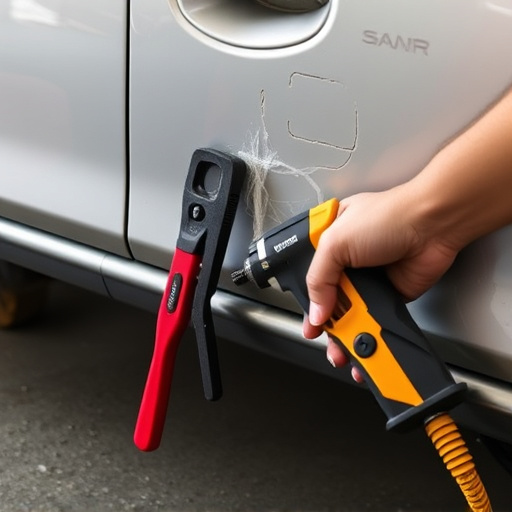
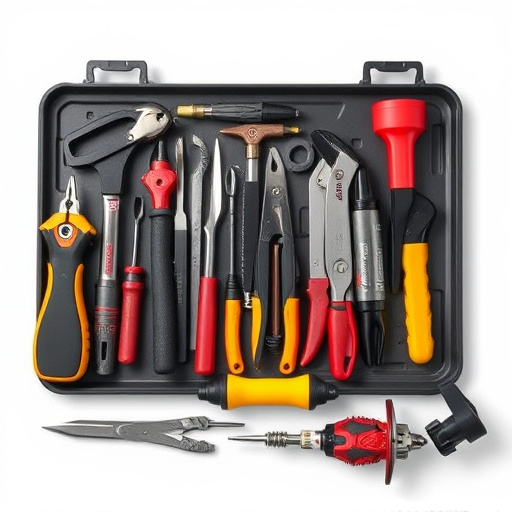
Before attempting a Tesla red multi-coat repair on your own, it’s crucial to gather all necessary tools and materials. This DIY endeavor requires specific items designed for precision and quality results. For starters, secure a set of high-quality paint brushes in various sizes—a fine brush for detailed work and broader ones for quicker coating. Next, invest in a can of Tesla-approved multi-coat paint, ensuring it matches your vehicle’s exact shade; this is key to achieving a seamless finish. A palette or mixing tray will allow you to perfectly blend the colors. Additionally, prepare sandpaper with different grits for smoothing and preparing the surface. For safety, don’t forget protective gear: gloves, goggles, and a respirator mask are essential, especially when handling paint and solvents. Lastly, consider acquiring a paint applicator gun if you aim for efficient and even coverage, though this is optional.
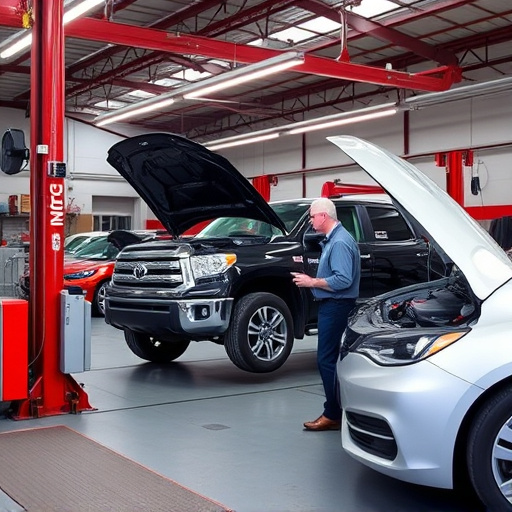
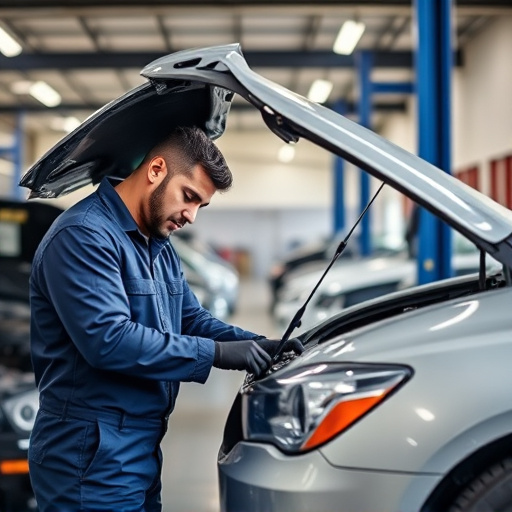
Among the auto repair services available, DIY enthusiasts often prefer the challenge and satisfaction of tackling minor repairs themselves. However, when it comes to automotive collision repair or more intricate tasks, professional automotive repair services remain indispensable. These experts possess specialized knowledge and equipment, ensuring top-tier outcomes for complex Tesla red multi-coat repairs that demand precision and expertise.
Step-by-Step Guide to Successful Repairs
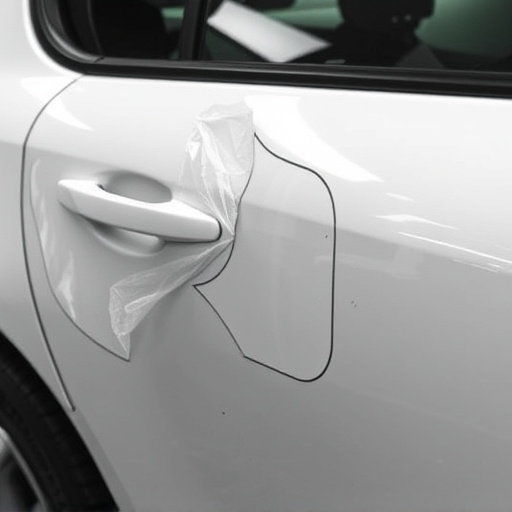
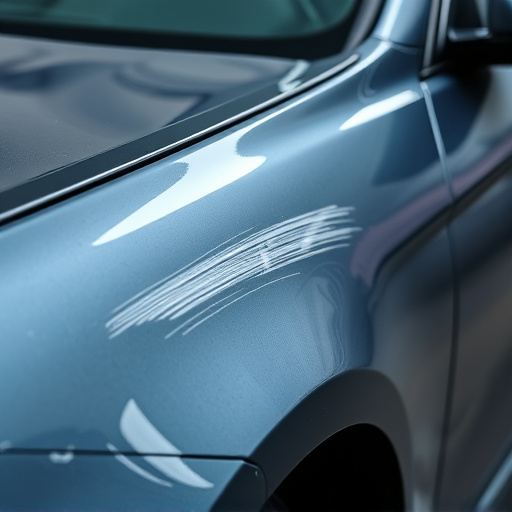
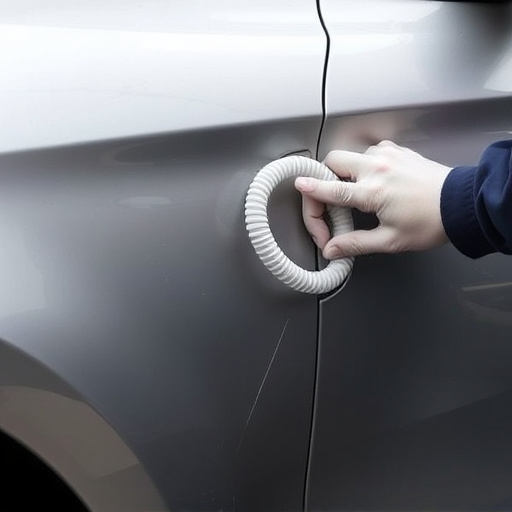
Repairs for Tesla’s distinctive red multi-coat finish can be successfully completed using a DIY approach, but it requires careful planning and the right tools. Before beginning, gather all necessary materials, including high-quality automotive paint, primer, clear coat, and sandpaper. Start by thoroughly inspecting the damaged area to assess the extent of the repair needed. Light scratches or small chips can often be fixed with just a touch-up kit, while more extensive damage may require sanding and reapplication of the base layers.
Next, create a clean workspace and ensure proper ventilation. Prepare the surface by degreasing and sanding, eliminating any debris or previous repairs. Apply an even coat of primer, allowing it to dry completely. Then, using a precision paint gun or brush, carefully replicate the original red multi-coat finish. Maintain consistent pressure and thickness for optimal results. After the base color dries, apply clear coat to seal and protect the repair, matching the original shine and texture. Regular practice and attention to detail will ensure successful Tesla red multi-coat repairs, potentially saving costs on vehicle repair services while achieving professional-looking outcomes in an automotive body shop.
Whether you’re a Tesla owner looking to save on restoration costs or simply enjoy DIY projects, tackling a Tesla Red Multi-Coat repair yourself is feasible with the right knowledge and tools. By understanding the unique finish’s complexities and following a structured approach, you can achieve professional-looking results. With the proper care and attention to detail, you’ll not only restore your vehicle’s aesthetics but also extend its paint job’s longevity. DIY Tesla Red Multi-Coat repairs empower car enthusiasts to take control of their vehicle’s upkeep, allowing them to navigate this process with confidence.