


Tesla pearl white paint repair requires specialized care due to its unique finish. Assess damage, prepare workspace, use matching high-quality paint and tools, sand lightly, prime, then apply thin coats of Tesla pearl white paint for a flawless finish that blends seamlessly with the vehicle's original color.
Thinking of tackling your Tesla’s pearl white paint yourself? This beginner’s guide breaks down the process step-by-step, from identifying and assessing minor damage like scratches and swirls to gathering the right tools and materials for a flawless repair. Discover simple techniques to achieve a smooth, glossy finish that matches your Tesla’s iconic pearl white exterior.
- Understanding Tesla Pearl White Paint Damage
- Gathering Supplies for Effective Repair
- Step-by-Step Guide to Achieving a Smooth Finish
Understanding Tesla Pearl White Paint Damage
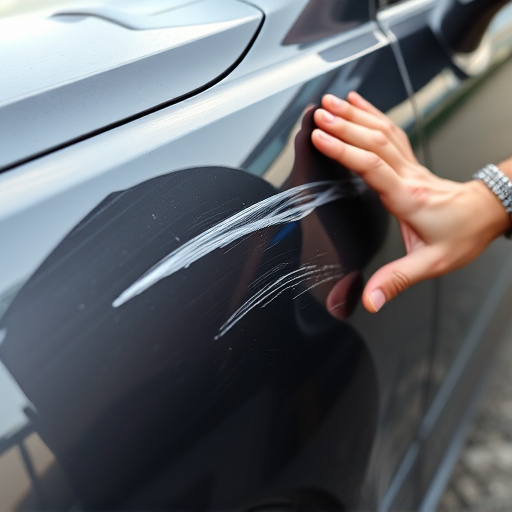
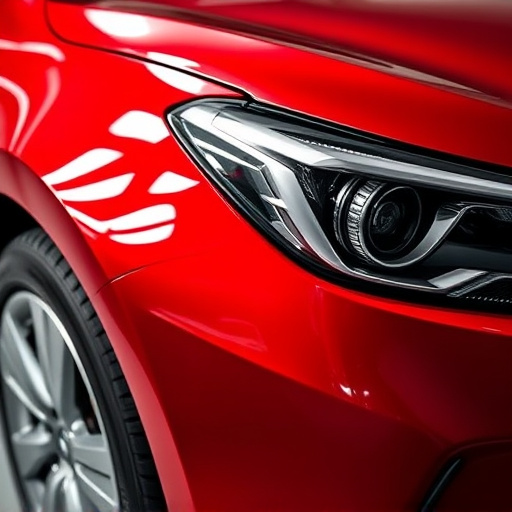
Tesla Pearl White paint, known for its striking beauty, requires special care due to its unique finish. Understanding damage to this type of paint is the first step in any Tesla pearl white paint repair process. Common issues include scratches, swirls, and small dents that can detract from the vehicle’s glossy appearance. These defects are often caused by bird droppings, tree sap, or minor collisions, leaving behind unsightly marks.
The complexity of repairing Tesla pearl white paint lies in its multi-layered structure. Unlike standard paints, it consists of advanced pigments and a special clear coat designed to create a deep, reflective shine. When damage occurs, it’s crucial to assess the extent of the issue. Minor scratches or swirls might only require polishing, while deeper dents may necessitate more extensive auto repair services, such as painting or panel replacement, to restore the vehicle’s original, vibrant pearl white finish.
Gathering Supplies for Effective Repair
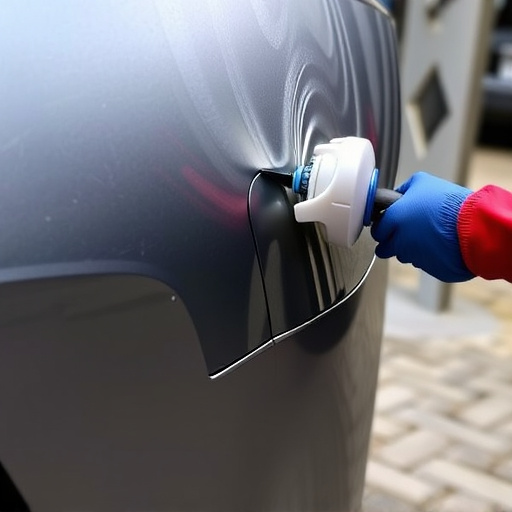
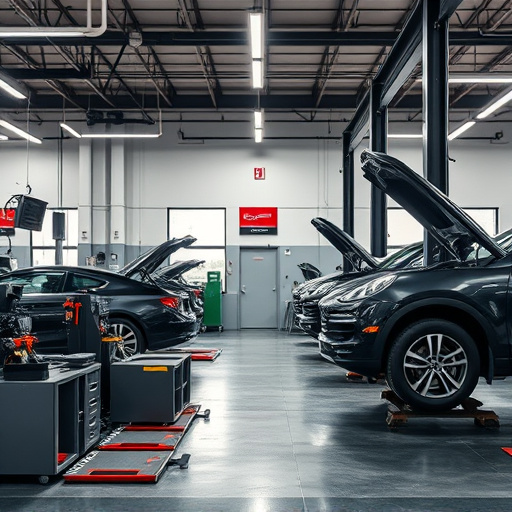
Before starting any Tesla pearl white paint repair, it’s crucial to gather all necessary supplies to ensure a successful outcome. This includes high-quality matching paint that complements your car’s original finish, as well as tools such as sandpaper, brushes, and applicators specifically designed for paint work. Don’t forget protective gear like gloves and a respirator to safeguard against fumes.
Additionally, consider having some extra supplies on hand for touch-ups, including clear coat, primer, and tape for masking. A clean, well-lit workspace is also essential. Proper preparation not only enhances the repair process but guarantees a professional finish that matches your Tesla’s original pearl white paint job, making it virtually indistinguishable from the rest of the vehicle.
Step-by-Step Guide to Achieving a Smooth Finish
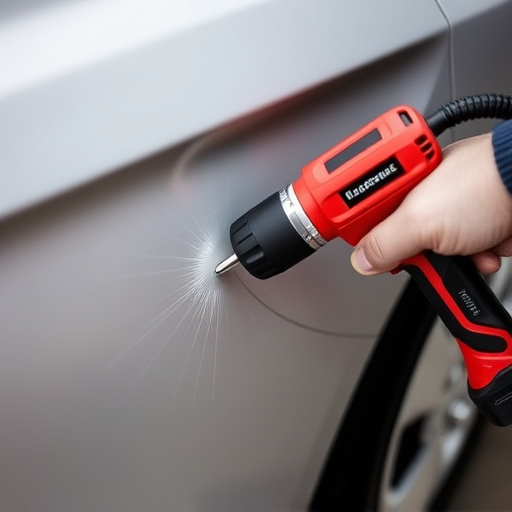
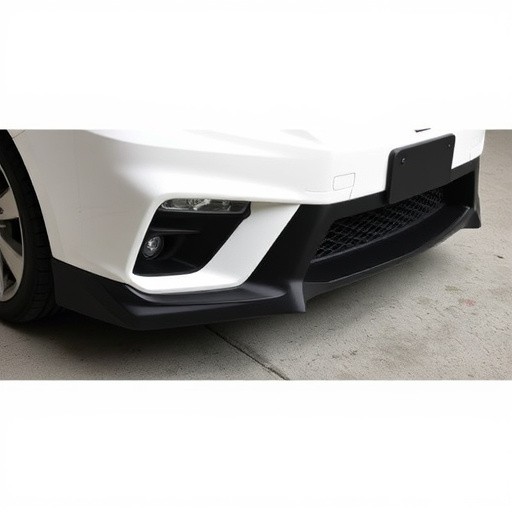
Achieving a smooth finish for Tesla pearl white paint repair involves careful preparation and meticulous application. Begin by thoroughly cleaning the damaged area with mild soap and water to remove any dirt or debris. Dry the surface completely before proceeding. Next, lightly sand the affected zone using a fine-grit sandpaper to create a slightly rough texture, which aids in paint adhesion.
For optimal results, use a high-quality auto primer designed for pearl white finishes. Apply an even coat with a spray gun or brush, ensuring complete coverage without any runs or drips. Allow the primer to dry according to the manufacturer’s instructions before moving on to the final step—applying the Tesla pearl white paint. Use thin, controlled coats, allowing each layer to dry evenly between applications until you achieve the desired smoothness and color match.
Repairing Tesla’s distinctive pearl white paint is within reach for beginners with the right knowledge and supplies. By understanding common damage, gathering high-quality materials, and following a meticulous step-by-step guide, you can achieve a seamless finish that matches the car’s iconic aesthetic. With patience and precision, you’ll restore your Tesla’s pearl white paint to its original brilliance.