


Tesla cooling system failures, often due to complex engine interactions and thermodynamic processes, cause significant vehicle damage. The expansion tank acts as a safety valve for temperature regulation, but its failure can lead to engine overheating. Recognizing symptoms like unusual dashboard temperature readings or fluid leaks is crucial. Prompt action involves immediate Tesla cooling system repair to prevent costly bodywork services. DIY repairs require tools, vehicle security, draining/replacing the tank, installing new components, refilling fluids, and testing. Professional Tesla bodywork services are available for those with DIY uneasiness.
Tesla owners may encounter issues with their vehicle’s cooling system, particularly related to expansion tank failures. This can lead to overheating and significant performance problems. Understanding these failures and knowing how to perform a DIY repair is crucial for every owner. In this article, we’ll guide you through the process of identifying and fixing expansion tank issues with your Tesla’s cooling system. From recognizing symptoms to step-by-step repairs, take control of your vehicle’s health.
- Understanding Tesla Cooling System Failures
- Identifying Expansion Tank Issues
- Step-by-Step Repair Guide for Homeowners
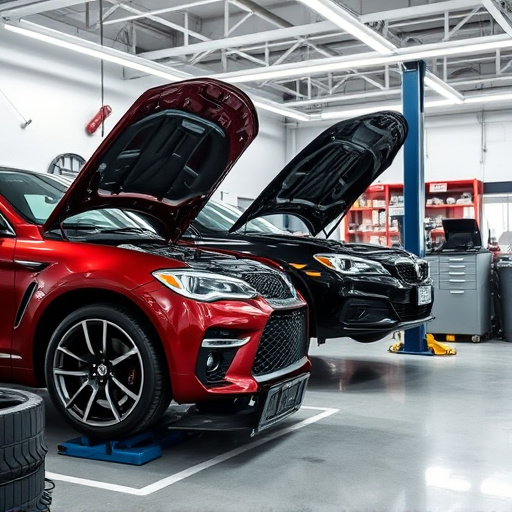
Understanding Tesla Cooling System Failures
Tesla cooling system failures can be a significant issue for vehicle owners, often stemming from complex interactions within the car’s engine and thermodynamic processes. These systems are designed to regulate temperature, ensuring optimal performance and protecting sensitive components from excessive heat. However, various factors can contribute to their malfunction, leading to what is commonly known as an expansion tank failure. Overheating due to a fender bender or poor maintenance can cause severe car damage repair, impacting not just the cooling system but also other related components.
Understanding these failures requires delving into the intricate mechanisms of the Tesla cooling system. The expansion tank plays a crucial role in absorbing and releasing thermal energy, acting as a safety valve for the system. When this component fails, it can result in a cascade of problems, including engine overheating, which, if left unaddressed, could lead to further car bodywork services repairs or even permanent damage. Therefore, recognizing the symptoms and promptly seeking Tesla cooling system repair is essential to prevent costly and extensive vehicle maintenance.
Identifying Expansion Tank Issues
Identifying Expansion Tank Issues in Tesla Cooling Systems
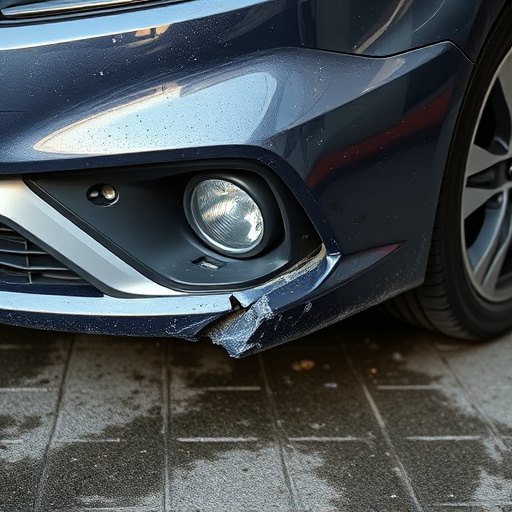
In modern vehicles like Teslas, the expansion tank plays a vital role in maintaining optimal engine temperature. Over time, several factors can lead to issues with this critical component. One of the most common indicators is excessive cooling system fluid loss, which may require immediate attention from a professional car repair shop. If left unattended, small leaks can turn into significant car damage repair problems, affecting both performance and efficiency.
When a Tesla’s expansion tank fails, it can result in inefficient heat dissipation, leading to overheating concerns. Vehicle owners should be vigilant for signs such as unusual temperature readings on the dashboard or visible fluid leaks near the engine bay. Promptly addressing these issues at a reliable vehicle repair shop is crucial to prevent further complications, ensuring your Tesla’s cooling system operates smoothly and efficiently.
Step-by-Step Repair Guide for Homeowners

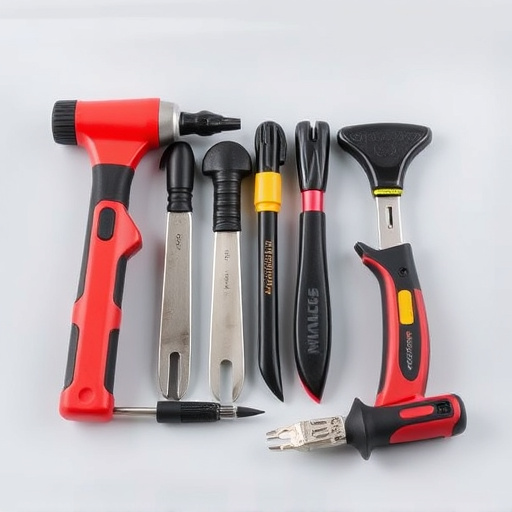
If your Tesla’s cooling system is experiencing issues due to an expanded tank, don’t panic! Here’s a straightforward guide to help homeowners tackle this repair themselves. Start by identifying the problem—an overstuffed expansion tank can cause overheating and other cooling system malfunctions. Once confirmed, gather the necessary tools: a jack, jack stands, a new expansion tank (ensure it’s compatible with your Tesla model), and basic automotive fluids like coolant.
Next, safely lift your Tesla using the jack and secure it with jack stands. Drain the old coolant carefully and remove the faulty tank. Install the new tank, ensuring proper connections to the cooling system components. Refill the system with the appropriate coolant mixture, top off any other required fluids, and lower your vehicle. Test drive your Tesla to ensure the cooling system is functioning optimally, and you’re good to go! For those uncomfortable with DIY repairs, remember that many auto collision centers offer specialized Tesla bodywork and auto body services.
Tesla owners experiencing cooling system failures, often due to expansion tank issues, can now effectively address these problems at home. By understanding the root causes and following a detailed step-by-step guide, homeowners can successfully repair their Tesla’s cooling systems, ensuring smoother drives and extending the vehicle’s overall lifespan. This DIY approach empowers owners to take control of their vehicle’s maintenance, saving time and costs associated with professional repairs, making it a valuable resource for all Tesla enthusiasts.