

Tesla rear hatch noise and rattles are common due to misalignment or loose components, impacting stability, safety, and driver experience. Regular maintenance checks should identify misaligned seals or damaged trim, preventing escalated auto repair needs. Fixing alignment issues involves safety precautions, removing old seals, adjusting hatch angle, and reinstalling bolts with new seals for a secure, waterproof seal. For fleet repairs, seek specialists equipped to handle complex Tesla repairs for precise alignment.
Is your Tesla’s rear hatch making annoying noise or rattling? It could be misaligned. Misalignment in the Tesla rear hatch can cause various sounds and vibrations, impacting both driving comfort and the vehicle’s overall performance. Understanding common alignment issues specific to Tesla models and knowing how to fix them yourself can save you time and money. This guide covers everything from identifying problems to a step-by-step process for realigning your Tesla’s rear hatch.
- Understanding Tesla Rear Hatch Noise and Rattles
- Identifying Common Alignment Issues
- Step-by-Step Guide to Rear Hatch Alignment
Understanding Tesla Rear Hatch Noise and Rattles
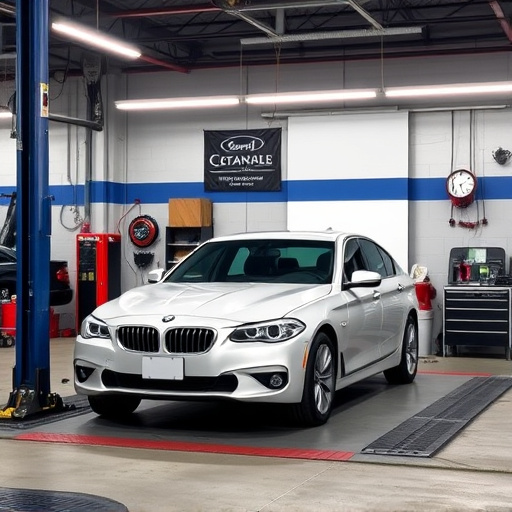
Tesla rear hatch noise and rattles can be a common issue for owners, often stemming from misalignment or loose components. The rear hatch, being a crucial part of the vehicle’s structure, plays a significant role in maintaining the overall stability and safety of the car. When this area experiences alignment problems, it can lead to unwanted sounds and vibrations that may disrupt the driver’s experience and even signal potential structural issues.
These noises might include creaking, popping, or a persistent rattle, especially when opening/closing the hatch or while driving at certain speeds. Such problems are not unique to Tesla; many vehicle manufacturers face similar challenges. However, for Tesla owners, addressing these issues is essential due to the brand’s focus on advanced technology and sustainable mobility. Proper Tesla rear hatch alignment can resolve these noise concerns, ensuring a smooth ride and enhancing the overall quality of ownership, much like how meticulous mercedes benz collision repair or expert car paint services bring classic cars back to their original glory.
Identifying Common Alignment Issues
Identifying Common Alignment Issues with Your Tesla Rear Hatch
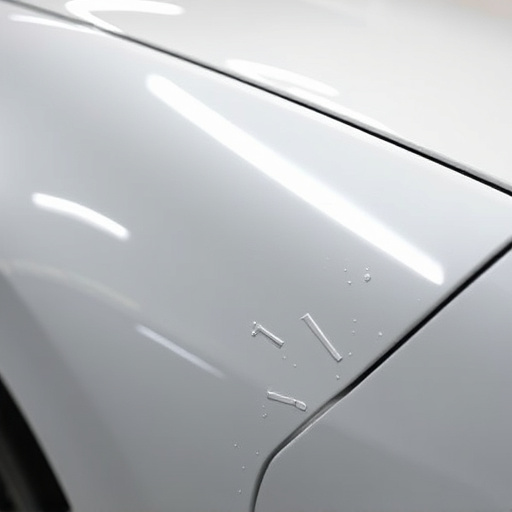
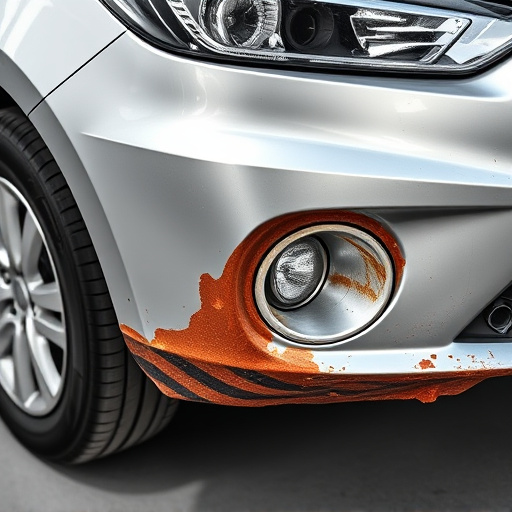
One of the first steps in addressing noise and rattle issues with your Tesla rear hatch is recognizing the typical alignment problems that can occur. Misalignment can stem from various factors, including improper installation during manufacturing or subsequent damage from road debris, impacts, or routine wear and tear. Common symptoms include a loose-fitting hatch that doesn’t seal tightly, visible gaps between the hatch and body panels, and rattling sounds when driving over uneven surfaces. These issues not only compromise the structural integrity of your vehicle but also contribute to interior noise levels.
Focusing on the rear hatch area during regular maintenance checks can help catch potential alignment problems early on. Look for signs like misaligned seals or damaged trim pieces that might indicate underlying structural shifts. If you notice any discrepancies, it’s advisable to consult with a specialized auto glass repair or vehicle body repair service to assess and rectify the issue before it escalates into more complex (and costly) automotive repair needs.
Step-by-Step Guide to Rear Hatch Alignment
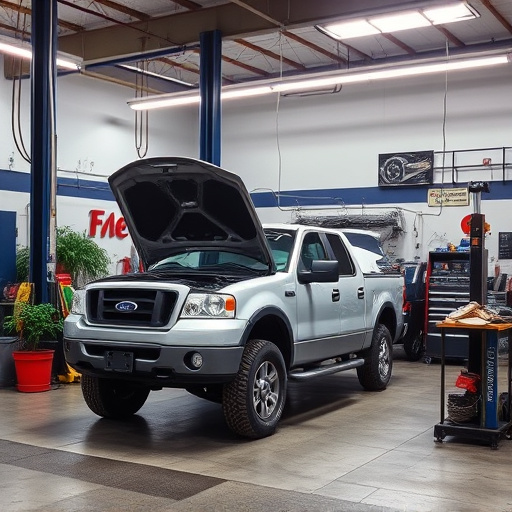
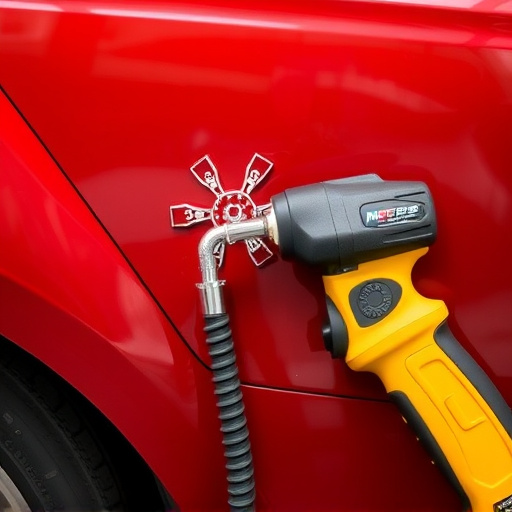
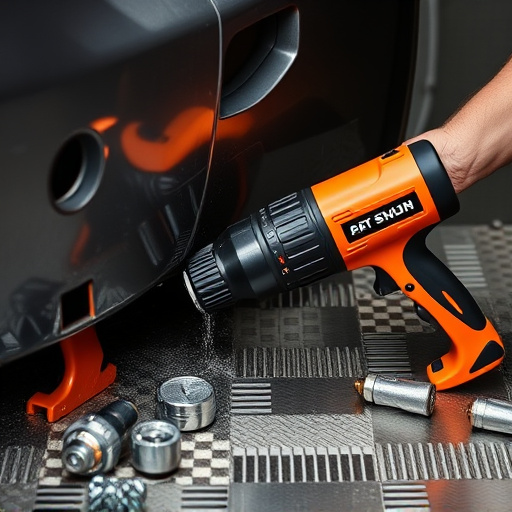
To address Tesla rear hatch alignment issues that cause noise and rattle, follow this step-by-step guide tailored for both DIY enthusiasts and those opting for professional fleet repair services. Begin by ensuring the vehicle is on a level surface and engage parking brake to prevent any accidental movement during the process. Next, locate the rear hatch hinges and carefully loosen the bolts using a socket wrench, taking note of their positions and sequence. Once loosened, fully remove the old seals and clean the areas thoroughly to eliminate any debris or moisture that could hinder alignment.
After preparation, employ a Tesla-specific frame straightening tool or kit to adjust the rear hatch angle, ensuring it aligns perfectly with the vehicle’s body. Reinstall the bolts in the correct sequence, tightening them securely but gently. Replace the seals and use a weatherstrip applicator to ensure a tight seal, thereby preventing water intrusion and potential future noise issues. For those considering fleet repair services, seek out specialists equipped to handle complex vehicle repair tasks, leveraging their expertise for precise Tesla rear hatch alignment.
Addressing Tesla rear hatch noise and rattles begins with understanding common alignment issues and following a step-by-step guide. By properly realigning the rear hatch, you can significantly reduce unwanted noises and ensure a smoother ride for your electric vehicle. Remember that maintaining proper alignment is crucial for the overall health of your Tesla, enhancing both its performance and longevity. For any persistent issues, consult a professional to ensure a thorough diagnosis and effective solution, making your Tesla as quiet and reliable as it should be.