
Inspect vehicle exterior for collision damage including dents, scratches, and cracks. Document significant damage with photos from multiple angles. Create a detailed list of required repairs. Gather ownership proof, insurance details, past repair records, and contact info for previous mechanics. Facilitate efficient collision damage assessment for accurate restoration or car scratch repair.
Preparing your vehicle for a collision damage assessment is crucial to ensure a swift and accurate repair process. This guide walks you through essential steps, from meticulously inspecting the exterior for any signs of impact to documenting and photographing affected areas with meticulous detail. Additionally, it highlights gathering critical documentation and information to facilitate a seamless evaluation. By following these steps, you’ll be well-prepared to navigate the collision damage assessment phase efficiently.
- Inspect Exterior for Collision-Related Damage
- Document and Photograph All Affected Areas
- Gather Necessary Documentation and Information
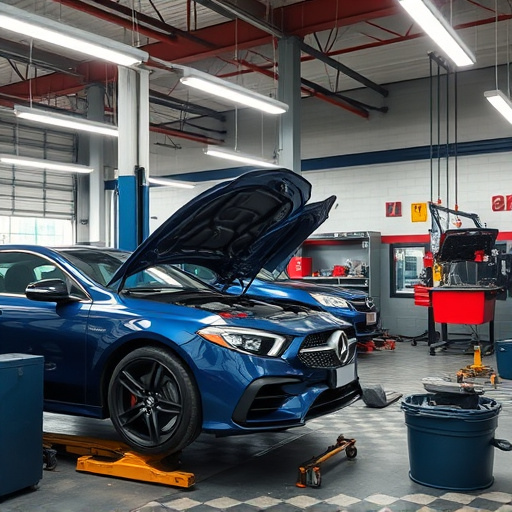
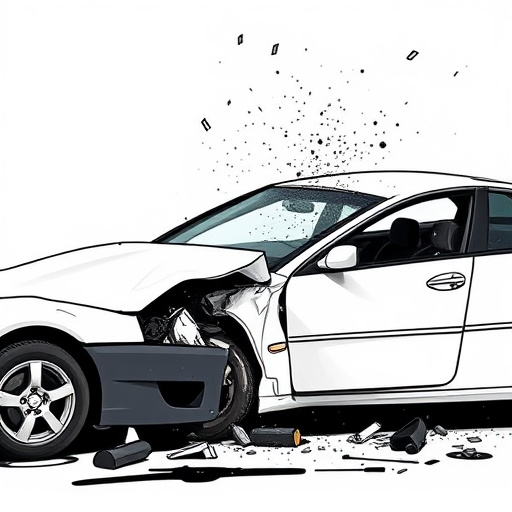
Inspect Exterior for Collision-Related Damage
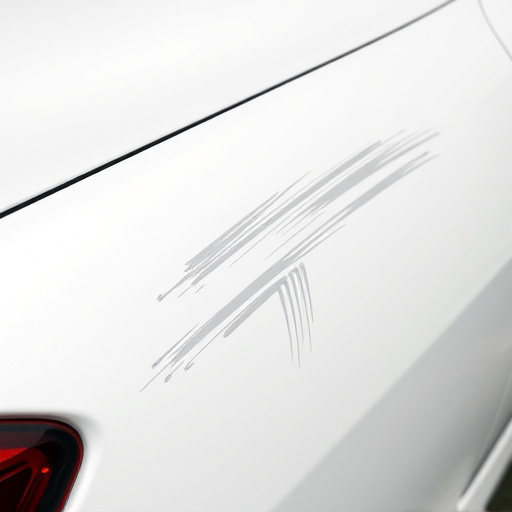
Start by conducting a thorough inspection of your vehicle’s exterior, paying close attention to any signs of collision-related damage. This initial assessment will help guide the subsequent steps in preparing your vehicle for a collision damage assessment (CDA). Look for dents, scratches, cracks, or chips on the body panels, fenders, doors, and hood. These can often be indicative of impact points during a collision.
Don’t overlook areas like mirrors, lights, and windows, as they are also susceptible to damage. In cases of apparent hail damage repair or car dent repair needs, take photos from multiple angles for documentation. Even minor exterior damage should be noted to ensure a comprehensive CDA.
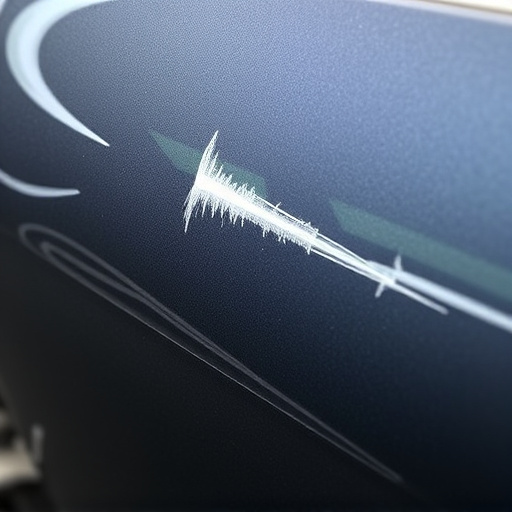
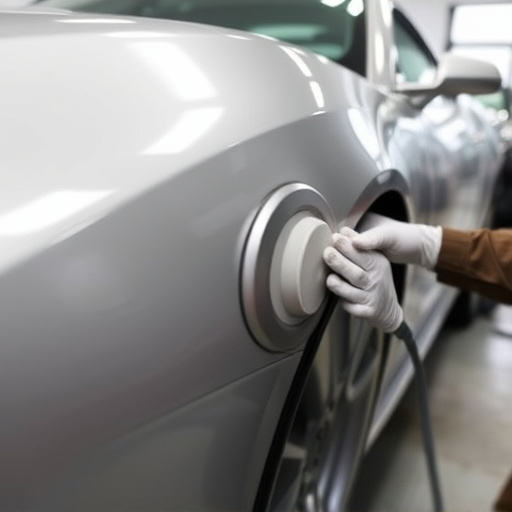
Document and Photograph All Affected Areas

After a collision, the first step in preparing your vehicle for a proper collision damage assessment is to thoroughly document and photograph all affected areas. Start by taking clear, well-lit photos of each side of the vehicle, capturing both the visible damage and any potential hidden issues. Include close-ups of dents, scratches, cracked or broken components, and any other observable abnormalities.
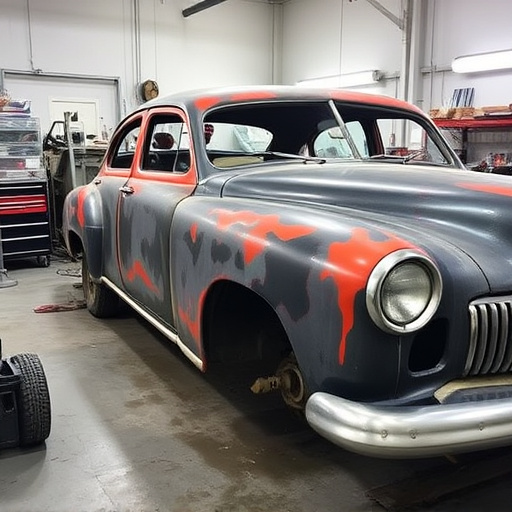
Additionally, create a detailed list of all repairs required, noting specific parts that need replacement. For classic car owners or those considering auto repair near me, this process is even more crucial as it ensures the accuracy of estimates and facilitates the pursuit of fair compensation during the collision damage assessment process.
Gather Necessary Documentation and Information
Before diving into the collision damage assessment process, it’s crucial to gather all necessary documentation and information about your vehicle. This includes proof of ownership, insurance details, and any existing repair records or estimates. Additionally, take clear pictures of the damaged areas from various angles; these will serve as visual aids during the assessment.
Knowing your vehicle’s history, such as previous repairs or modifications, can also be beneficial. Ensure you have contact information for past mechanics or repair shops to verify work done. Remember, a well-prepared collision damage assessment facilitates smoother communication with insurance providers and ensures an accurate evaluation of your vehicle’s damages, ultimately streamlining the process towards effective automotive restoration or car scratch repair.
When preparing your vehicle for a collision damage assessment, a thorough inspection is key. By meticulously documenting and photographing all affected areas, you’ll have a clear record for insurance purposes. Ensure you gather all necessary documentation and information to streamline the process. With these steps, you’re well-equipped to navigate the collision damage assessment and get your vehicle back on the road safely.