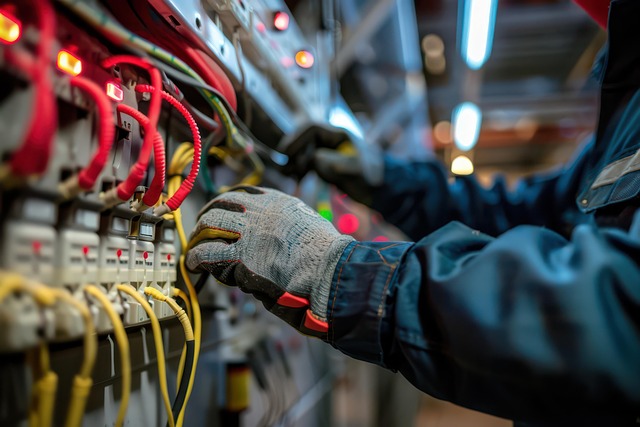


Plastic welding, a specialized technique for bonding different types of plastic, is crucial for repairing cracked headlight tabs after collisions. This non-invasive method is effective in fixing car dents, ensuring functionality and aesthetic appeal while enhancing road safety. Before repair, meticulous preparation includes thorough cleaning and assessing damage extent. The process involves hot plate welding techniques, applying welting gun compound, curing, and sanding for a smooth finish. DIY repairs are possible but severe cases may require professional assistance.
“Cracked headlights can significantly impair visibility and reduce safety on the road, often requiring repair. This article guides you through the process of repairing cracked headlights using plastic welding—a cost-effective alternative to replacement. We’ll delve into understanding the basics of plastic welding, preparing your car for the process, and provide a step-by-step guide for successful repairs, ensuring your vehicle’s headlight functionality after a collision.”
- Understanding Plastic Welding for Headlight Repair
- Preparing Your Car for the Welding Process
- Step-by-Step Guide to Successful Plastic Welding
Understanding Plastic Welding for Headlight Repair
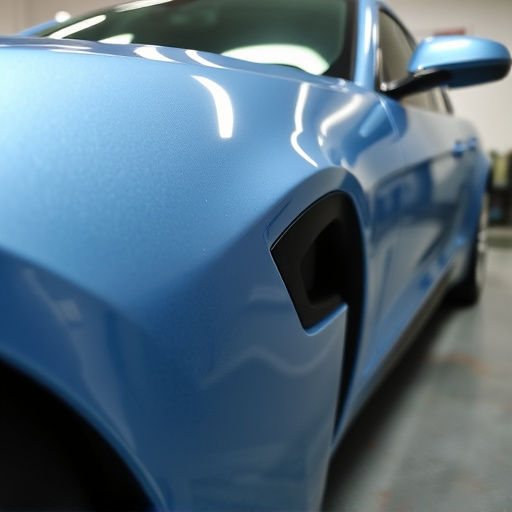
Plastic welding is a specialized technique that plays a pivotal role in repairing cracked headlight tabs, especially after a collision. Unlike traditional metal welding, which might not be suitable for certain plastics, plastic welding focuses on bonding different types of plastic together to restore structural integrity. This non-invasive method is highly effective in fixing car dent repairs, particularly in the delicate area around headlights.
Understanding the principles of plastic welding allows auto body services providers to offer automotive body work that matches the original equipment’s quality. By using specialized equipment and expertise, they can seamlessly integrate repaired parts back into the vehicle, ensuring both functionality and aesthetic appeal. This advanced technique is a game-changer in addressing minor damage, such as cracked tabs, before they escalate, providing cost-effective solutions for car dent repair and enhancing road safety.
Preparing Your Car for the Welding Process
Before you begin the plastic welding process to repair cracked headlights, it’s crucial to prepare your car meticulously. Start by washing and inspecting your vehicle thoroughly, focusing on the area around the cracked tabs. Remove any debris, dirt, or contaminants that might interfere with the weld, ensuring a clean surface. This step is vital for achieving strong, long-lasting bonds.
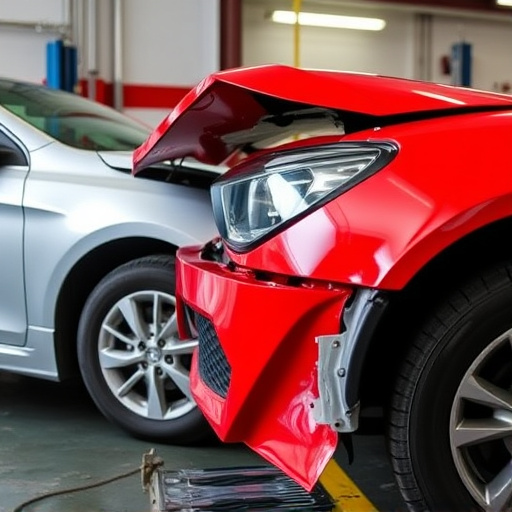
Next, assess the extent of the damage and consider whether other related components, such as the bumper repair or auto glass repair, are needed. In many cases, a plastic welding collision expert can effectively fix cracked tabs without affecting surrounding parts, like car dent repairs. Proper preparation not only enhances the success rate of your weld but also ensures your vehicle’s structural integrity remains intact.
Step-by-Step Guide to Successful Plastic Welding
Repairing cracked headlights is a common issue for many vehicle owners, and plastic welding is an effective solution to restore their car’s appearance. Here’s a step-by-step guide on achieving successful plastic welding:
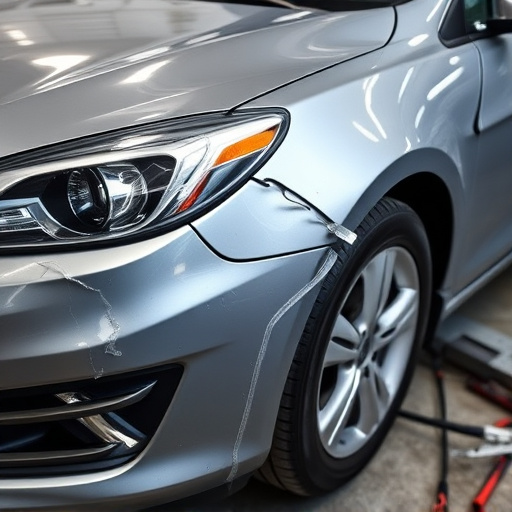
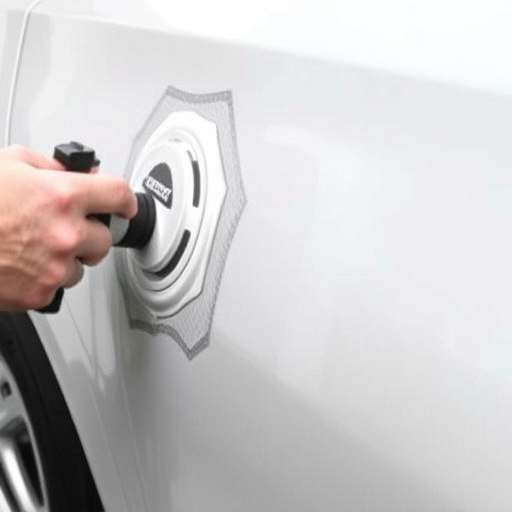
1. Preparation: Begin by cleaning the cracked area thoroughly using a mild soap and water solution. Ensure there’s no grease or debris present as this can interfere with the welding process. Sand any rough edges to create a smooth surface for better adhesion. For severe cracks, consider removing the headlight for easier access and more precise repair.
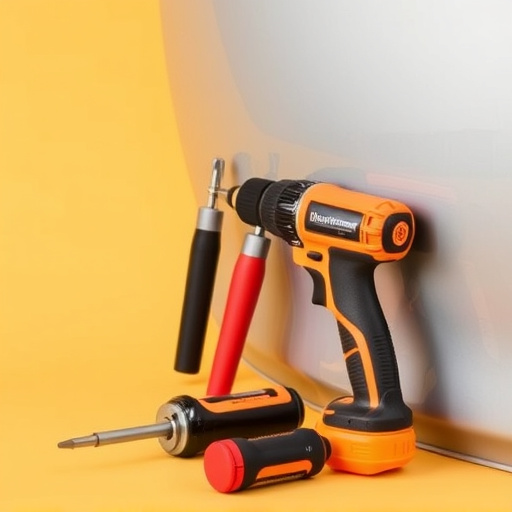
2. Welding Process: Choose an appropriate plastic welding technique based on your skill level and available equipment. Hot plate welding is a common method, where a heated metal plate fuses the broken pieces together. Apply a small amount of plastic welting gun with a heat-resistant compound to the crack. Position the cracked parts carefully and hold them in place until the weld cools down. This process may take some practice, so patience is key.
3. Curing: After welding, allow the repair area to cool down completely. Then, use a suitable filler or putty to conceal any visible weld lines or imperfections. Let it dry according to the product instructions before sanding for a smooth finish.
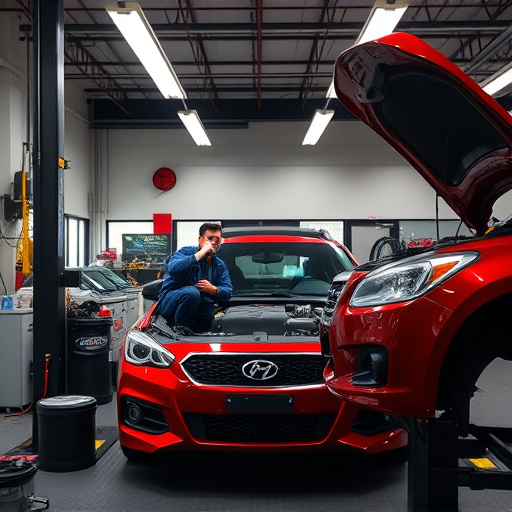
Remember, proper preparation and technique are crucial for successful plastic welding. If you’re dealing with extensive damage or unsure about the process, consider seeking professional help from an auto repair shop, especially for collision repairs. They have the expertise and tools to handle complex car scratch repairs near your location.
Repairing cracked headlights using plastic welding is a cost-effective and efficient solution for many car owners. By understanding the basics of plastic welding and following a simple, step-by-step guide, you can successfully restore your headlight tabs to their original condition, avoiding more expensive replacements. With the right preparation and materials, you’ll be able to navigate the welding process with ease and drive away with a sleek, safe, and collision-free headlight.