


Installing an illuminated grille on a Mercedes requires skilled craftsmanship, precise measurements, secure wiring, and post-replacement painting if needed. Prepare tools like screwdrivers, wire cutters, pliers, connectors, and harnesses. Park on level ground and follow a step-by-step guide for alignment, securing, and wiring the new grille while adhering to Mercedes-Benz specs; consult a professional for issues.
Looking to enhance your Mercedes with an illuminated grille? This guide walks you through the entire process, from understanding the replacement procedure to fitting the glowing upgrade. We break down the essential steps and tools required for a successful installation. Discover how to transform your vehicle’s front end with this modern, eye-catching feature, elevating both its aesthetic appeal and functionality. Learn more about Mercedes grille replacement today!
- Understanding Mercedes Grille Replacement Process
- Preparing for Installation: Tools and Materials Needed
- Step-by-Step Guide to Illuminated Grille Fitting
Understanding Mercedes Grille Replacement Process
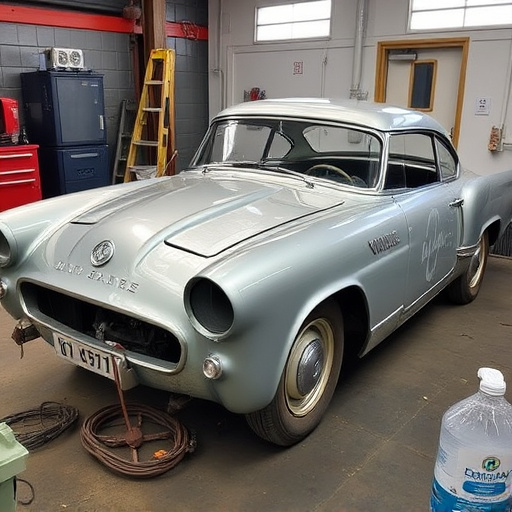
Installing an illuminated grille during a Mercedes replacement is a meticulous process that requires precision and expertise. It begins with removing the old grille, which may involve detaching various components connected to it, such as headlights, fog lights, or sensors. Once the old grille is safely removed, the new illuminated grille is carefully aligned and secured in place. This involves precise measurements to ensure proper fitment, followed by tightening screws and connecting electrical wiring for the LED illumination.
A car body shop specializing in Mercedes repairs or classic car restoration is best equipped to handle this task due to the intricate nature of the grille replacement process. The team at such facilities has the necessary tools, training, and experience to navigate any challenges that may arise during the installation. They also offer tire services as an added convenience, ensuring your vehicle’s overall health and safety on the road.
Preparing for Installation: Tools and Materials Needed

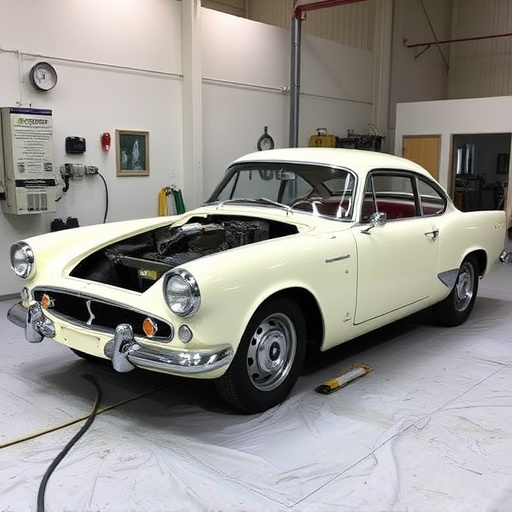
Before beginning any Mercedes grille replacement project, it’s crucial to prepare a list of tools and materials to ensure a smooth installation process. This includes gathering essential items such as specialized grilles, screwdrivers (both flathead and Phillips), wire cutters, and pliers. For more intricate designs or those involving illuminated features, you might need additional tools like LED strip connectors and wire harnesses. A clean workspace, preferably in a body shop with proper ventilation, is also vital to accommodate the precise measurements and adjustments required during replacement.
Additionally, considering previous damages, especially hail damage repair, can influence your preparation. If your vehicle has sustained any impact that affects the grille area, assessing the extent of the damage and whether it requires auto painting services will help in planning for post-replacement touch-ups or refinishing. Ensure you have all necessary materials to address these potential needs, ensuring a seamless transition from removal to final installation.
Step-by-Step Guide to Illuminated Grille Fitting

Installing an illuminated grille during a Mercedes grille replacement is a straightforward process that can significantly enhance your vehicle’s aesthetics and functionality. Here’s a step-by-step guide to ensure the job is done right, even if you’re considering visiting a reliable auto repair near me or fleet repair services for assistance.
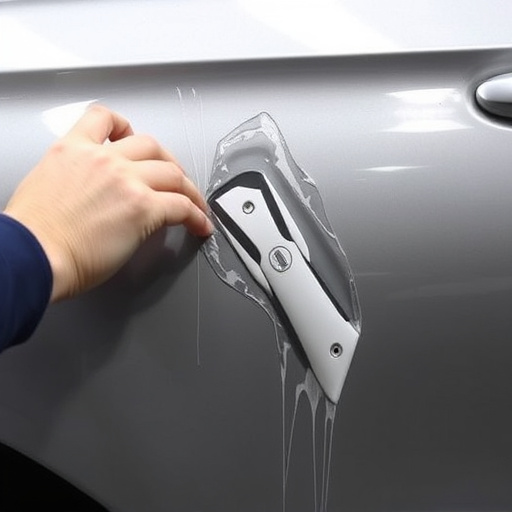
First, gather all necessary tools and parts, including your new illuminated grille. Park your Mercedes on a level surface and engage the parking brake for safety. Turn off the engine and locate the grille assembly. Remove any existing screws or fasteners securing the grille in place. With the help of a helper, carefully lift out the old grille. Clean the mounting surfaces to ensure a secure fit for the new illuminated grille. Install the new grille by aligning it with the vehicle’s design lines, then tighten the screws securely. Connect the wiring harness according to your Mercedes-Benz specifications, ensuring proper power supply and lighting functionality. Test the lights before finalizing the installation to guarantee everything is working seamlessly. If you encounter any issues or need assistance from a collision repair center, consult a professional mechanic for expert guidance.
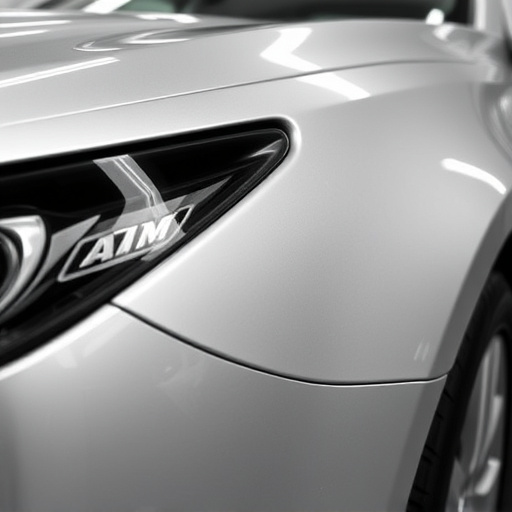
Installing an illuminated grille on your Mercedes can enhance both the aesthetic appeal and functionality of your vehicle. By following the step-by-step guide outlined in this article, you can successfully navigate the Mercedes grille replacement process. With the right tools, materials, and a thorough understanding of each step, you’ll be able to achieve a precise fit and impressive results. Remember that meticulous preparation is key to ensuring a seamless installation, ultimately elevating your vehicle’s overall look and performance.