


Assess paint chip size and gather original paint samples. Mix matching paint with patience and skill. Buff filler/putty until smooth for seamless finish. Inspect and adjust until satisfied with repair results.
Learning how to fix paint chips at home is an easy and cost-effective way to refresh your space. This step-by-step guide covers everything you need to know for a successful paint chip repair project. From assessing and preparing the damaged area, to matching and mixing paint, and finally applying and buffing the repair – we’ll walk you through each process ensuring a professional result. Get ready to transform those unsightly chips into seamless, like-new finishes with these simple techniques.
Assess and Prepare the Area
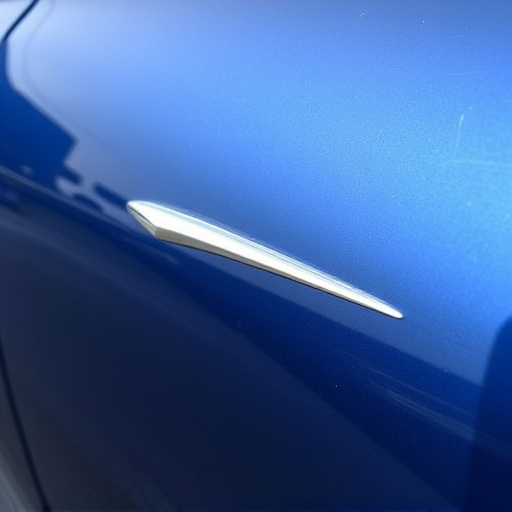
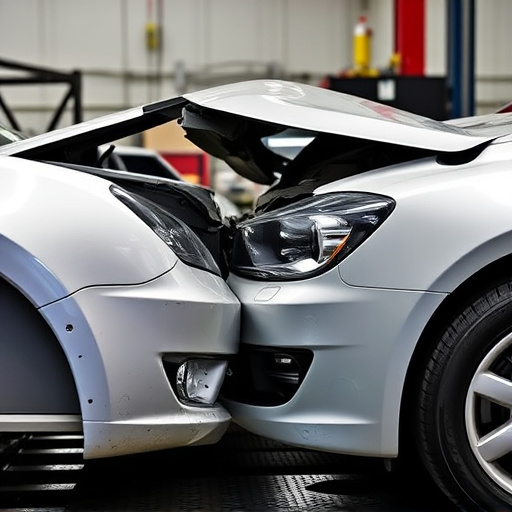
Before beginning any paint chip repair, take a moment to thoroughly assess and prepare the damaged area. Start by examining the extent of the chip – its size, depth, and shape – as this will influence the repair process and materials needed. Remember that paint chips can vary greatly, from shallow nicks to deep gashes, each requiring a tailored approach.
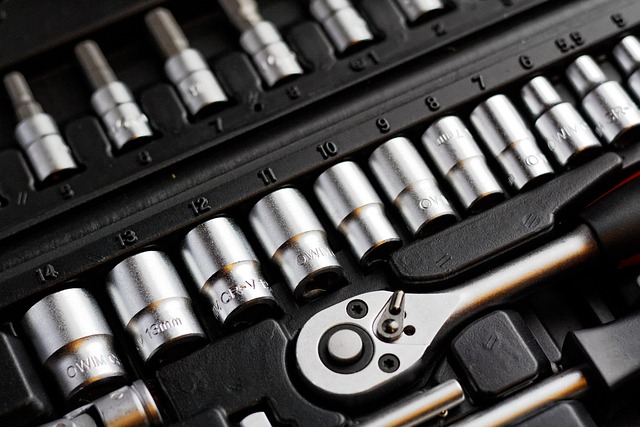
Once you’ve determined the severity, clear the workspace, ensuring no debris or loose particles remain. This step is crucial for achieving a seamless finish. Consider using sandpaper to gently buff the surrounding area, creating a smooth base that facilitates even application of new paint or repair compounds. This preparation phase is an essential first step in any successful paint chip repair project, whether it’s for your home or even automotive collision repair and vehicle restoration endeavors.
Match and Mix Paint

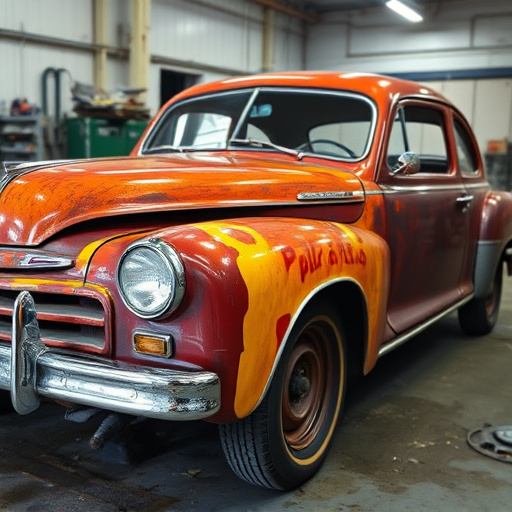
When repairing paint chips, achieving a perfect match is crucial for an undetectable fix. Start by collecting paint samples from your vehicle’s original paint job to use as a guide. This ensures the new paint blends seamlessly with the existing finish. If you’re dealing with extensive damage or a different color originally, consider matching the closest possible shade available from automotive paint stores.
Mixing paint is an art in itself. You’ll want to create a formula that closely replicates your car’s original hue. This involves carefully blending base colors and adding tints until you achieve the exact match. Remember, patience is key; mixing too quickly can result in uneven shades. With practice, you’ll become adept at identifying and combining the right pigments for an impeccable paint chip repair, much like a professional car dent removal or scratch repair service would.
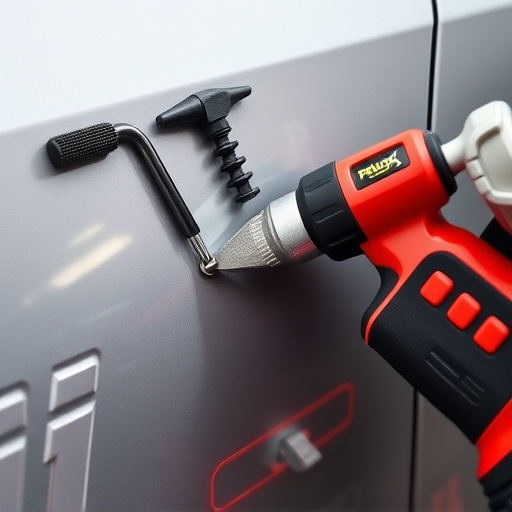
Apply and Buff the Repair
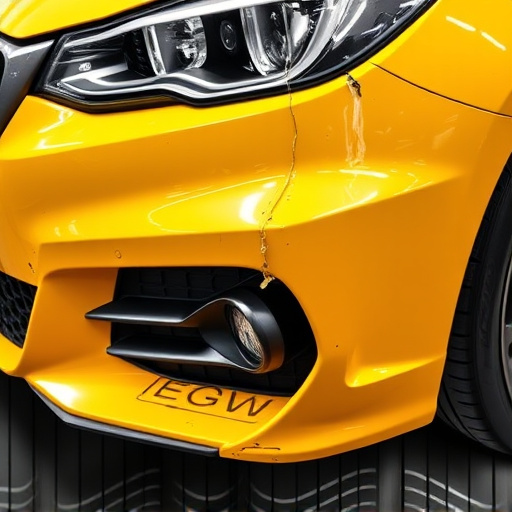
After applying the filler or putty to the paint chip area, use a small, soft cloth or sponge to gently smooth and buff the surface until it’s level with the surrounding paint. This step is crucial for achieving a seamless finish. Be careful not to over-buff, as this can cause the repair to become visible again.
Once the surface is buffed, inspect your work. If there are still imperfections or rough edges, repeat the process by applying more filler and buffing until you’re satisfied with the results. Remember, paint chip repair is akin to a miniature car repair job—it requires precision and attention to detail. With patience and the right tools, you can effectively restore your vehicle’s exterior to its original condition, just like visiting a trusted car repair shop.
Repairing paint chips at home is a straightforward process that can significantly enhance your home’s aesthetics. By following these simple steps—assessing and preparing the area, matching and mixing paint, and applying and buffing the repair—you can achieve a professional-looking finish. Remember, proper preparation and careful matching of colors are key to successful paint chip repair, ensuring your home maintains its curb appeal and value.