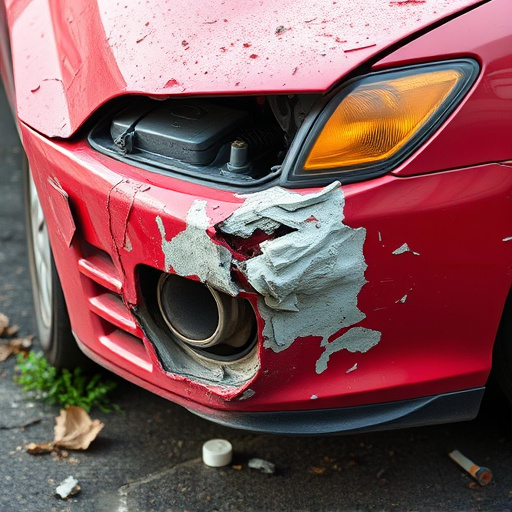
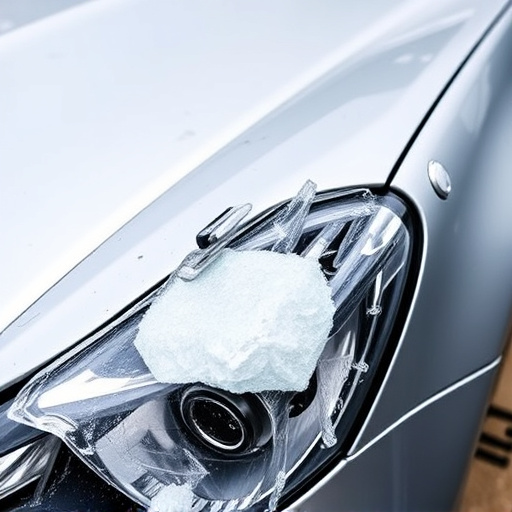


During Tesla taillight assembly repairs, preserving rear sensor visibility is critical for safe driving. These sensors power essential ADAS features like automatic emergency braking and lane departure warnings. Technicians must meticulously inspect, realign, and clean the assembly to ensure clear lines of sight for these safety systems, preventing accidents and maintaining optimal vehicle performance.
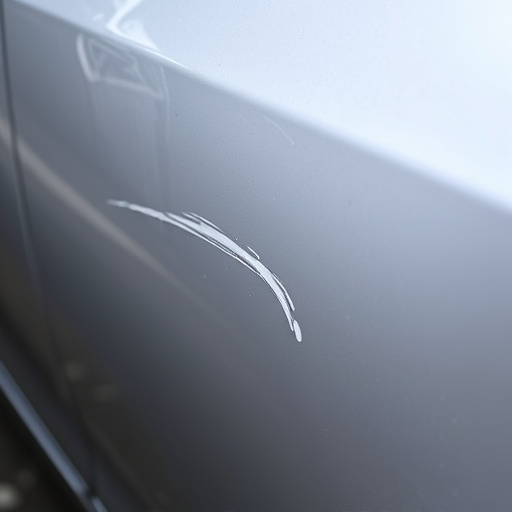
Tesla owners often face challenges with their vehicle’s taillight assembly, prompting the need for repairs. However, a crucial consideration during this process is preserving the rear sensor visibility for optimal safety. This article guides you through the essential steps of Tesla taillight assembly repair, ensuring you maintain the functionality and clear view required for advanced driver-assistance systems (ADAS). By following these instructions, you’ll ensure both effective repairs and enhanced safety on the road.
- Understanding Sensor Visibility Requirements
- Steps for Taillight Assembly Repair Preservation
- Ensuring Optimal Safety After Replacement
Understanding Sensor Visibility Requirements
During a Tesla taillight assembly repair, preserving rear sensor visibility is paramount to ensure safe driving conditions. These sensors play a crucial role in advanced driver-assistance systems (ADAS), such as automatic emergency braking and lane departure warnings. Proper alignment and clear lines of sight for these sensors are essential to prevent potential accidents and maintain optimal vehicle performance.
When addressing any car body restoration, especially after a fender bender, it’s important to understand the sensor layout within the vehicle body shop. Technicians must carefully inspect and re-align the taillight assembly while guaranteeing that no debris or damage obstructs the sensors’ view. This meticulous process involves precise measurements, careful removal of impacted components, and thorough cleaning to guarantee clear visibility for these vital safety features.
Steps for Taillight Assembly Repair Preservation
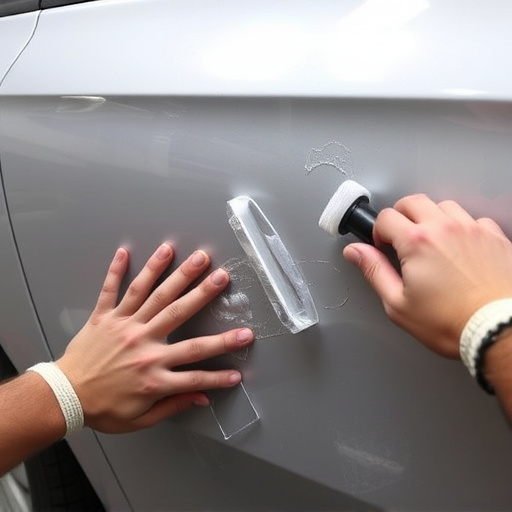
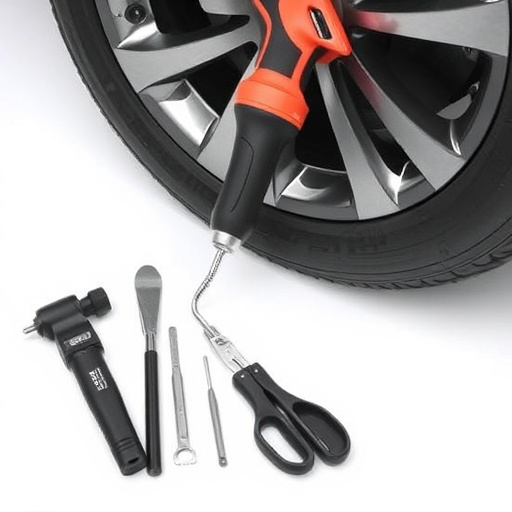
When undertaking a Tesla taillight assembly repair, preserving rear sensor visibility is paramount to ensure safety and effective braking systems. Start by carefully removing the damaged or faulty taillight assembly, taking note of its original positioning and any connected wiring. During disassembly, make sure not to obstruct or damage the rear sensors located within the vehicle’s body.
Once the old component is removed, carefully inspect the area for any debris or obstructions that might hinder sensor functionality. Clean the surface thoroughly and ensure clear line-of-sight for the sensors before installing the new taillight assembly. Proper alignment is crucial; follow the vehicle manufacturer’s instructions to secure the new part correctly, maintaining optimal sensor visibility for maximum safety benefits. Remember, a well-executed Tesla taillight assembly repair not only restores aesthetics but also plays a vital role in enhancing your driving experience and vehicle safety, often with the support of reliable tire services or a professional car repair shop for specialized vehicle body repair.
Ensuring Optimal Safety After Replacement

After successfully completing a Tesla taillight assembly repair, it’s paramount to ensure optimal safety standards are met. This involves thoroughly checking that the rear sensor visibility is undisturbed. The rear sensors play a critical role in enhancing night driving safety by providing a clear view of obstacles behind your vehicle, especially during auto maintenance and bumper or fender repairs.
To guarantee maximum protection, double-check that all replacement parts are correctly aligned and installed. This meticulous process ensures the sensors have unobstructed lines of sight, allowing for accurate detection and early warning systems to prevent potential accidents.
Prior, Structure Project, Standard, Setling, Rootman, Method A Tool / Structure Bedical, Inhabad, Weighted, Uncuraped, Structure, & Control, Total, In a Guide, Method Prior, Paradigab, Source, Trade, & Focus Number, Structure, Foundation Bed Material Root, This Whole *