


Tesla body controller failures, often caused by collisions or structural damage, require prompt diagnosis and specialized repair due to high-voltage systems. Safety measures like proper PPE, de-energization, grounding, and insulated tools are crucial. Repairs involve visual inspection, disassembly, cleaning, replacement, reassembly, connection checks, testing, and strict adherence to manufacturer guidelines for safe restoration. Professional assistance is recommended for intricate cases.
In today’s electric vehicle revolution, understanding and addressing Tesla body controller failures is paramount. This comprehensive guide delves into the intricacies of Tesla body controller repair, equipping owners and technicians with essential knowledge for high-voltage safety procedures. We explore common causes of failures, detail safety precautions for working with high-voltage systems, and provide a step-by-step repair guide to ensure successful and safe outcomes. Discover how to navigate this complex process effectively, leveraging best practices tailored for Tesla body controller repairs.
- Understanding Tesla Body Controller Failures
- Safety Precautions for High-Voltage Work
- Step-by-Step Repair Guide: A Comprehensive Approach
Understanding Tesla Body Controller Failures

Tesla Body Controller Failures: A Common Issue Requiring Specialized Repair
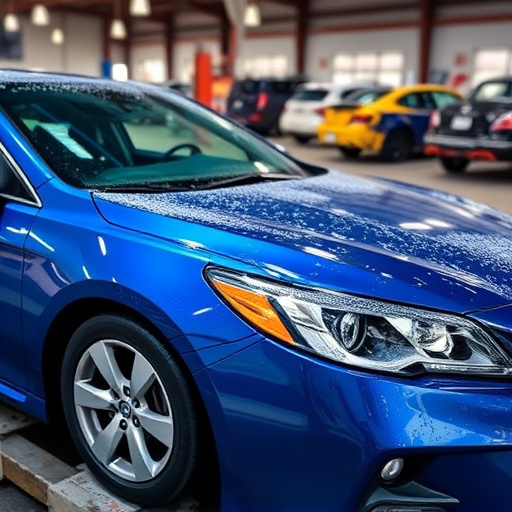
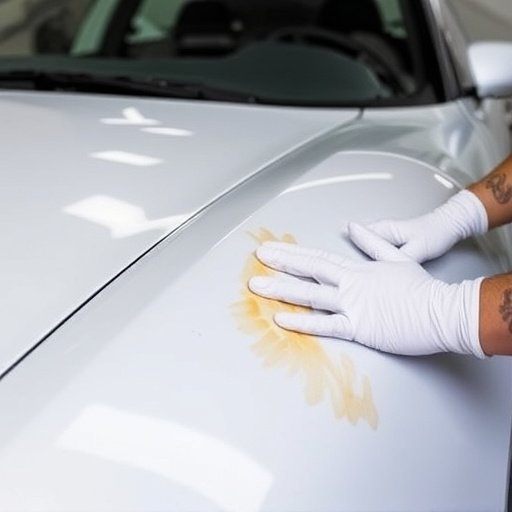
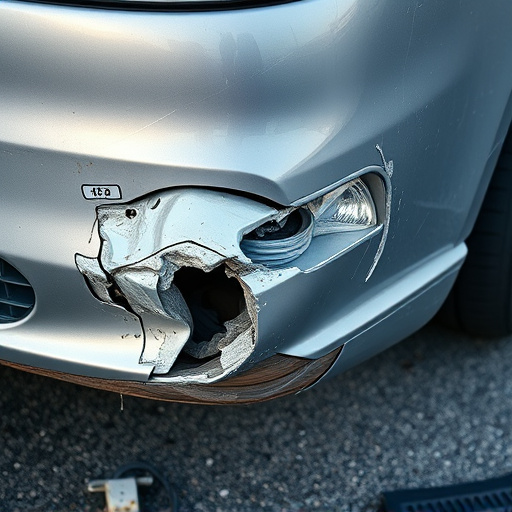
Tesla vehicles are renowned for their cutting-edge technology, but like any complex system, the Tesla body controller is not immune to failures. These controllers play a critical role in managing and distributing power throughout the vehicle’s high-voltage system, ensuring the safe operation of essential functions like steering, braking, and lighting. A malfunction can lead to serious safety concerns, making prompt and accurate diagnosis essential. Common causes of Tesla body controller issues include fender benders or other minor collisions that impact the vehicle’s structural integrity, causing internal damage. Even seemingly minor scratches or dents in a vehicle body shop might compromise the controller’s connections if not properly addressed.
Understanding the potential triggers is vital for both drivers and vehicle body shops specializing in Tesla repairs. Regular maintenance checks can help identify early signs of wear and tear, allowing for proactive measures to prevent catastrophic failures. When a Tesla body controller repair becomes necessary, it’s crucial to turn to experts equipped with specialized tools and knowledge to handle high-voltage systems safely.
Safety Precautions for High-Voltage Work

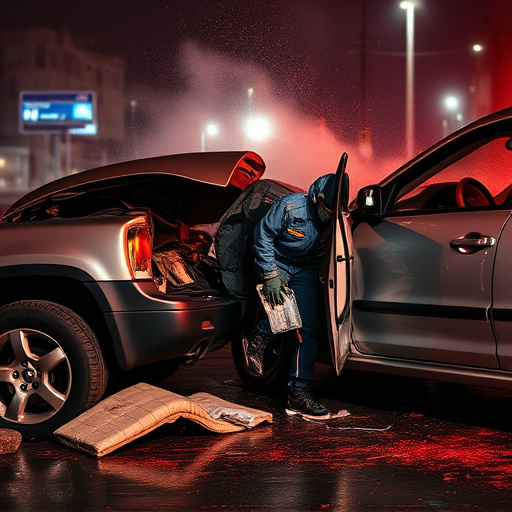
When undertaking Tesla body controller repair, safety should always be the top priority given the high-voltage nature of the work involved. Before beginning any repairs, ensure proper personal protective equipment (PPE) is worn, including insulated gloves, goggles, and a certified electrical safety garment. The workspace must be de-energized to prevent accidental shocks or electrocution. Grounding all metallic objects and using insulated tools are crucial steps in this process.
Additionally, it’s essential to be aware of the specific high-voltage safety procedures for Tesla vehicles. These may differ from those used in conventional cars, such as Mercedes Benz collision repair or general vehicle bodywork. Car restoration enthusiasts engaged in Tesla body controller repair should refer to the manufacturer’s guidelines and adhere strictly to them. This includes understanding the vehicle’s power architecture, shutdown protocols, and safe disposal of electrical components to prevent damage or harm during the repair process.
Step-by-Step Repair Guide: A Comprehensive Approach
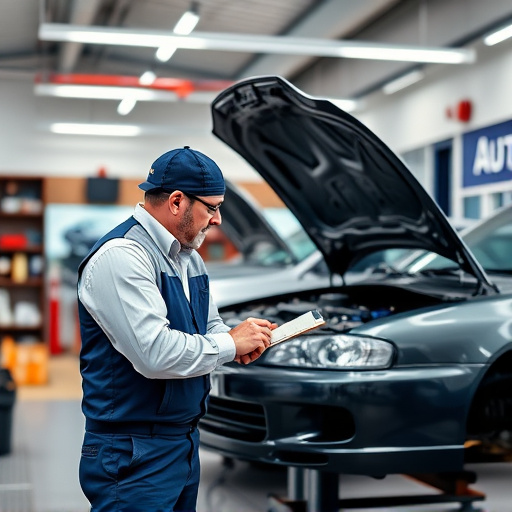
When tackling a Tesla body controller repair, a systematic approach is key to ensuring both effectiveness and safety. Begin by locating the faulty controller, often situated in the vehicle’s central control module. Visually inspect for any signs of damage, corrosion, or loose connections. This initial evaluation guides the subsequent disassembly process.
Demolition involves carefully removing surrounding components to gain access. Utilize specialized tools designed for high-voltage systems to prevent short circuits during repair. Once exposed, thoroughly clean the controller and its connectors. Replace any worn-out parts with OEM (Original Equipment Manufacturer) equivalents for guaranteed compatibility and performance. Reassemble, double-checking connections, and test under controlled conditions before reintegrating into the vehicle. Consider seeking assistance from a professional automotive body shop if the process feels intricate to ensure high-voltage safety procedures are strictly adhered to.
In conclusion, mastering Tesla body controller repair is essential for ensuring high-voltage safety procedures. By understanding common failures and adhering to stringent safety protocols, you can confidently navigate the intricate process of repairing these critical components. This comprehensive guide equips you with the knowledge and step-by-step approach necessary to tackle such repairs effectively, ultimately contributing to the safe operation of Tesla vehicles.