


Mercedes grille replacement goes beyond aesthetics, impacting aerodynamics and engine cooling. It requires understanding a complex structure and precise body panel alignment for optimal airflow and safe temperatures. Preparation involves specialized tools, safety gear, and clutter-free workspace. A step-by-step guide ensures proper alignment and secure grille attachment, maintaining high repair standards.
Looking to replace your Mercedes grille? Aliging body panels during installation is crucial for a seamless, factory-like finish. This step-by-step guide breaks down the process, from understanding your Mercedes grille’s components and layout to preparing with the right tools and safety measures. By following these detailed instructions, you’ll confidently align body panels for a professional Mercedes grille replacement.
- Understanding Mercedes Grille Components and Layout
- Preparing for Replacement: Tools and Safety Measures
- Step-by-Step Guide to Aligning Body Panels During Grille Installation
Understanding Mercedes Grille Components and Layout

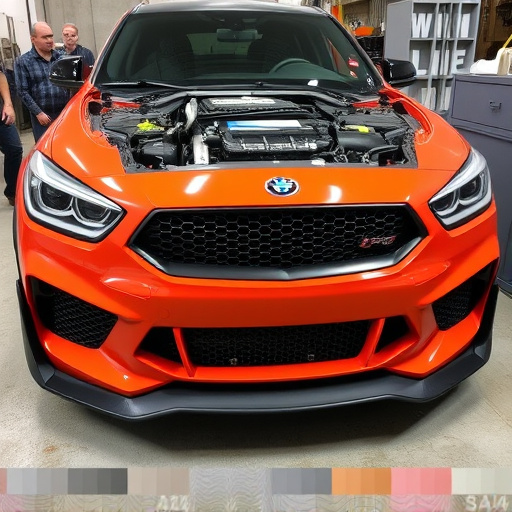
The Mercedes grille is a striking feature that not only enhances the vehicle’s aesthetics but also plays a crucial role in its aerodynamics and engine cooling system. When it comes to replacing this intricate part, understanding its components and layout is essential for a successful Mercedes grille replacement. The grille comprises various elements such as the outer frame, inner core, mounting brackets, and decorative panels. Each component is precisely engineered to work in harmony, contributing to both the car’s visual appeal and functional integrity.
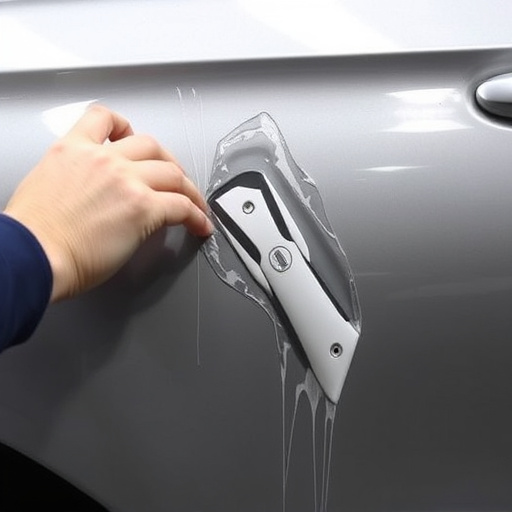
During the replacement process, it’s vital to align the body panels accurately to ensure a seamless fit. This involves careful measurement, marking, and adjustments to the existing panels surrounding the grille opening. Proper alignment guarantees not only a factory-like finish but also optimal airflow performance, which is critical for maintaining the engine’s operating temperature within safe limits. Moreover, considering the intricate design and precision required, seeking professional car body repair services can significantly contribute to achieving an exceptional replacement result.
Preparing for Replacement: Tools and Safety Measures
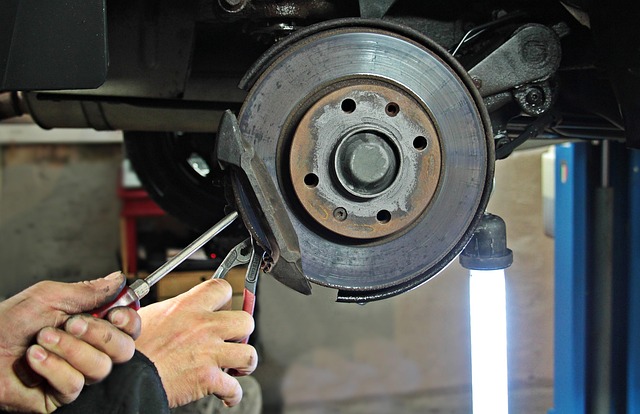
Before initiating any Mercedes grille replacement, it’s paramount to prepare adequately. This involves assembling the necessary tools, many of which are specific to auto body repair and not your average garage tools. You’ll need a variety of wrenches, sockets, screwdrivers, and possibly a specialized impact gun for faster and more precise fastening. Don’t forget protective gear: safety glasses, work gloves, and ear protection. These aren’t just safety measures; they’re essential to prevent injury from flying debris or loud noises.
Additionally, clear the workspace of any loose items that could interfere with your work. This includes removing any personal belongings, loose tools, or car parts not directly related to the replacement process. Ensuring a clean, clutter-free environment allows for smoother operations and reduces the risk of damaging other components during the Mercedes grille replacement process. Think of it as preparing a canvas before painting—a clear, orderly space facilitates precise and efficient work, much like classic car restoration done right.
Step-by-Step Guide to Aligning Body Panels During Grille Installation

To ensure a seamless Mercedes grille replacement, aligning the body panels is a crucial step that requires precision and care. Here’s a step-by-step guide to help you navigate this process effectively:
1. Prepare Your Workspace: Begin by clearing your workspace of any debris or obstacles. Ensure proper lighting so you can clearly see every detail of the car’s surface. If needed, use protective gear such as gloves and safety goggles to shield yourself from any sharp edges or loose debris.
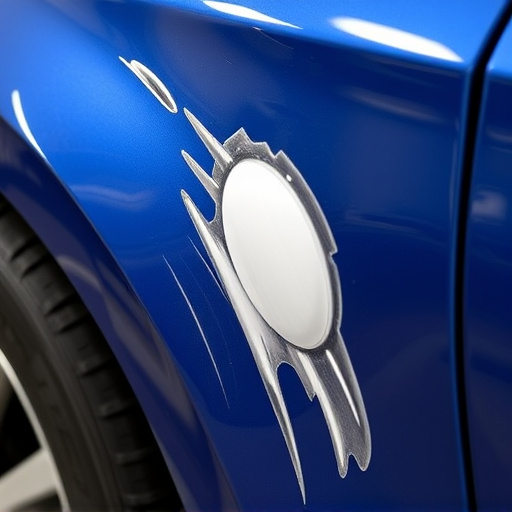
2. Assess the Damage: Before beginning the alignment process, thoroughly inspect the area around the grille for any remaining dents or deformities in the surrounding body panels. This will give you a clear understanding of how much work is ahead and help guide your adjustments during the grille replacement.
3. Mark Reference Points: Locate and mark key reference points on both the existing and new grille components, ensuring they align precisely. You can use fine-tipped markers or small pieces of tape to make these marks. This will serve as a visual aid when realigning the panels.
4. Use Alignment Tools: Employ alignment tools like clamps, blocks, or special body panel alignment kits to secure and adjust the body panels accurately. These tools are designed to maintain proper spacing while you work, ensuring the panels remain in place even as you make adjustments.
5. Realign Panels: Gradually adjust each aligned panel until they fit together perfectly, following your marked reference points. Be patient and take your time; ensure every piece is correctly positioned before proceeding.
6. Secure the New Grille: Once all body panels are realigned and secured in place, you’re ready to install the new Mercedes grille. Follow manufacturer guidelines for proper attachment methods, ensuring a secure fit that maintains the vehicle’s structural integrity and aesthetics.
By meticulously following these steps, you’ll be well on your way to successfully replacing your Mercedes grille while maintaining the precision of your car repair services or vehicle bodywork.
Replacing a Mercedes grille is a precise process that requires careful alignment of body panels for a seamless fit and finish. By understanding the components, gathering the right tools, and following a systematic approach, you can successfully complete this task, ensuring your Mercedes retains its distinctive style and structural integrity during the Mercedes grille replacement process.