


Mercedes Adaptive Headlight Systems, a key safety feature, require meticulous repair when damaged. Common issues include collision-related damage and environmental deterioration of electrical connections. Repair involves identifying problems, replacing components like bulbs or control modules, and ensuring proper reassembly for optimal headlight performance, emphasizing the need for specialized tools and authentic Mercedes parts.
Mercedes’ adaptive headlights, a cutting-edge feature, offer enhanced safety with automatic lighting adjustment. However, the intricate light packages can fail due to various factors. This article guides you through the process of repairing your Mercedes light package, focusing on common issues and offering a step-by-step guide. Learn how to diagnose and fix problems, ensuring your adaptive headlights function optimally. Discover essential maintenance tips to prevent future failures and keep your Mercedes’ lighting system reliable.
- Understanding Mercedes Adaptive Headlight Systems
- Common Issues and Causes of Light Package Failure
- Step-by-Step Guide to Repair and Maintenance Tips
Understanding Mercedes Adaptive Headlight Systems

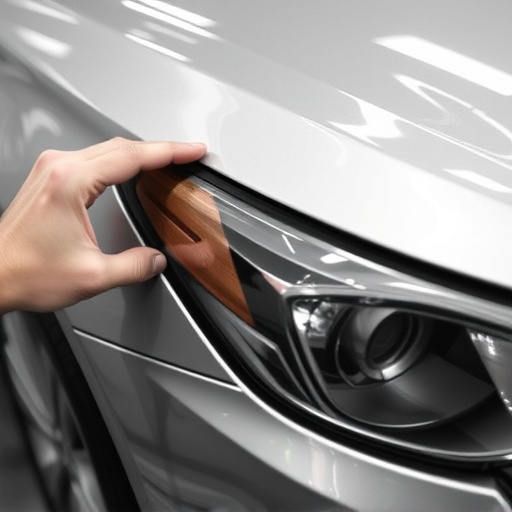
Mercedes Adaptive Headlight Systems are a cutting-edge feature designed to enhance driving safety and visibility. These advanced systems use a network of sensors and cameras to adjust the beam pattern and intensity of the headlights in real-time, ensuring optimal illumination for various road conditions. This technology is particularly crucial in low-light environments, such as during night drives or in foggy weather, where traditional headlamps might not be sufficient.
Understanding how these systems work involves grasping the concept of active optics, where the headlights can dynamically adapt to speed, steering, and environmental factors. The Mercedes light package repair process must consider these intricate mechanisms, often involving specialized tools and techniques for vehicle paint repair and auto body repairs to ensure the system functions seamlessly after any damage or adjustments.
Common Issues and Causes of Light Package Failure

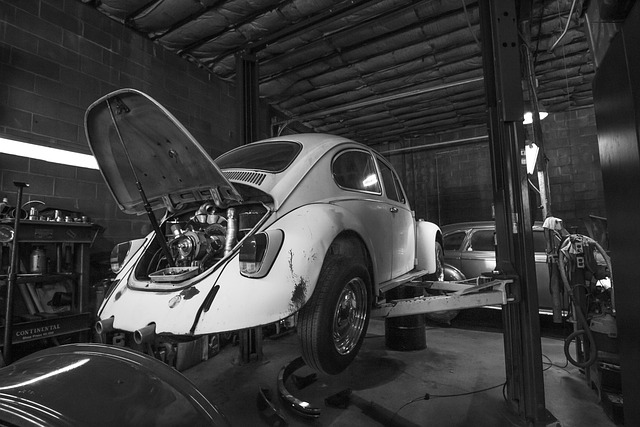
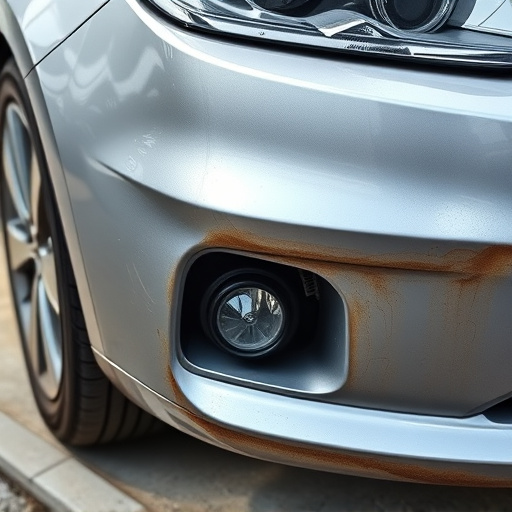
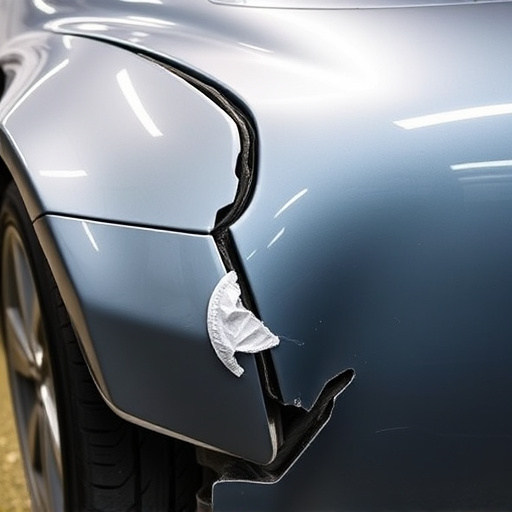
Mercedes light package repairs are often necessary due to a variety of common issues and causes. One of the primary culprits is automotive collision repair, which can damage or dislodge components within the intricate adaptive headlight system. Even minor fender benders or dents in the car’s body (an aspect of automotive body work) can disrupt the light distribution, leading to misaligned or malfunctioning headlights.
Another significant factor is the gradual deterioration of electrical connections over time, which can result in intermittent performance or complete failure of the light package. Environmental factors such as extreme temperatures and exposure to moisture can accelerate this process. Proper Mercedes light package repair involves identifying these issues, replacing faulty components, and ensuring the system functions optimally for enhanced safety and visibility on the road.
Step-by-Step Guide to Repair and Maintenance Tips
Repairing a Mercedes light package, especially for adaptive headlights, requires precision and a systematic approach. Here’s a step-by-step guide to help you navigate this process:
1. Safety First: Before beginning any repair work, ensure your vehicle is parked on a level surface with the parking brake engaged. Turn off the ignition to avoid any electrical hazards.
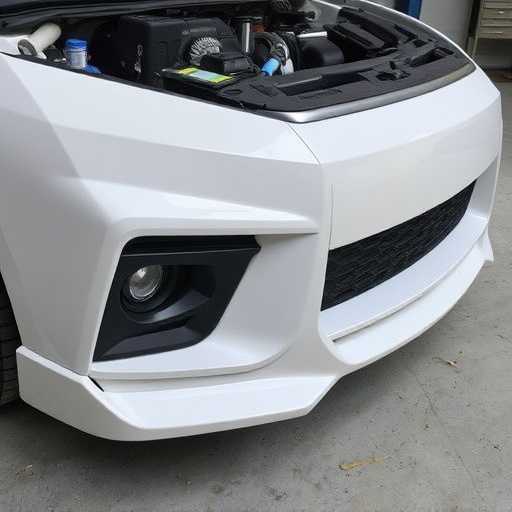
2. Inspect the Damage: Carefully examine the light package for cracks, breaks, or discoloration. Identify the specific component(s) needing repair, whether it’s a bulb replacement or a more complex issue like a control module fault. For minor scuffs and scratches, consider using car scratch repair kits designed for plastic surfaces; for severe damage, vehicle paint repair might be necessary, involving a professional car body restoration service.
3. Gather Tools and Parts: Based on your inspection, gather the required tools—a screwdriver set, wire strippers, and any specialized tools for disassembly. Ensure you have authentic Mercedes replacement parts for precise fitment and optimal performance.
4. Disassemble with Care: Begin disassembling the light package following a logical sequence. Use the appropriate tool to carefully remove screws and connections, keeping track of where each component belongs. This step demands patience and a systematic mind to avoid damaging other parts or misplacing components.
5. Diagnose and Replace Faulty Components: Once disassembled, inspect internal components for wear, damage, or malfunction. Replace any faulty bulbs, wires, or control modules with new ones from the Mercedes light package repair kit. Double-check connections for secure fitting.
6. Reassemble and Test: Carefully put the light package back together, ensuring each component is securely in place. Before testing, double-check all connections and tighten any loose screws. With everything reassembled, power on your vehicle and test the headlights to ensure optimal performance.
Mercedes light package repair is a specialized task, but with a thorough understanding of their adaptive headlights and some practical knowledge, common issues can be effectively addressed. By identifying and rectifying problems early, owners can ensure optimal performance and safety from their vehicle’s advanced lighting systems. Regular maintenance, as outlined in this guide, plays a crucial role in preventing costly repairs and keeping your Mercedes’ headlights in top condition.