


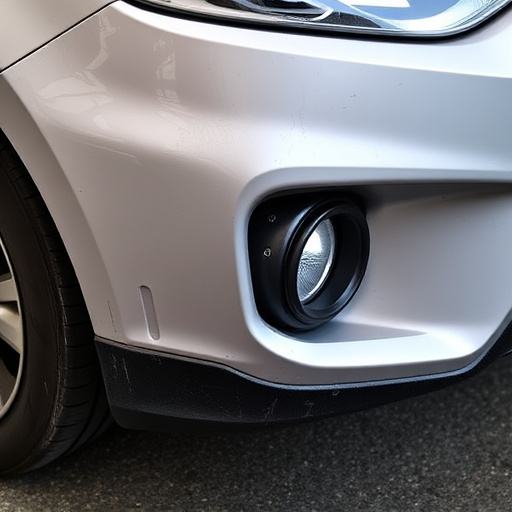
Mercedes acoustic glass technology enhances Head-Up Displays (HUDs), allowing drivers to access vital info without distracting their gaze from the road. Replacing damaged glass requires professional auto body repair expertise for optimal visibility and aesthetic appeal. Choosing quality Mercedes acoustic glass replacement over DIY fixes offers safety, longevity, and performance benefits, aligning with Mercedes-Benz standards. This guide provides a meticulous step-by-step process for successful HUD acoustic glass replacement.
Mercedes owners now have a new option for replacing cracked or damaged acoustic glass on their HUD-equipped models. Traditional repairs can be costly and time-consuming, so modern solutions like Mercedes acoustic glass replacement are gaining popularity. This innovative technology offers a clear, seamless display while enhancing the vehicle’s sound quality. In this article, we’ll explore why replacement is often the better choice, guide you through the installation process specific to HUD models, and provide insights into the benefits of Mercedes acoustic glass technology.
- Understanding Mercedes Acoustic Glass Technology
- Why Choose Replacement Over Repair
- Installation Process: Step-by-Step Guide for HUD Models
Understanding Mercedes Acoustic Glass Technology
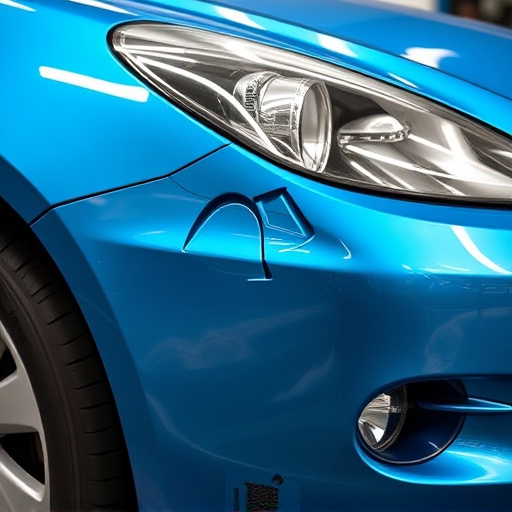
Mercedes acoustic glass technology is a cutting-edge innovation that combines advanced soundwave transmission with sleek, transparent design. This unique material is specifically engineered for use in Head-Up Displays (HUDs) equipped in Mercedes vehicles, allowing drivers to receive vital information without taking their eyes off the road. The glass is designed to be both durable and high-quality, ensuring optimal visibility and minimal distortion.
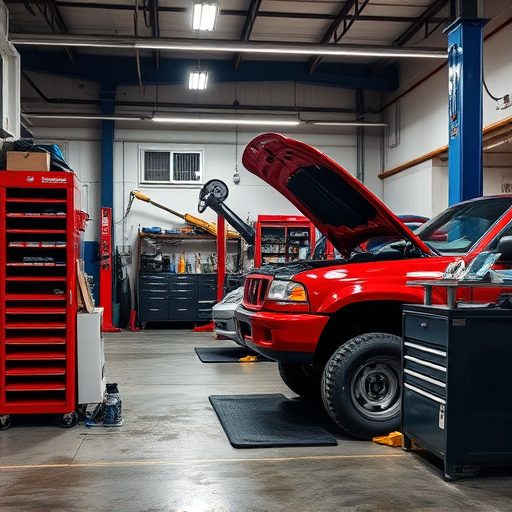
When a Mercedes acoustic glass replacement is needed, whether due to damage or wear, it’s crucial to trust professionals who specialize in auto body repairs and car body restoration. This specialized process requires precision and expertise to maintain the vehicle’s original aesthetics and ensure the glass functions at peak performance. With the right care and attention, these replacements can restore not just the clear view essential for safety, but also enhance the overall driving experience that Mercedes owners expect.
Why Choose Replacement Over Repair
When considering repairs for your Mercedes HUD-equipped model, choosing a high-quality Mercedes acoustic glass replacement over attempting a fix or repair can offer numerous advantages. While temporary fixes might seem appealing due to cost or convenience, they often lead to further issues down the line. A professional replacement ensures not just the restoration of your vehicle’s original functionality but also enhances its longevity and performance.
Opting for a Mercedes acoustic glass replacement from a reputable source is particularly beneficial for several reasons. It guarantees precision engineering and material quality, aligning perfectly with Mercedes-Benz standards. This process involves much more than simple glass swapping; it includes careful analysis of the original components to address any underlying problems. As a result, you’re not just fixing a symptom but effectively treating the root cause, which is crucial in the realm of automotive restoration. Moreover, it prevents potential safety hazards that could arise from subpar repairs or dents that might remain hidden yet compromise structural integrity, especially in collision repair scenarios.
Installation Process: Step-by-Step Guide for HUD Models
The process of replacing acoustic glass in Mercedes models equipped with Head-Up Displays (HUDs) requires precision and a step-by-step approach to ensure optimal performance and aesthetics. Here’s a detailed guide for auto body repair specialists and car enthusiasts alike:
1. Preparation: Begin by gathering all necessary tools and materials, including the new acoustic glass panel designed specifically for your Mercedes model’s HUD. Ensure proper ventilation in the work area as some components may emit strong odors during removal.
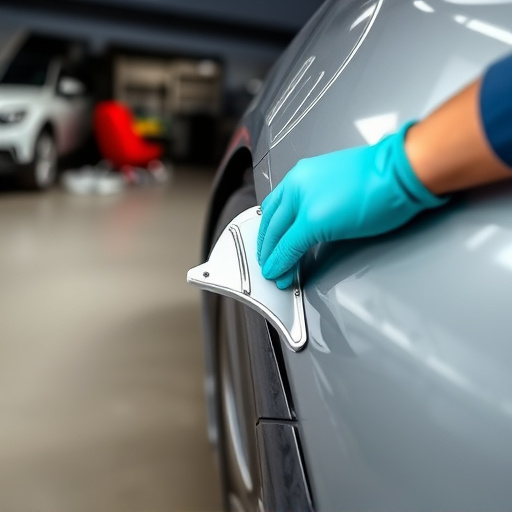
2. Removal: Carefully disassemble the HUD unit from the dashboard. This typically involves detaching power cables, sensors, and other components connected to the display. Once exposed, carefully lift the old acoustic glass panel out of its housing, taking note of any clips or retainers used for securement.
3. Cleaning and Preparation: Thoroughly clean the inner surface of the dash where the HUD is mounted. Remove any debris, dust, or remnants of the previous glass to ensure a clean installation. This step is crucial for achieving optimal sound quality and display clarity.
4. Installation: Position the new acoustic glass panel carefully within the housing, ensuring proper alignment with the HUD components. Secure it in place using the original clips or retainers, ensuring tight fitment. Reconnect all cables and sensors as per their respective connections.
5. Testing: Once installed, power on the HUD to test its functionality and sound quality. Verify that the display is clear and that the acoustic glass is functioning as expected, enhancing the driver’s experience without any distortion or feedback. This step ensures a seamless and satisfying paintless dent repair and automotive restoration process.
Mercedes acoustic glass replacement is a smart choice for HUD-equipped models, offering both functionality and aesthetics. By choosing replacement over repair, you benefit from advanced technology that enhances driving experience without breaking the bank. Following our step-by-step installation guide ensures a seamless process, allowing you to navigate and enjoy your Mercedes’ improved display with confidence.