
Before using a bumper repair kit, understand the chemicals involved, follow manufacturer guidelines for mixing and application to ensure safety and effectiveness, prepare your workspace and gear, cure the repair properly by following recommended times and conditions, and address any issues promptly for durable results.
When repairing your car’s bumper with a DIY bumper repair kit, safety should always be your top priority. This comprehensive guide outlines essential safety tips for working with these powerful chemicals. From understanding your bumper repair kit and its components, to pre-repair preparation steps like wearing protective gear and ensuring proper ventilation, we cover it all. Learn how to safely integrate the repaired area and allow the bumper to cure properly for long-lasting results.
- Understanding Your Bumper Repair Kit Chemicals
- Pre-Repair Preparation: Essential Safety Steps
- Post-Application: Ensuring Safe Integration & Curing
Understanding Your Bumper Repair Kit Chemicals
Before using any bumper repair kit, it’s crucial to take a moment and understand the chemicals involved. These kits typically contain a blend of resins, hardeners, and other compounds designed to match your car’s original finish during dent removal or vehicle restoration. Each kit usually has specific instructions detailing the exact ratios of these components to mix, ensuring optimal results when repairing minor dents and scratches on your car body restoration project.
Reading the label and following the manufacturer’s guidelines is essential for safe application. Some bumper repair chemicals can be sensitive to temperature, requiring use within a specified range. Others may emit harmful fumes or require protective gear like gloves and masks during the dent removal process. Understanding these aspects will help ensure your safety and the effectiveness of the bumper repair kit when used properly.
Pre-Repair Preparation: Essential Safety Steps
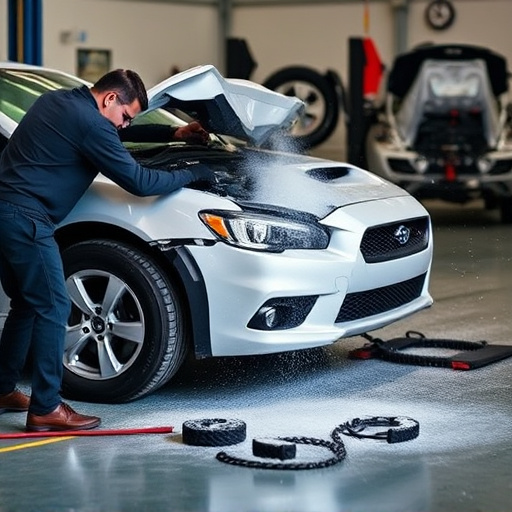
Before tackling any bumper repair kit application, proper preparation is key to ensuring a safe and effective fix. Begin by washing and drying your vehicle thoroughly to create a clean surface for the chemicals to bond with. Remove all debris, dirt, or dust from the damaged area using a soft cloth or brush to prevent any impurities that could affect the repair process.
Put on protective gear, including gloves, safety glasses, and a mask, as these chemicals can be harmful if not handled correctly. Ensure you work in a well-ventilated area, either inside an auto repair shop or under a covered outdoor space, to avoid inhaling any potentially toxic fumes. Have all the necessary tools ready, such as a paint scraper, sandpaper, and a clean towel, to properly prepare the bumper for the repair kit’s application.
Post-Application: Ensuring Safe Integration & Curing
After successfully applying a bumper repair kit, ensuring safe integration and proper curing is crucial for achieving optimal results. Allow the repaired area to rest for the recommended time as indicated by the manufacturer. During this period, avoid exposing the fresh repair to excessive heat or direct sunlight, as it can affect the curing process. Keep the treated surface clean and free from dirt, dust, or any foreign debris to prevent contamination.
Proper integration means seamlessly blending the repaired area with the rest of the bumper, ensuring no visible gaps or discrepancies. This step is vital in maintaining the structural integrity and aesthetic appeal of your vehicle. Regularly inspect the repair for signs of peeling, flaking, or irregularity during the curing period. If any issues arise, address them promptly using recommended touch-up techniques and products to ensure a durable and safe fix.
When repairing your bumper with a bumper repair kit, safety should always be your top priority. By understanding the chemicals involved, preparing thoroughly before application, and following post-application integration and curing guidelines, you can ensure a smooth and safe process. Remember to wear protective gear, work in a well-ventilated area, and follow all manufacturer instructions for optimal results while minimizing potential risks.