

Base coat clear coat repair involves patching and refinishing damaged exterior layers for aesthetics and protection. Gather tools and materials like sandpaper, degreaser, auto paint, putty knife, clear coat, buffer, and follow steps: clean and degrease, gently sand, apply base coat primer, let dry, then repaint with matching clear coat for long-lasting results comparable to professional services.
“Are you tired of looking at those pesky chip scars on your car’s finish? Fear not! Our comprehensive guide will transform you into a DIY expert with base coat clear coat repair. We’ll demystify the process, from understanding the vital roles of base and clear coats to gathering the essential tools and materials.
By following our step-by-step instructions, you’ll learn how to fix and protect your car’s finish like a professional. Get ready to restore your vehicle’s glossy symphony and say goodbye to those unsightly imperfections.”
- Understanding Base Coat and Clear Coat
- Tools and Materials for Repair
- Step-by-Step Guide to Fix and Protect Your Finish
Understanding Base Coat and Clear Coat
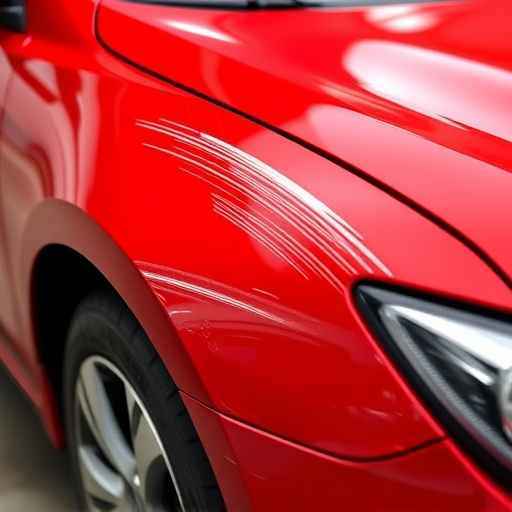
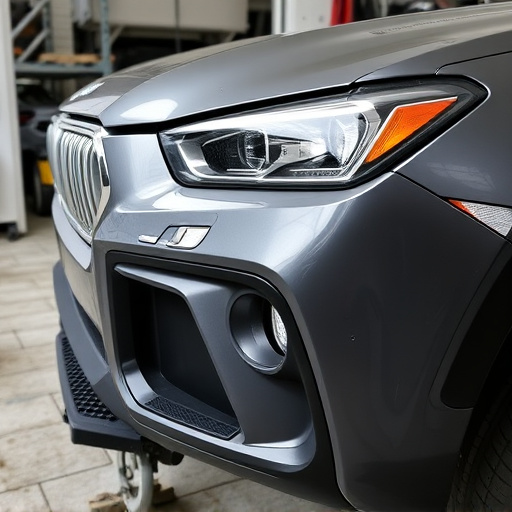
The exterior finish of a vehicle is a composite structure composed of two primary layers: the base coat and the clear coat. The base coat acts as the first layer, providing color and protection to the underlying paintwork. It’s the foundation upon which the clear coat builds, enhancing durability and shine. The clear coat, on the other hand, serves multiple purposes. Not only does it add a glossy or matte finish to the car’s exterior, but it also acts as a protective barrier, shielding the base coat from harmful UV rays, environmental pollutants, and abrasions.
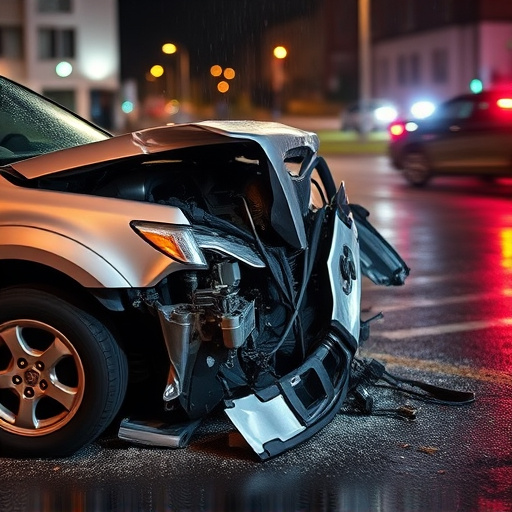
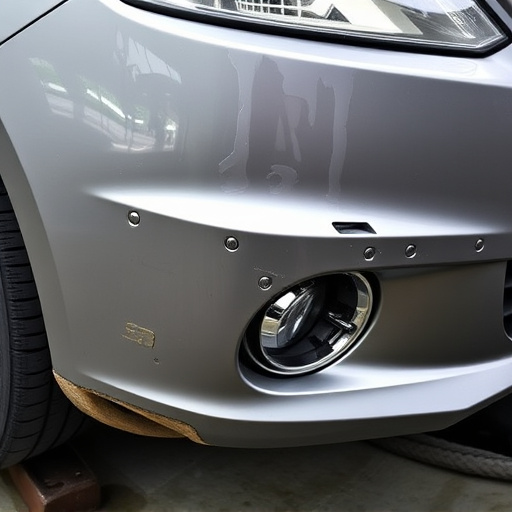
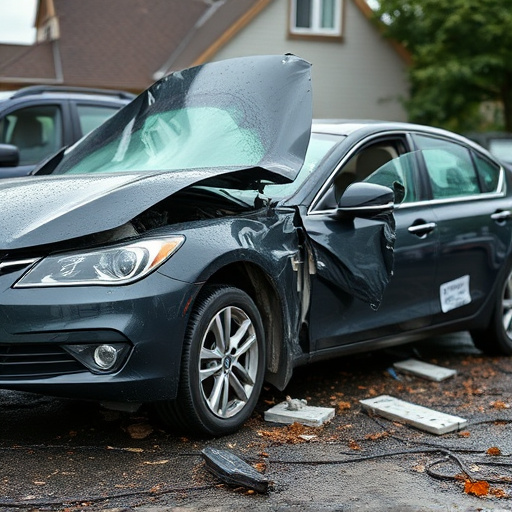
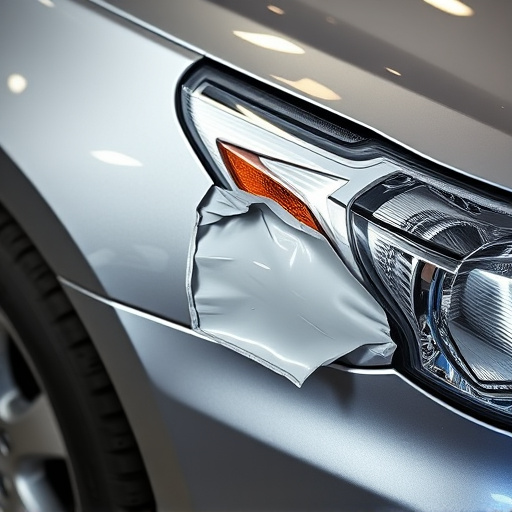
When considering base coat clear coat repair, understanding these layers is crucial. Damage to either layer can impact the overall aesthetics and longevity of the vehicle’s finish. Whether it’s a small chip in the clear coat revealing the base coat below or extensive flaking due to neglect or an auto accident (similar to scenarios requiring auto glass replacement or car dent repair), DIY repairs focus on patching and refinishing these damaged areas for a restored, like-new finish.
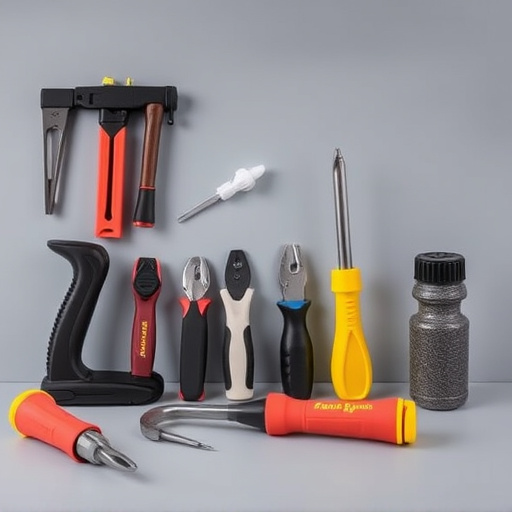
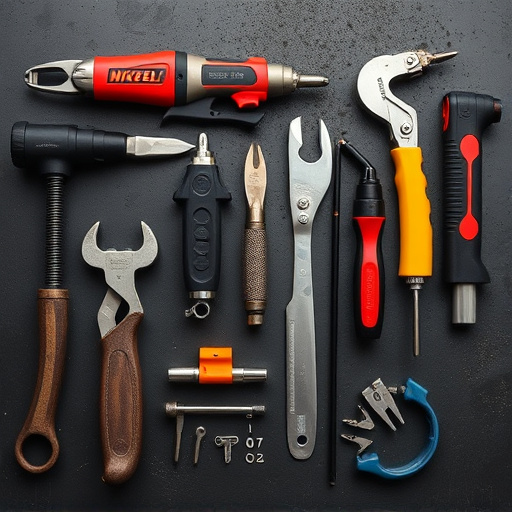
Tools and Materials for Repair
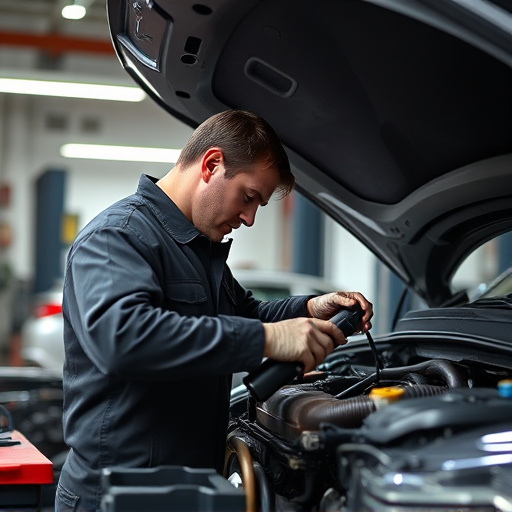
For successful base coat clear coat repair, gather the right tools and materials. This includes a fine-grit sandpaper (usually 400-600 grit), a degreaser for cleaning the damaged area, and an auto paint matching the original color. You’ll also need a putty knife or scratch remover for applying filler, a clear coat (match the existing finish as closely as possible), and a buffer or polishing pad to smoothen and polish the repaired surface. These essentials are commonly available at auto parts stores or through online retailers specializing in auto repair supplies. For those needing assistance, consider visiting an auto repair near me for professional guidance during the process.
Remember, proper preparation is key to achieving a flawless base coat clear coat repair. Before applying any filler or paint, ensure the damaged area is thoroughly cleaned and degreased. Use fine-grit sandpaper to gently buff away any imperfections on the surrounding surface, creating a smooth transition for your repair. This meticulous approach will not only enhance the aesthetics but also guarantee long-lasting results, rivaling even professional frame straightening or fender repair services.
Step-by-Step Guide to Fix and Protect Your Finish

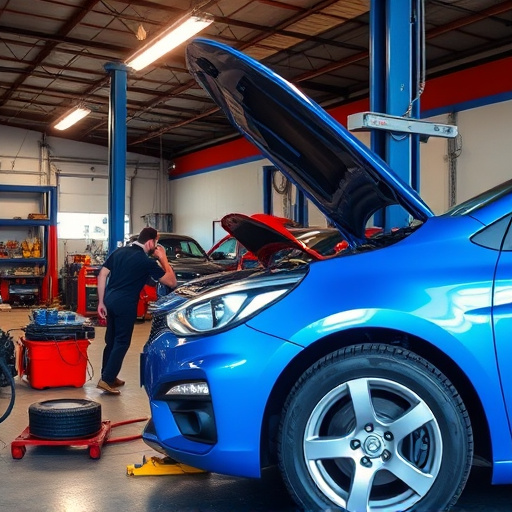
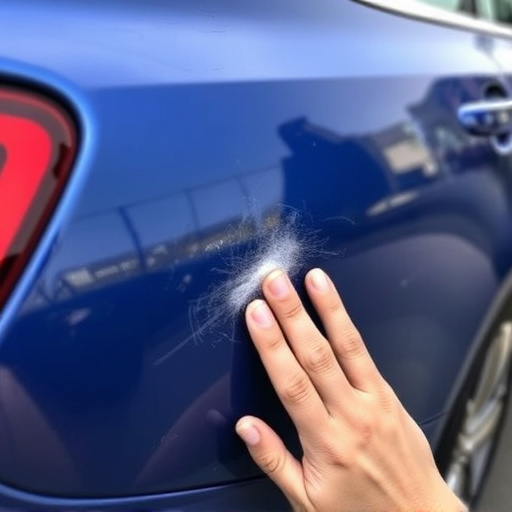
Whether you’ve got a scuffed base coat or a clear coat that’s started to chip, fixing and protecting your car’s finish is an essential part of automotive care. Here’s a step-by-step guide to DIY base coat clear coat repair, perfect for those looking to avoid the expense and time of a trip to a car body shop.
Start by preparing the damaged area. Remove any debris or dirt using a soft cloth and mild soap. Once clean, gently sand the affected spot with 320-grit sandpaper to create a slightly rough surface that allows for better adhesion. After sanding, wipe down the area with a damp cloth to remove dust particles. Then, apply an appropriate base coat primer designed for clear coat repairs. This will help bond the new clear coat to your car’s existing finish seamlessly. Let the primer dry thoroughly according to the manufacturer’s instructions before moving on.
DIY base coat clear coat repair is a practical skill to have, ensuring your car’s finish remains protected and looking its best. By understanding the basics of these coatings and following a simple step-by-step guide, you can effectively fix and prevent future damage. With the right tools and materials, you’ll be able to tackle minor repairs yourself, saving time and money while maintaining the integrity of your vehicle’s exterior. So, why wait? Get started on repairing and protecting your finish today!