

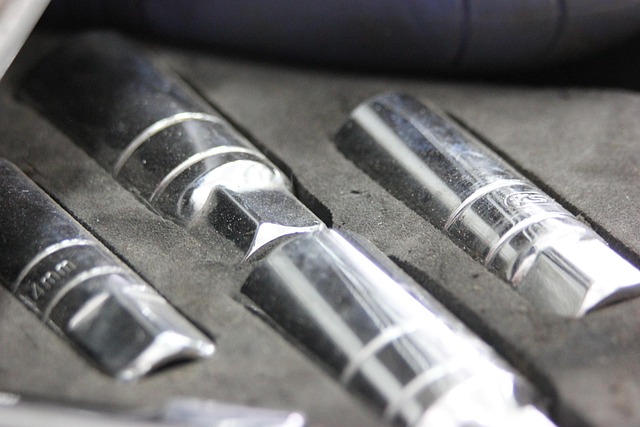
Tesla bumper camera issues like flickering feeds require systematic diagnosis: check connections, inspect lens, and use a multimeter for power supply verification. If external factors are clear, internal component wear or damage may cause problems. Follow 5 easy steps for repair: remove old module, clean surface, install replacement, secure firmly, test feed. Consult a specialized Tesla repair mechanic if issues persist.
Are you experiencing flickering or blacked-out feeds from your Tesla’s bumper camera? Don’t worry, you’re not alone. This comprehensive guide dives into the common issues plaguing these advanced drivers’ assistance systems and provides a step-by-step approach to effective Tesla bumper camera repair. Understanding the diagnosis process and following simple instructions can help you resolve the problem swiftly, ensuring your Tesla’s safety features function optimally.
- Understanding Tesla Bumper Camera Issues
- Diagnosing Flickering or Blacked-Out Feeds
- Step-by-Step Guide to Camera Repair
Understanding Tesla Bumper Camera Issues
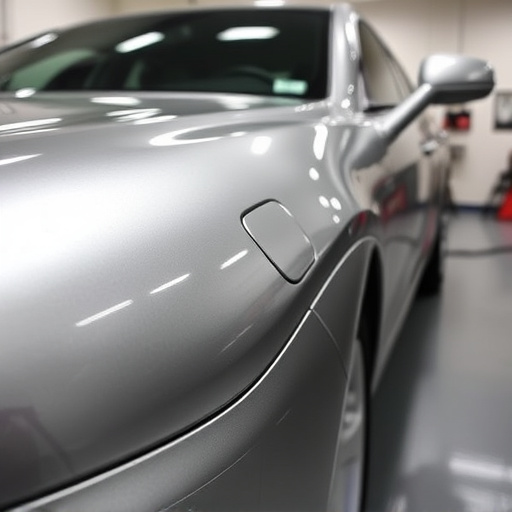
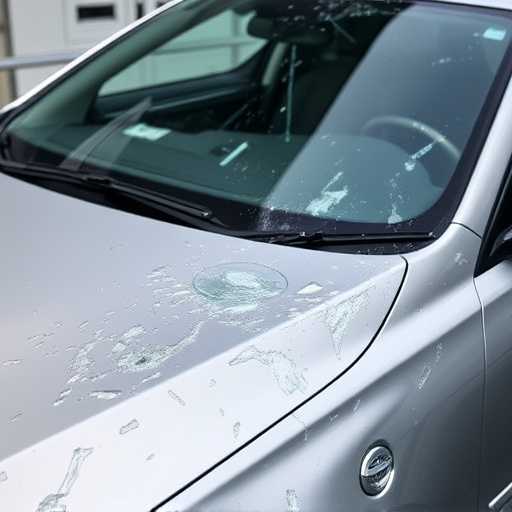
The Tesla bumper camera system, while innovative, can encounter issues that disrupt the driver’s field of vision. Flickering or completely black feeds are common problems often stemming from various factors. One primary cause is environmental conditions; extreme temperatures can affect the camera’s performance. Additionally, debris or damage to the bumper itself may obstruct the camera’s line of sight, resulting in faulty footage. Over time, internal components might wear out, leading to signal interference or complete failure.
When dealing with Tesla bumper camera repair, it’s crucial to identify the specific issue. An auto repair shop or collision repair shop equipped with specialized tools and expertise can diagnose problems accurately. They may replace damaged parts, recalibrate sensors, or address structural issues related to car dent repair, ensuring optimal camera performance.
Diagnosing Flickering or Blacked-Out Feeds

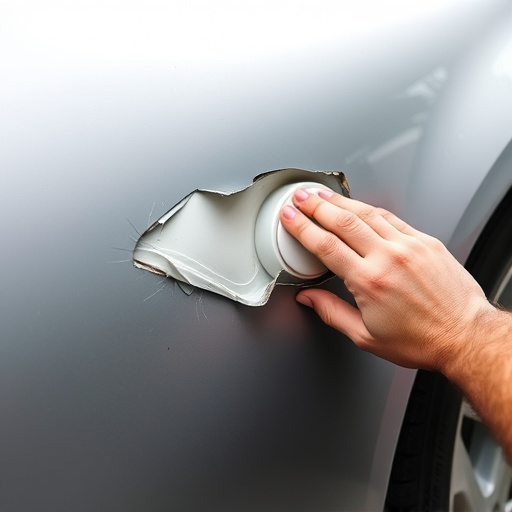
Diagnosing flickering or blacked-out feeds from your Tesla bumper camera involves a systematic approach. Start by checking for any loose connections at the camera’s interface point, as even a slight vibration could disrupt signal transmission. Next, inspect the camera itself for debris, dirt, or damage that might be blocking the lens or disrupting image capture. Using a multimeter, verify power supply to the camera; an intermittent connection here can cause erratic feed behavior. If all external factors check out, issues may lie within the vehicle’s electrical system or software. In such cases, consulting with a specialized Tesla bumper camera repair service or collision repair shop equipped with diagnostic tools can help pinpoint and resolve the problem effectively. Remember that prompt attention to these issues ensures optimal visibility and safety while driving.
Step-by-Step Guide to Camera Repair
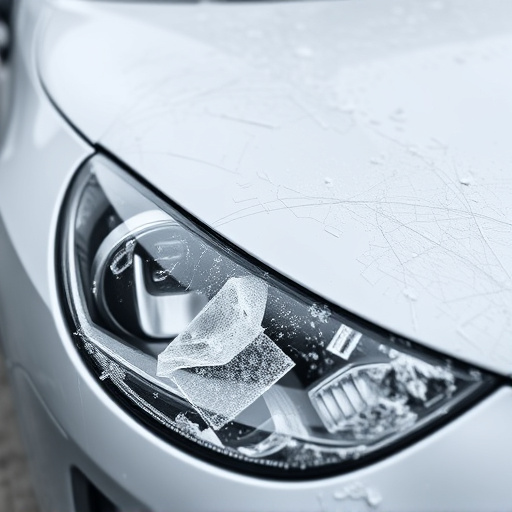
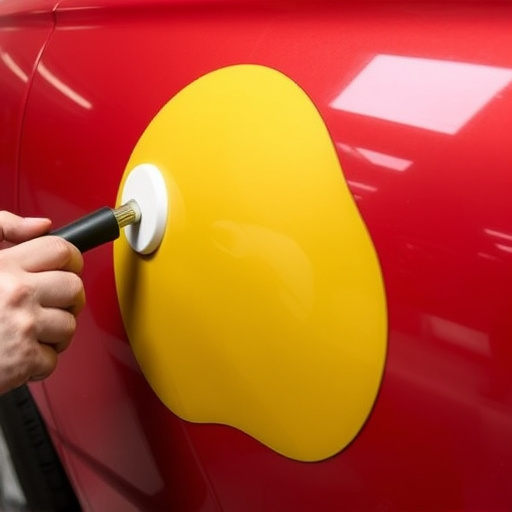
Repairing a flickering or blacked-out Tesla bumper camera feed is a straightforward process that can be accomplished in several simple steps. First, locate the camera module behind the bumper or fender, which is typically secured with a few screws or adhesive. Using the appropriate tools, carefully remove these fasteners and gently lift out the old camera. Next, clean the mounting surface thoroughly to ensure proper adhesion for the new camera.
Once prepared, install the replacement camera by securing it firmly in place with the removed fasteners or fresh adhesive. Double-check that all connections are secure before reattaching any panels or trim. After reassembling your vehicle, test the camera’s functionality from both the dashboard display and mobile app to confirm a stable feed without flickering or blackouts. Should any issues persist, consult a professional mechanic specializing in Tesla repairs for further assistance with diagnostic checks and tire services if needed. Remember, prompt action on camera failures enhances safety and ensures optimal visibility while driving.
Repairing a flickering or blacked-out Tesla bumper camera feed is now more accessible than ever with this step-by-step guide. By understanding the common issues and following these straightforward instructions, you can enhance your Tesla’s safety features and ensure optimal visibility while driving. Don’t let a faulty camera disrupt your peace of mind; take control and perform this repair to keep an eye on the road ahead. Remember, a well-maintained Tesla is a safer Tesla, and with this knowledge, you’re well-equipped to tackle any minor repairs yourself.