
Tesla panel gap restoration addresses misalignments in door and hood panels caused by various factors. Professionals use precise tools to realign panels, enhancing aesthetics and structural integrity for a seamless finish matching the vehicle's original design. This process requires specific materials like gap filler, sandpaper, primer, matching paint, and detailed sanding tools, demanding meticulous attention to detail for a professional-looking restoration.
Tesla vehicles are renowned for their sleek design, but one common issue that owners often face is the appearance of panel gaps on doors and hoods. This article delves into the world of Tesla panel gap restoration, offering a comprehensive guide to addressing this aesthetic concern. We’ll explore the causes behind these gaps, provide a list of essential tools and materials, and offer a detailed step-by-step process for repairs, ensuring your Tesla maintains its modern and harmonious look.
- Understanding Tesla Panel Gap Issues
- Tools and Materials for Restoration
- Step-by-Step Guide to Repair and Prevention
Understanding Tesla Panel Gap Issues
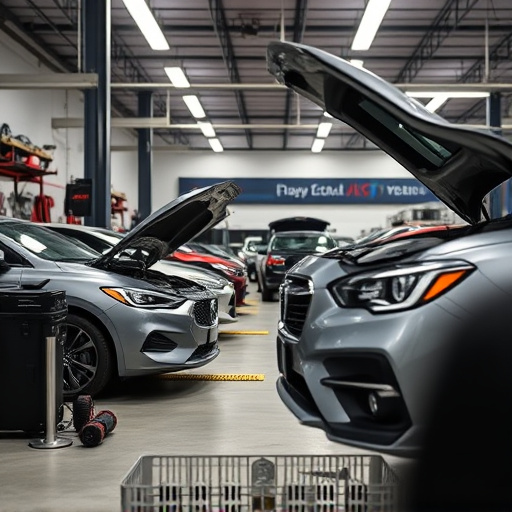
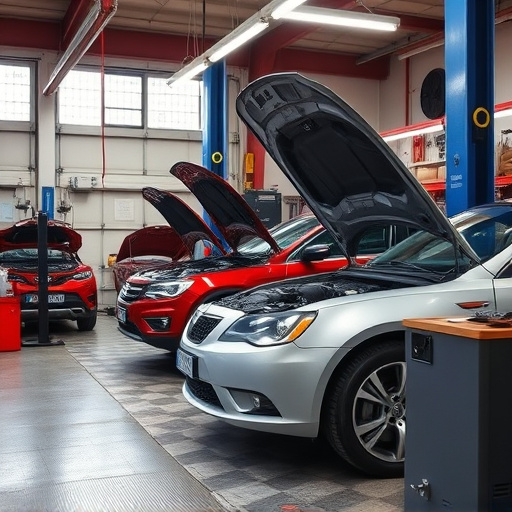
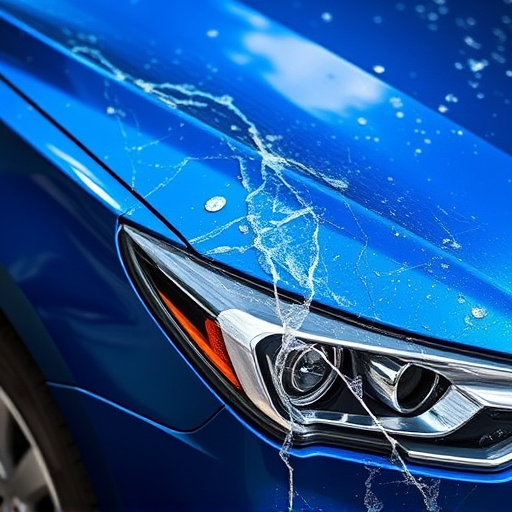
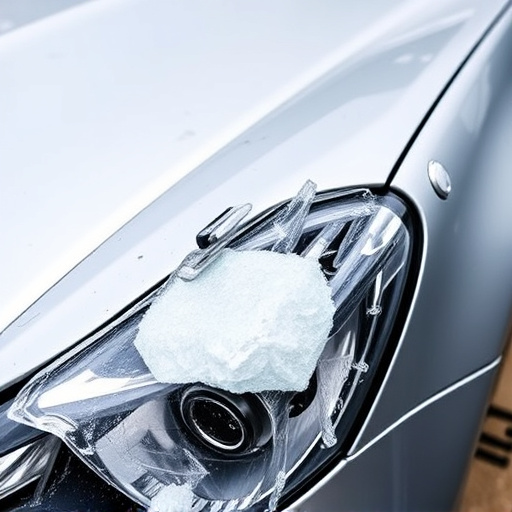
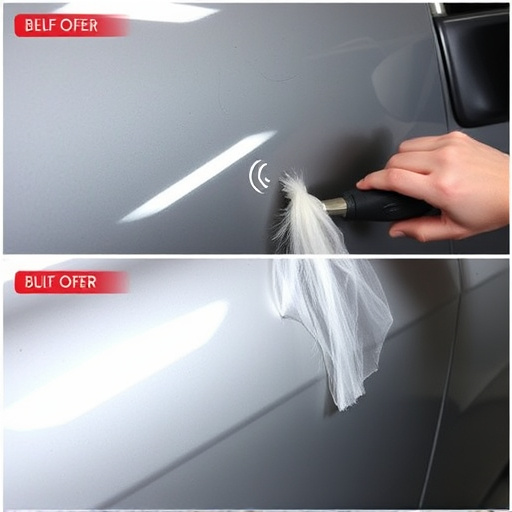
Tesla vehicles are renowned for their sleek design and innovative technology, but like any car, they can suffer from cosmetic issues, especially when it comes to panel gaps. Panel gap restoration is a specialized service that addresses misalignments or gaps between various panels of a Tesla’s door and hood. Over time, these gaps can become noticeable due to factors such as vehicle collision repair, normal wear and tear, or manufacturing variations.
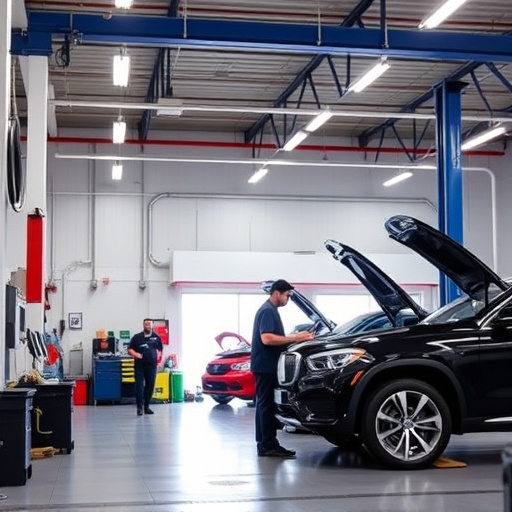
In the world of auto body shops, especially when dealing with luxury vehicles like Teslas, precision is key. Collision repair professionals employ specialized tools and techniques to carefully realign and adjust the panels, ensuring a seamless finish that matches the vehicle’s original design. This process not only enhances the aesthetic appeal but also reinforces structural integrity, addressing potential weaknesses that could arise from panel gap issues.
Tools and Materials for Restoration
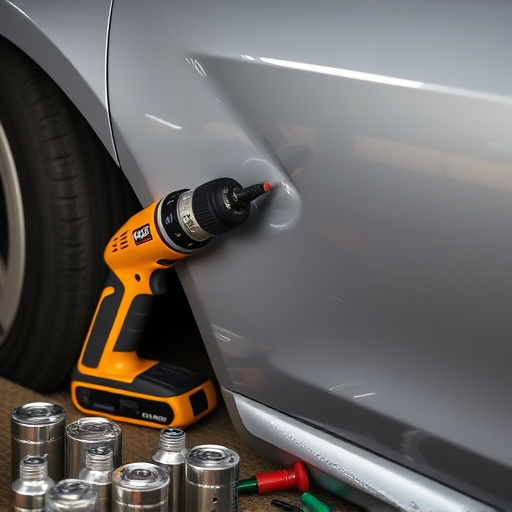
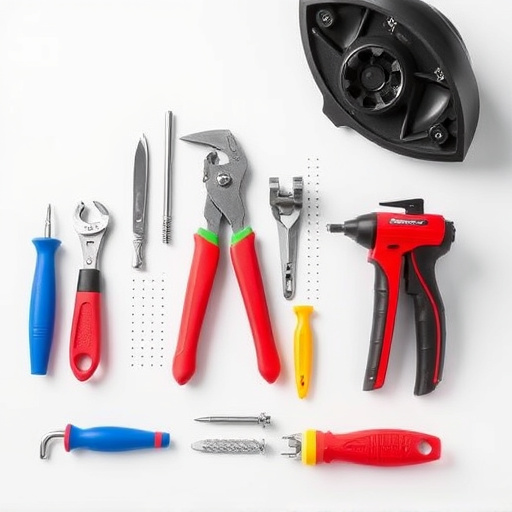
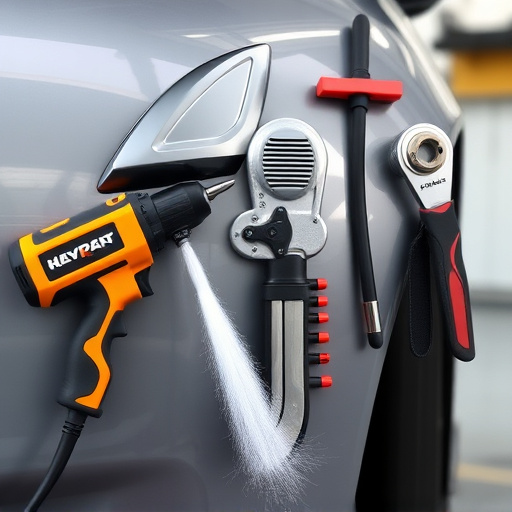
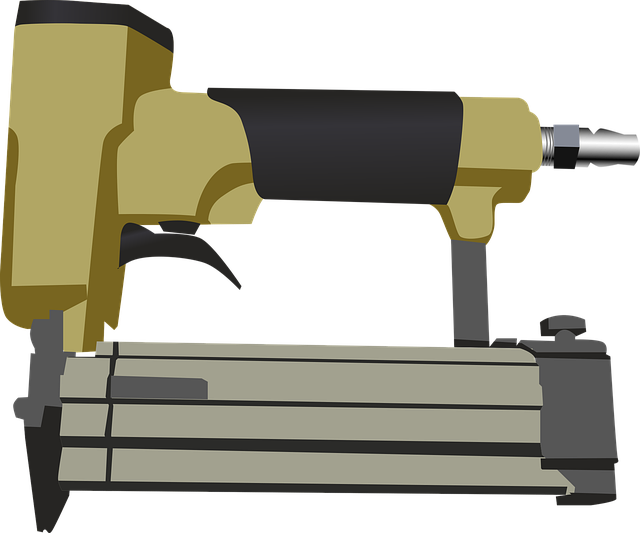
Restoring a Tesla’s panel gap requires a specific set of tools and materials tailored for precision and quality. For successful Tesla panel gap restoration, gather a few key essentials: specialized gap filler, sandpaper (fine-grit), paint primer designed for automotive use, matching car paint, and a clean cloth or sponge.
Additional tools like a putty knife with a thin blade, a detailed sanding block, and a mask to protect against paint mist will enhance the process. Remember, achieving a seamless finish demands careful attention to detail at each step, from preparation to application, making the right choices in materials crucial for a professional-looking car body restoration that rivals the factory finish—ensuring your Tesla’s panels look as good as new.
Step-by-Step Guide to Repair and Prevention
Repairing and preventing Tesla panel gap restoration is a crucial step in maintaining your vehicle’s aesthetics. Here’s a step-by-step guide to help you achieve this:
1. Inspection: Begin by thoroughly inspecting the affected areas, focusing on both the door and hood panels. Identify loose or misaligned components, as well as any gaps that need attention. This initial check ensures you understand the extent of the damage.
2. Gather Materials: Collect all necessary tools and materials before starting. This includes a putty knife for applying filler, a sandpaper set for smoothing, and a high-quality paint match for Tesla vehicles. Using genuine or approved replacement parts is recommended to ensure optimal fit and finish. For more severe cases, consider professional auto glass replacement services for doors or hoods if the damage extends beyond simple panel gaps.
3. Prepare the Surface: Clean and decontaminate the area around the gap to ensure better adhesion during repair. Remove any dirt, grease, or old residue. Priming the metal surface can also aid in creating a stronger bond with your chosen filler material.
4. Fill and Sand: Apply automotive-grade body filler along the gap using your putty knife. Spread it evenly, pressing firmly to fill the void completely. Allow the filler to dry according to the manufacturer’s instructions. Once set, sand the area gently with progressively finer grits until a smooth finish is achieved.
5. Prime and Paint: Apply an even coat of primer designed for Tesla vehicles or auto body work in general. This step helps ensure the final paint job adheres well. After drying, use high-quality spray paint tailored to match your vehicle’s color. A two-coat process is often recommended for optimal coverage and durability.
6. Final Touches: Allow the paint to cure completely before evaluating your work. Check for any remaining imperfections and make adjustments as needed. Regular vehicle maintenance, including regular washing and waxing, will help preserve the restored panel gap and overall appearance of your Tesla. Remember that professional vehicle repair services can also be sought if the damage is extensive, ensuring a high-quality restoration.
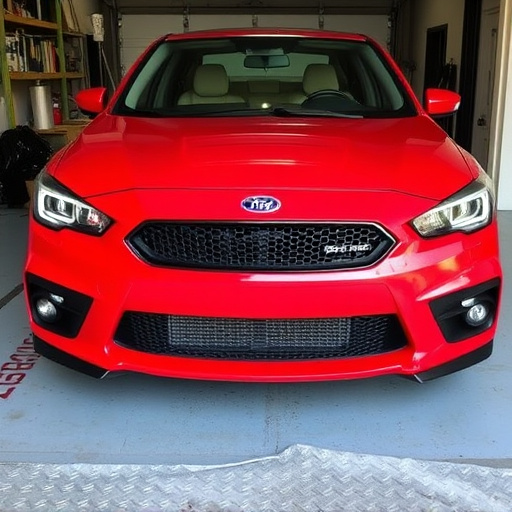
Tesla panel gap restoration is a crucial process for maintaining the sleek and modern aesthetic of your vehicle. By understanding the common issues, gathering the right tools and materials, and following a detailed step-by-step guide, you can effectively repair and prevent gaps in both door and hood panels. This DIY approach not only saves costs but also ensures your Tesla retains its distinctive and high-quality appearance.