


After a collision, Tesla ultrasonic sensors, vital for ADAS and autonomous driving, may be damaged. Proper repair involves thorough inspection, testing, and skilled technicians using advanced tools to ensure accurate repairs or replacements according to manufacturer standards. Many auto repair shops offer specialized Tesla ultrasonic sensor repair services, preserving safety features and vehicle condition. The meticulous process includes assessing damage, removing old sensors, cleaning housing, installing new sensors, and verifying connections before test drives.
Tesla vehicles are renowned for their advanced technology, but even the most innovative systems can fail. One critical component susceptible to damage is the ultrasonic sensor, often requiring repair after impact events. This article delves into understanding common causes of Tesla ultrasonic sensor failure post-collisions and offers practical strategies for replacement. By following a step-by-step guide, owners can effectively restore functionality and ensure their vehicles’ safety features remain intact.
- Understanding Tesla Ultrasonic Sensor Failure Post-Impact
- Common Causes of Damage and Repair Strategies
- Restoring Functionality: A Step-by-Step Guide to Replacement
Understanding Tesla Ultrasonic Sensor Failure Post-Impact
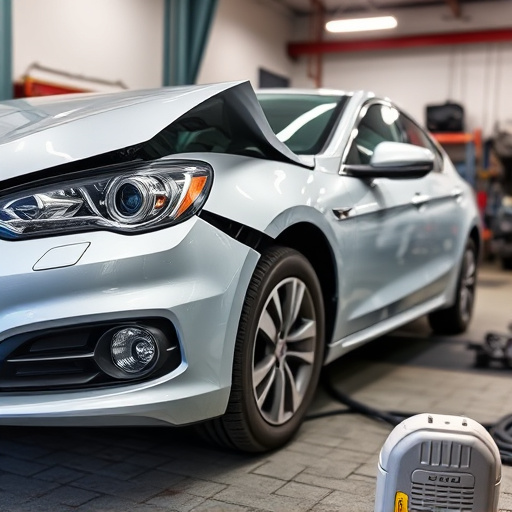
After a significant impact event, Tesla owners often face concerns regarding their vehicle’s safety systems, particularly the ultrasonic sensors. These sensors play a crucial role in advanced driver-assistance systems (ADAS), including automatic emergency braking and lane departure warnings. When a Tesla encounters a collision, whether it’s a fender bender or a more severe accident, the ultrasonic sensor repair process becomes essential for restoring optimal vehicle performance and safety features.
Understanding the failure mechanisms of these sensors post-impact is vital in the automotive collision repair process. In many cases, even minor accidents can cause internal damage to the sensor’s delicate components. This may result in false readings or complete sensor malfunction, impacting the overall efficiency of ADAS. Proper diagnosis, involving a thorough inspection and testing regimen, is required to identify issues related to Tesla ultrasonic sensor repair. Skilled technicians employ advanced tools to assess the sensor’s condition, ensuring accurate repairs or replacements are made, aligning with the manufacturer’s standards.
Common Causes of Damage and Repair Strategies
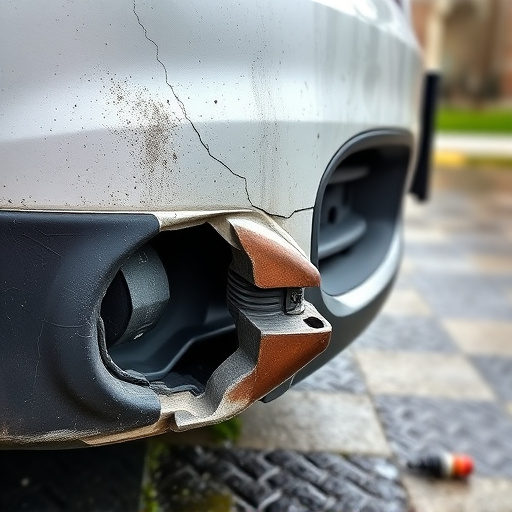
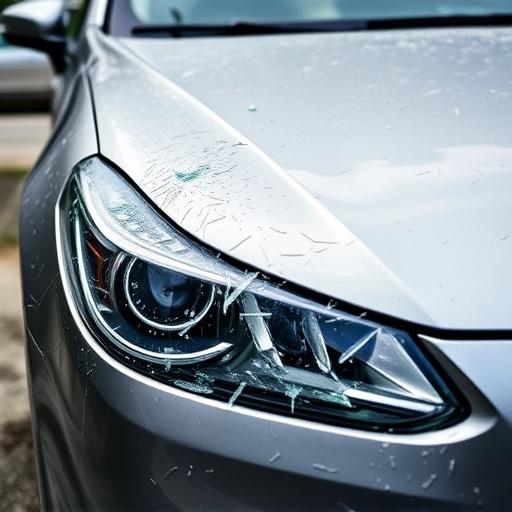
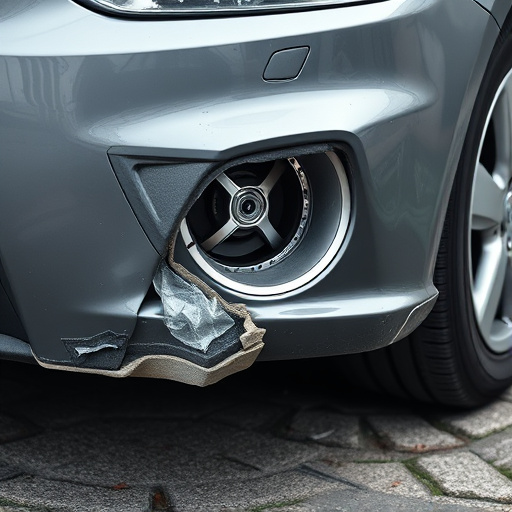
The Tesla ultrasonic sensor, responsible for detecting obstacles and aiding in autonomous driving features, is susceptible to damage from impact events like accidents or debris. Common causes include collisions with other vehicles, potholes, or road hazards, which can lead to cracks, dislodging, or complete failure of the sensor. Even minor bumps can sometimes cause internal component damage, requiring specialized Tesla ultrasonic sensor repair.
Repairs typically involve a combination of replacement and rejuvenation strategies. For simpler cases, replacing the affected sensor is often sufficient. However, more complex damages might necessitate recalibration or reprogramming to ensure optimal performance after repair. Many auto repair shops, including those specializing in electric vehicle repairs, offer Tesla ultrasonic sensor repair services. Choosing a reputable auto repair near me with experienced technicians ensures the job is done accurately and efficiently, maintaining your Tesla’s safety features and overall vehicle condition.
Restoring Functionality: A Step-by-Step Guide to Replacement
Restoring Functionality: A Step-by-Step Guide to Replacement
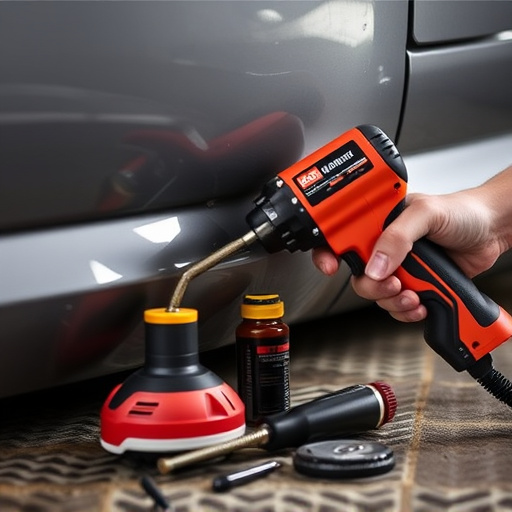
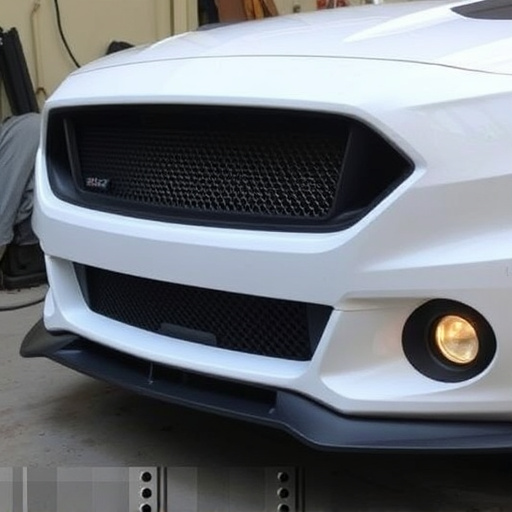
After a collision or impact event, your Tesla’s ultrasonic sensor may require repair or replacement to ensure safe and reliable operation. This step-by-step guide outlines the process for restoring functionality, focusing on both efficiency and precision. Begin by locating the damaged sensor, typically found around the vehicle’s exterior, especially in areas prone to impacts like the front bumper or fenders. Next, assess the extent of the damage—is it a crack, chip, or complete failure? If the sensor is severely damaged, replacement is recommended.
Proceed to disassemble any surrounding components carefully to gain access to the ultrasonic sensor. Utilize specialized tools to remove the old sensor while taking note of its orientation and connections. Once removed, inspect the housing and adjacent areas for any debris or damage that could affect new sensor functionality. Clean the area thoroughly, ensuring no remnants of old adhesive or foreign particles remain. Install the new Tesla ultrasonic sensor, securing it firmly in place with clean, high-quality adhesive designed for automotive applications. Reassemble the components and verify all connections are secure before conducting a test drive to ensure optimal performance. For best results, entrust this delicate process to a reputable auto repair shop offering specialized body shop services.
In conclusion, understanding and addressing Tesla ultrasonic sensor failure after impact events is crucial for maintaining optimal vehicle safety and performance. By identifying common causes of damage and implementing effective repair strategies, owners can restore functionality to these essential components. Following the step-by-step guide provided, you’ll be equipped to replace the sensors efficiently, ensuring your Tesla remains a reliable and safe ride on the road. For any Tesla ultrasonic sensor repair needs, prioritize professional care to guarantee superior results.