

Tesla repeater camera replacements are crucial for safety and performance. Issues like poor image quality or non-functional cameras require prompt attention. Repairs involve both hardware (tools, installation) and software (diagnostic tools, integration). Tools include precision screwdrivers, pliers, vacuum chuck, and diagnostic software. Preparation: gather tools, power off vehicle, locate old camera, unplug, disconnect power sources, install new camera, reconnect securely, and verify functionality using diagnostic software.
Looking to replace your Tesla repeater camera? This comprehensive guide walks you through the process, from identifying common issues with Tesla’s repeater cameras to ensuring a successful swap using Tesla diagnostic software. We’ll outline the necessary tools and provide a detailed step-by-step guide. By following these instructions, you’ll have your Tesla repeater camera replaced in no time, enhancing your vehicle’s safety and performance.
- Understanding Tesla Repeater Camera Issues
- Tools and Software Required for Replacement
- Step-by-Step Guide to Successful Camera Swap
Understanding Tesla Repeater Camera Issues

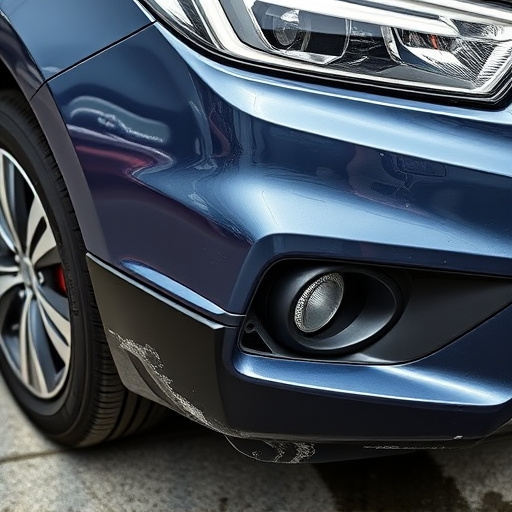
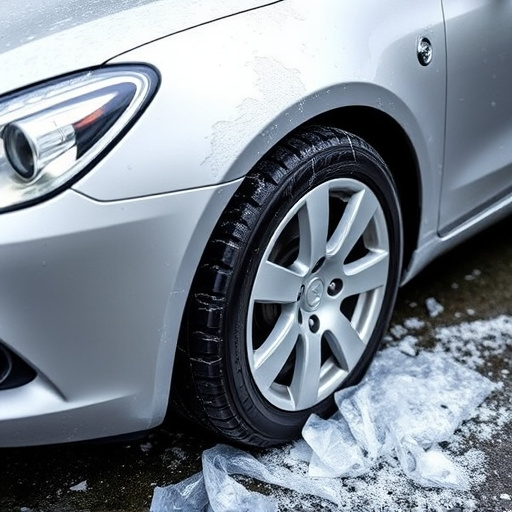
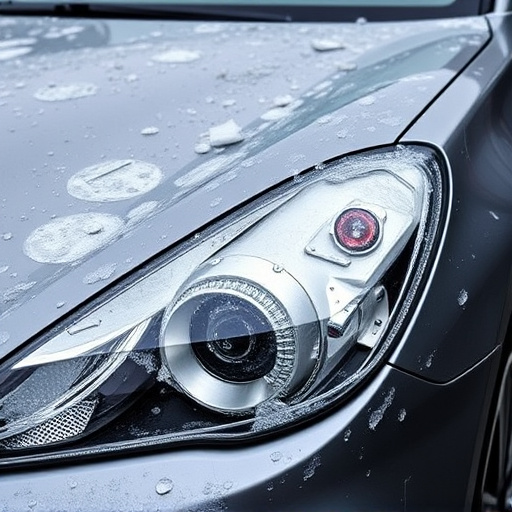
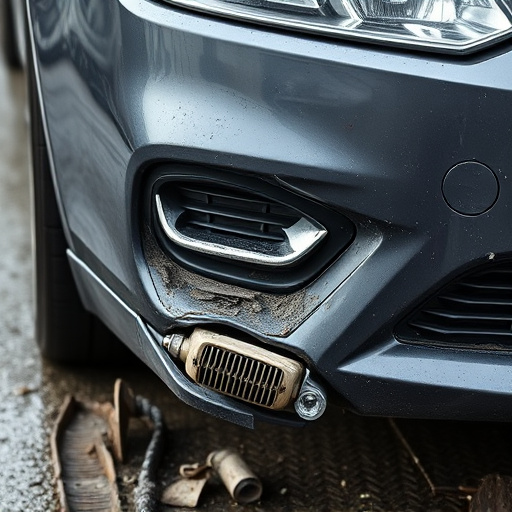
Tesla repeater cameras are an integral part of the vehicle’s safety system, providing a clear view around the car for enhanced driving confidence. Issues with these cameras can arise due to various reasons, such as damage from minor accidents like fender benders or build-up of dirt and debris over time. If you notice any problems with your Tesla’s repeater cameras, such as blurred or distorted images, or if they’re not turning on at all, it might be time for a replacement.
Properly addressing Tesla repeater camera issues is crucial for maintaining optimal safety features. Repairs should ideally involve both the camera hardware and software to ensure seamless functionality. Many car bodywork services and specialized Tesla repair shops offer expert solutions, including advanced diagnostic software that confirms the issue before suggesting a fix, whether it’s a simple cleaning or a full replacement involving high-quality car paint services to restore the area around the cameras to its original condition.
Tools and Software Required for Replacement
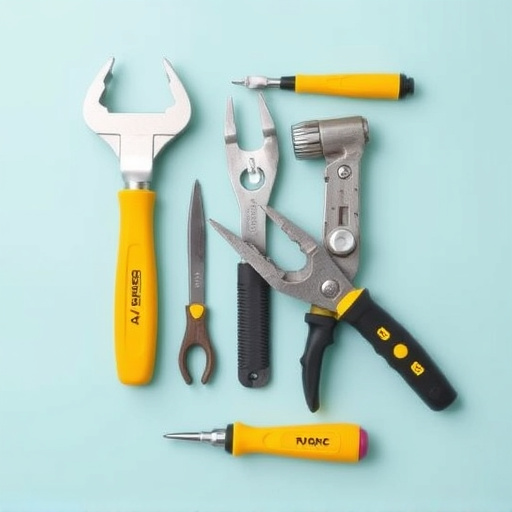
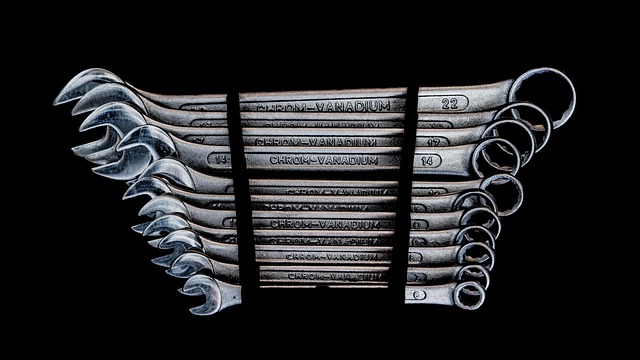
For a successful Tesla repeater camera replacement, several tools and software are essential. Primarily, you’ll need specialized tools for removing the old camera and installing the new one, such as a set of precision screwdrivers, pliers, and possibly a vacuum chuck for safe removal of components. These tools ensure precise work, avoiding damage to the delicate car bodywork during the process.
Additionally, Tesla’s diagnostic software is crucial for confirming the replacement. This software allows you to verify that the new camera is functioning optimally and properly integrated into the vehicle’s systems. By utilizing this tool, you can cross-check that all functions related to the repeater camera are working as expected, enhancing overall vehicle safety and performance. Think of it as a quality check for your tire services—ensuring every part is in top condition for optimal driving experience.
Step-by-Step Guide to Successful Camera Swap
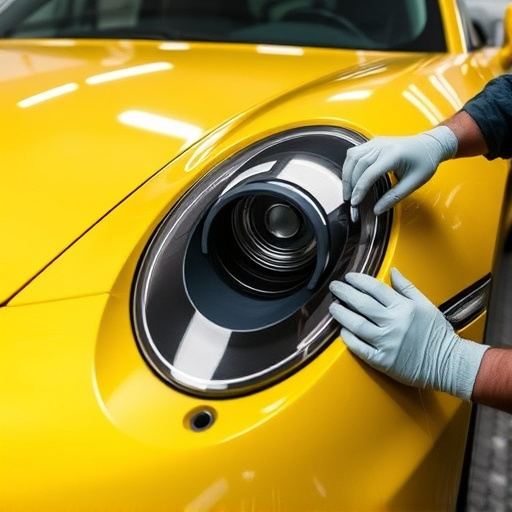
Performing a Tesla repeater camera replacement involves careful steps to ensure a successful and seamless integration. First, gather all necessary tools, including the new camera, diagnostic software, and access to your vehicle’s system through a compatible scanner or the Tesla mobile app. Start by powering off your Tesla and opening the vehicle body shop’s door where you’ll be working. Then, locate the existing repeater camera, typically found at the rear of the vehicle near the bumper. Carefully unplug the old camera, taking note of its wiring and connections for reference.
Next, disconnect any power sources from the vehicle body shop to avoid short circuits. With the old camera removed, install the new one by following the manufacturer’s instructions, ensuring it aligns perfectly with the vehicle’s design. Once in place, reconnect all wires and plug points, double-checking each connection for security. Initiate Tesla diagnostic software through your scanner or app to verify the replacement was successful, confirming the new camera is operational and functioning correctly within your auto body services’ shop environment.
Tesla repeater camera replacement is a straightforward process that can significantly enhance your driving experience. By following this step-by-step guide and utilizing the necessary tools and software, such as Tesla diagnostic software for confirmation, you can easily resolve any issues with your vehicle’s rear camera. Remember that understanding common problems beforehand and having the right resources at hand are key to a successful swap.