


Tesla impact sensor replacement guide emphasizes safety and minimal disassembly. Tools, gloves, glasses, and vehicle diagrams are essential. Battery disconnect and careful debris removal prioritize safety. Sensor extraction, new installation, and reassembly with testing ensure functionality without complex skills or painting. Complex cases require expert assistance.
Looking to replace your Tesla impact sensor with minimal disruption? This guide is your solution. We demystify the process, focusing on practical steps for a swift and efficient repair. Understanding common failure modes and gathering the right tools is key. Then, follow our detailed, step-by-step instructions for disassembly, replacing the sensor, and reassembling your Tesla’s safety system with ease. Conquer Tesla impact sensor replacement effortlessly – start here!
- Understanding Tesla Impact Sensor Failure
- Tools and Preparation for Replacement
- Step-by-Step Guide to Minimal Disassembly
Understanding Tesla Impact Sensor Failure
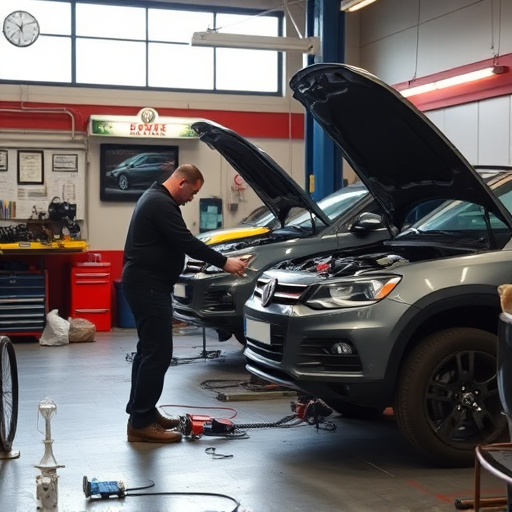
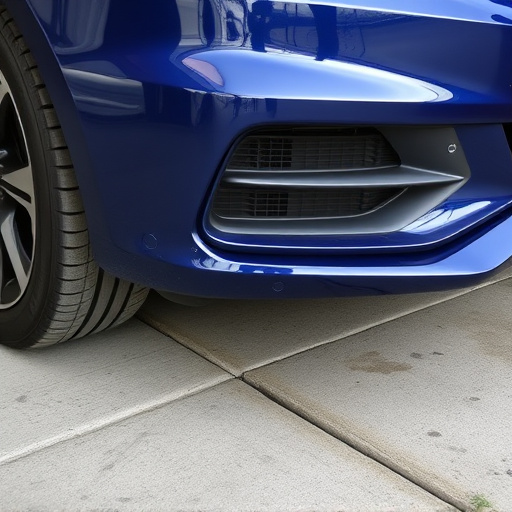
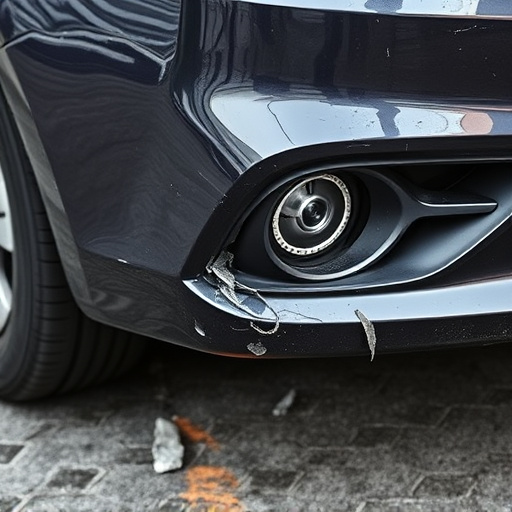
The Tesla impact sensor, strategically integrated into the vehicle’s bodywork, plays a critical role in active safety features like collision avoidance and auto-steering systems. Over time, these sensors can fail due to various reasons, including damage from minor fender benders or road debris, which often leads to costly vehicle dent repair. Recognizing the symptom of sensor malfunction—such as system errors or reduced responsiveness—is essential for owners. Timely replacement is crucial to ensure the continued effectiveness of the car’s safety mechanisms.
When troubleshooting impact sensor issues, it’s important to note that minimal disassembly is often feasible. Unlike traditional fender repair, replacing a Tesla impact sensor typically requires only access to the affected area, making it a relatively straightforward process for skilled technicians. This efficiency not only saves time but also minimizes the risk of further vehicle damage during the replacement procedure.
Tools and Preparation for Replacement
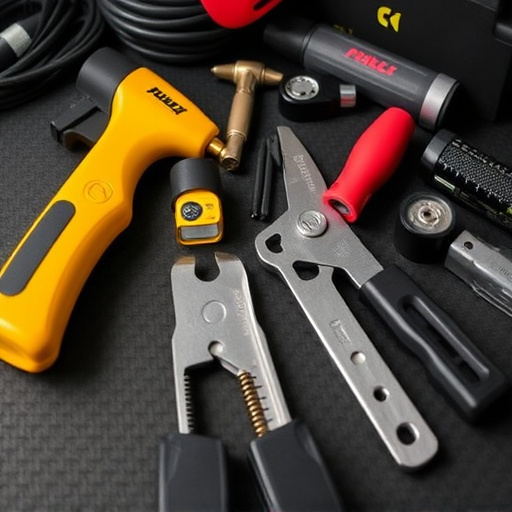
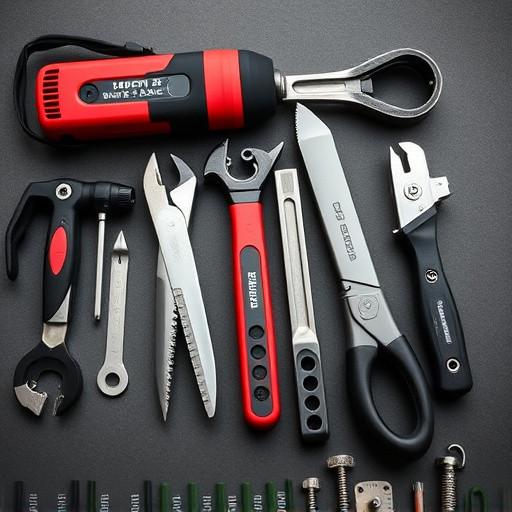
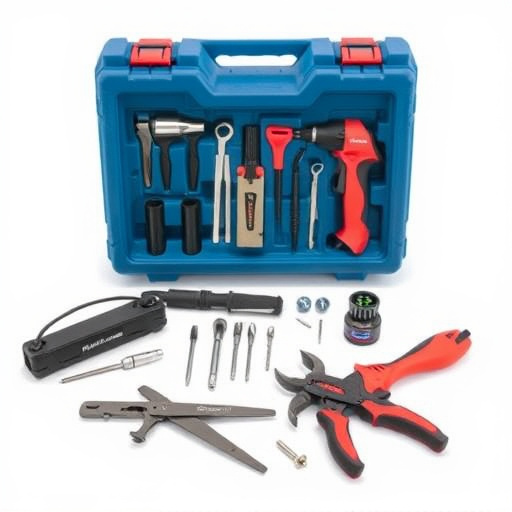
Before tackling a Tesla impact sensor replacement, gather the necessary tools to ensure a smooth and efficient process. This includes a set of precision screwdrivers, pliers, and possibly a heat gun for softening adhesives (though be cautious around sensitive components). Safety gear is paramount; wear gloves and safety glasses to protect against debris and potential hazards. Start by familiarizing yourself with the sensor’s location and its connection points—a crucial step in minimizing disassembly.
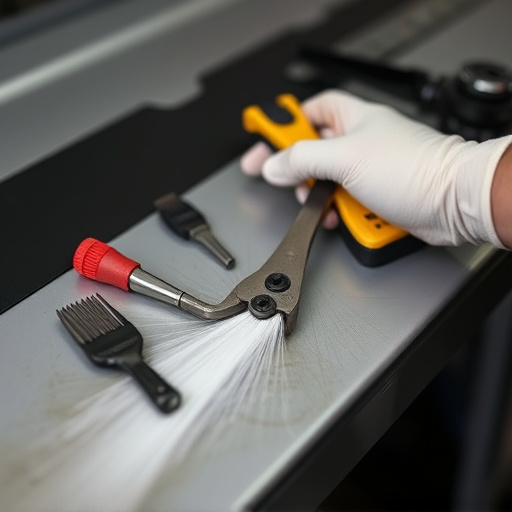
Proper preparation involves creating a clean workspace, removing any loose debris from the area, and ensuring adequate lighting for precision work. If replacing an old or damaged sensor, carefully extract it without causing further harm to surrounding parts. This process requires delicate handling as the impact sensor is integral to the vehicle’s safety systems. With the right tools and a systematic approach, car body repair can be achieved with minimal disruption, making way for a functional Tesla impact sensor replacement.
Step-by-Step Guide to Minimal Disassembly
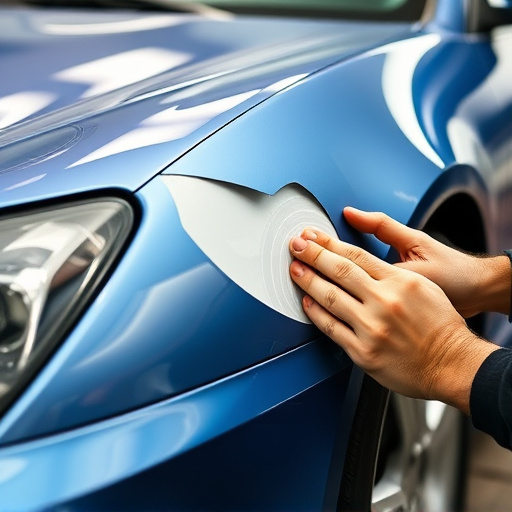
Replacing a Tesla impact sensor with minimal disassembly is a straightforward process that can be accomplished by both professionals and DIY enthusiasts. Here’s a step-by-step guide to help you navigate this task efficiently. Begin by ensuring your vehicle is securely parked on a level surface, engaging the parking brake, and disconnecting the battery for safety reasons. Next, locate the impact sensor—typically found in the front or rear bumper areas—using your vehicle’s diagram or manual. Once identified, gently remove any surrounding debris and access points, such as trim pieces or covers.
Using specialized tools designed for precision, carefully disassemble only the necessary components to expose the sensor. This may involve releasing clamps, unfastening brackets, or detaching electrical connectors. Take note of how each piece is connected to ensure a seamless reassembly later. Remove the old impact sensor by unscrewing any securing bolts and gently pulling it away from its housing. Install the new sensor by aligning it precisely and tightening the bolts hand-tight. Double-check all connections, ensuring no loose parts or damaged wiring. Reassemble the components in reverse order, carefully replacing any trim pieces and securing them properly. Test the sensor’s functionality to confirm a successful replacement, without needing extensive auto painting or mercedes benz repair skills. For complex cases, consider seeking expert auto body services for support.
Replacing a Tesla impact sensor with minimal disassembly is both feasible and recommended, as it can extend the life of your vehicle’s safety system. By understanding common failure modes, gathering the right tools, and following a straightforward step-by-step guide, you can efficiently address this task. This DIY approach not only saves costs but also allows for a deeper appreciation of your Tesla’s intricate technology. With these simple steps, you’re well on your way to ensuring your Tesla remains a reliable and safe companion on the road.