

Bumper replacement goes beyond part exchange. It's a meticulous process involving removing old bumpers with care, preparing and cleaning surfaces for new bonding, precise alignment during installation, and calibrating car systems like sensors and cameras for optimal performance and safety, ensuring successful restoration.
Bumper replacements are essential for both aesthetic restoration and safety. This comprehensive guide delves into the complete process, from understanding the need for a bumper replacement to the step-by-step removal of the old bumper. We provide a detailed tutorial for calibrating vehicle systems after the new bumper is installed, ensuring optimal performance and safety features. By following these steps, you’ll be equipped to navigate the bumper replacement process with confidence, keeping your vehicle in top condition.
- Understanding Bumper Replacement Process
- Removing Old Bumper: Step-by-Step Guide
- Calibrating Vehicle Systems After Bumper Replacement
Understanding Bumper Replacement Process
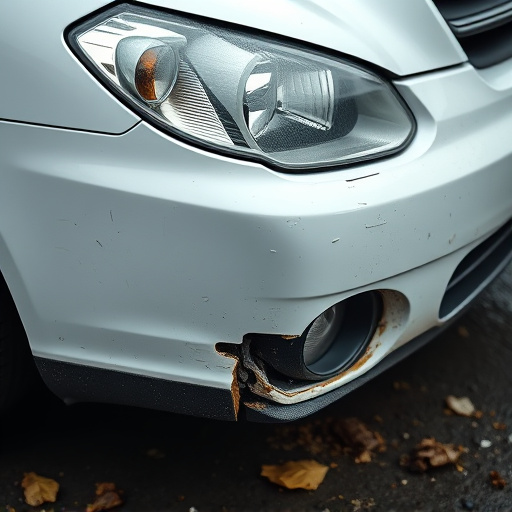
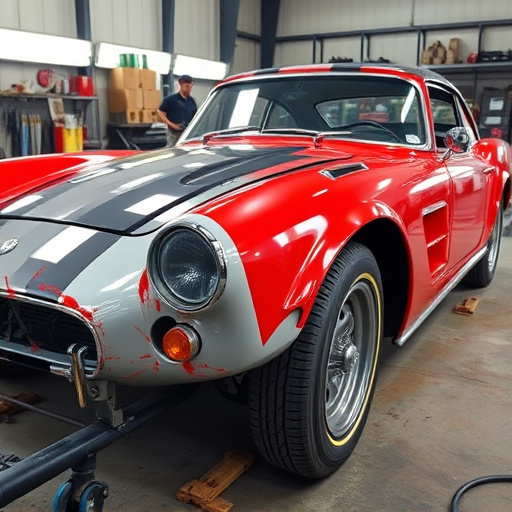
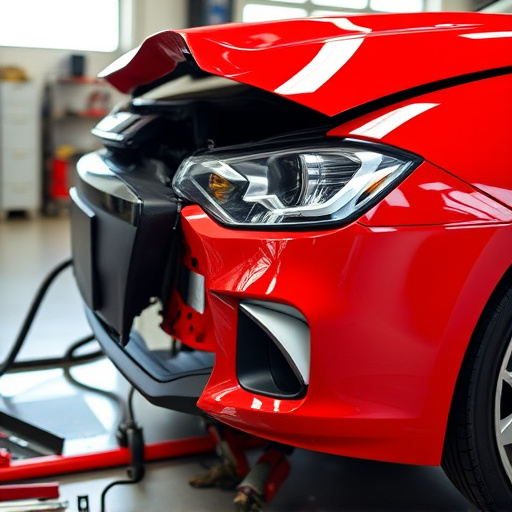
Understanding the bumper replacement process is crucial for anyone considering this car damage repair and restoration task. It involves more than just swapping out a damaged part; it’s a meticulous procedure that requires skill and precision. First, the old bumper needs to be carefully removed, which often entails detaching various components connected to it, such as sensors, lights, or impact-absorbing materials. This step demands caution to avoid damaging other parts of the car body during the car restoration process.
Once the old bumper is out, the next phase is preparing the surface for the new one. This includes cleaning and decontaminating the area to ensure a proper bond between the replacement bumper and the car’s structure. After that, the new bumper is installed, aligning it precisely with the vehicle’s design. The final step involves calibrating the car’s systems—like sensors and cameras—to ensure they function correctly with the newly fitted bumper, completing the process of car body restoration.
Removing Old Bumper: Step-by-Step Guide
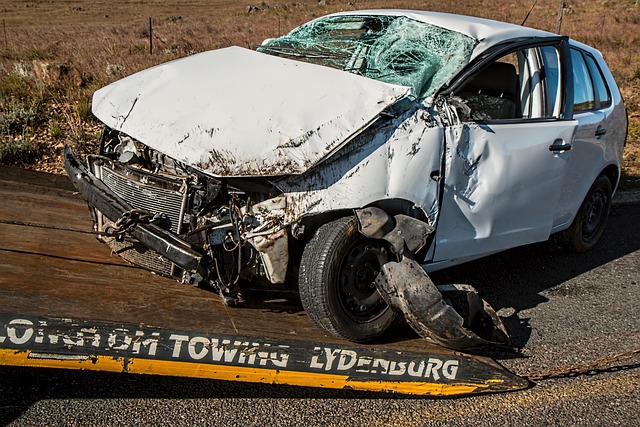
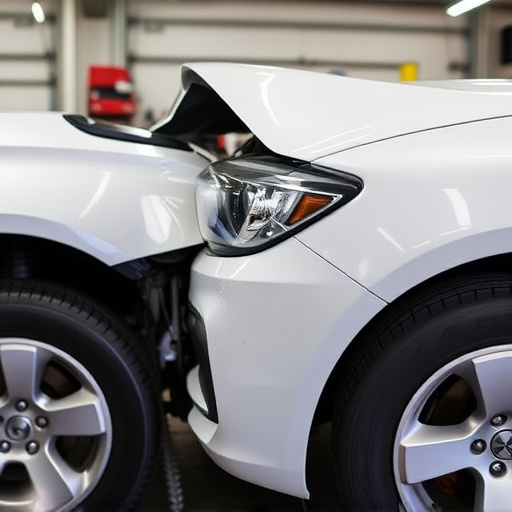
Removing an old bumper is a crucial step in any successful bumper replacement process. It requires careful disassembly to ensure all components are safely removed and prepared for proper disposal or recycling, especially in the case of vehicle collision repair. Begin by securing your vehicle on jack stands for stability, ensuring it’s safe from rolling or shifting during the process. Next, locate and identify the bolts securing the bumper to the vehicle’s frame using a repair manual as a guide. This step is key in aligning future auto glass replacement or other body shop services you might need.
Once identified, carefully loosen and remove these bolts with the appropriate tool, being mindful of any nuts or washers that may be attached. As you detach the bumper, take note of how it’s connected to other parts like the vehicle’s lights, sensors, or reflectors for a seamless reinstallation later. After detaching all connections, gently pull the bumper away from the vehicle, setting it aside for safe storage or disposal. This methodical approach ensures a clean and efficient bumper replacement process, minimising potential damage to surrounding components during removal.
Calibrating Vehicle Systems After Bumper Replacement
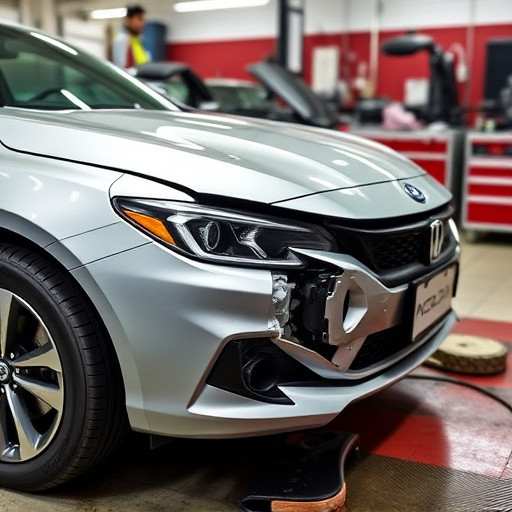
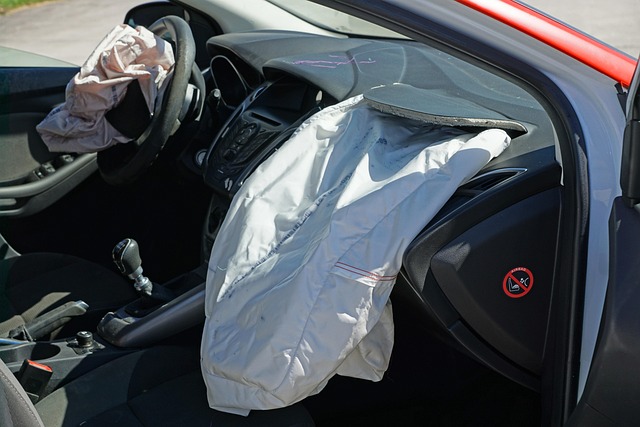
After successfully replacing a bumper, the next crucial step is calibrating your vehicle’s systems to ensure optimal performance and safety. This process is essential in a bumper replacement as it restores the vehicle’s sensors and cameras to their original settings. Modern vehicles are equipped with advanced driver-assistance systems (ADAS) that rely on precise calibration for features like backup cameras, lane-keeping assist, and adaptive cruise control.
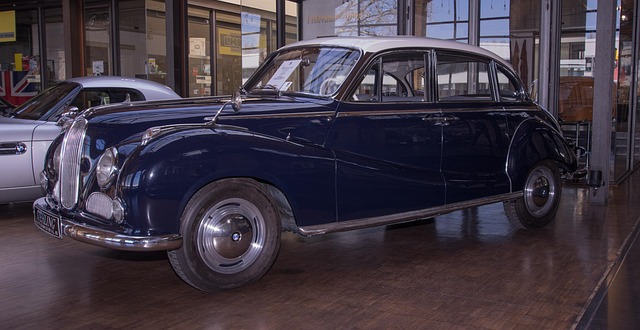
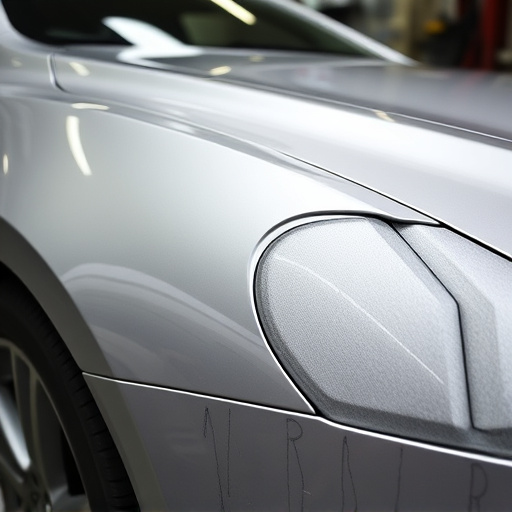
A qualified mechanic will use specialized tools to recalibrate these systems, which is especially important in luxury vehicles like Mercedes Benz. For instance, a paintless dent repair technique can be employed to restore the bumper’s cosmetic appearance while also ensuring that all sensors are functioning correctly. Proper calibration not only enhances driving experience but also guarantees that your vehicle meets safety standards and performs at its best during collision repair or vehicle restoration.
Bumper replacement is not just a straightforward process; it involves a series of steps, from understanding the removal process to calibrating vehicle systems for optimal performance. By following these detailed guides, car owners can ensure their vehicles not only look their best but also function efficiently after the replacement. Remember, proper execution of each step, including removing old bumpers and recalibrating systems, is key to a successful bumper replacement.