
Base coat clear coat repair is a meticulous process for automotive collision repair and classic car restoration, addressing damage to crucial paint layers. It involves preparing the surface, applying primer, base coat, and finally, a thin layer of clear coat for protection and visual perfection. This method is used for minor scratches, chips, dents, and significant oxidation, ensuring extended durability and a restored sleek surface. Skilled technicians use advanced methods like paintless dent repair for smaller damages, while professional services handle severe cases.
“Uncover the art of perfecting your paintwork with our guide to base coat clear coat repair. Understanding these foundational layers is key to maintaining a sleek finish. From minor scratches to chips, knowing when and how to apply this technique is essential. Learn about common scenarios demanding repair and master the step-by-step process for effective results. By the end, you’ll be equipped to restore your vehicle’s gleam and protect its surface.”
- Understanding Base Coat and Clear Coat
- Common Scenarios Requiring Repair
- Step-by-Step Guide to Effective Repair
Understanding Base Coat and Clear Coat
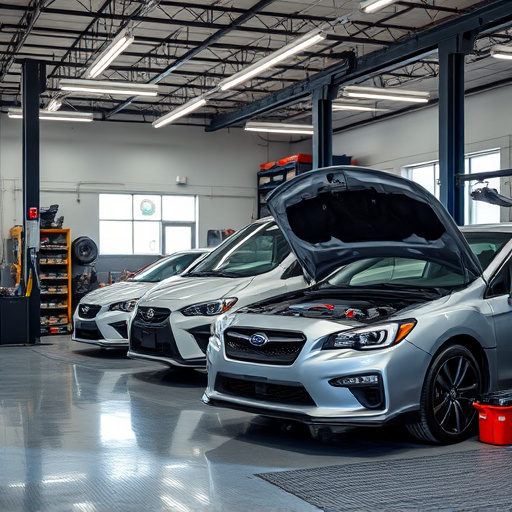
In the world of automotive collision repair and classic car restoration, understanding the significance of base coat and clear coat is paramount. Base coat clear coat repair refers to a meticulous process that involves addressing damage to these crucial layers of a vehicle’s paint job. The base coat, often referred to as the primer, serves as a critical foundation, preparing the surface for subsequent coatings. It provides a smooth, uniform base upon which the clear coat—a protective layer designed to enhance durability and gloss—is applied.
Both components play a vital role in protecting the metal beneath from corrosion and maintaining the car’s aesthetic appeal. In cases of minor dents or scratches, especially in the context of car dent repair, a skilled technician might employ base coat clear coat repair techniques to restore the vehicle’s original condition. This method ensures not just visual perfection but also longevity for the paint job, making it an essential consideration for anyone seeking high-quality automotive collision repair or classic car restoration services.
Common Scenarios Requiring Repair
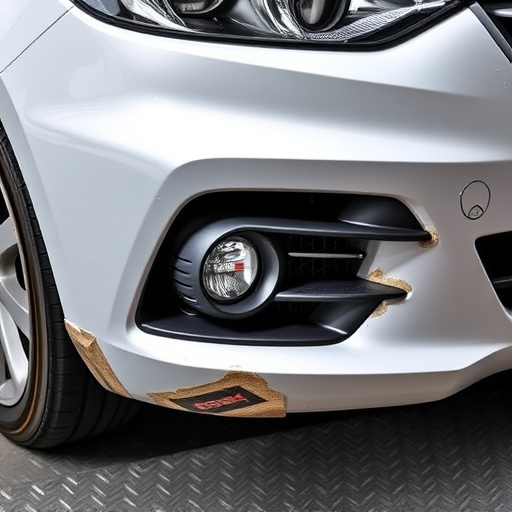
In many cases, a base coat clear coat repair is necessary when the finish of a vehicle starts to show signs of wear and tear. Common scenarios include minor scratches, chips, or dents that have penetrated the clear coat but not the base coat beneath. These imperfections can significantly impact the overall appearance of a car, making it look dull or uneven. A skilled auto body shop technician can expertly fix these issues using advanced techniques like paintless dent repair for smaller damages.
Another scenario requiring base coat clear coat repair is when there has been significant oxidation or discolouration due to exposure to harsh weather conditions, UV rays, or improper vehicle storage. Over time, the clear coat can break down, exposing the underlying base coat and causing it to yellow, crack, or become flaky. This not only affects the aesthetics but also weakens the protective layer, making the car more susceptible to further damage. A professional auto painting service can restore the car’s original finish, ensuring a sleek and protected surface that is less prone to future issues.
Step-by-Step Guide to Effective Repair
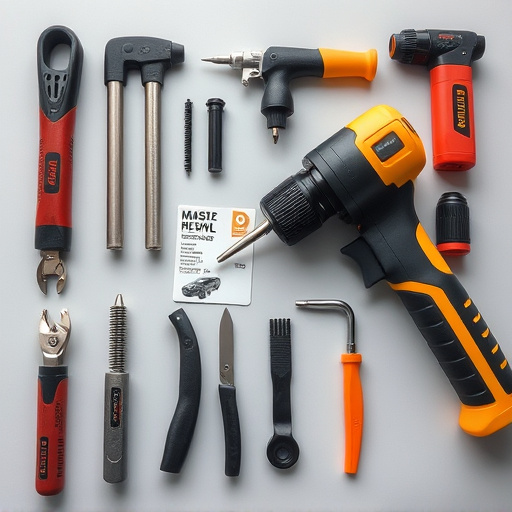
Repairing base coat and clear coat damages is a meticulous process that requires precision and the right tools. Here’s a step-by-step guide for effective base coat clear coat repair:
1. Assess the Damage: Begin by thoroughly inspecting the damaged area to determine the extent of the issue. Differentiate between minor scuffs, chips, or larger areas of peeling base or clear coat. This step is crucial in deciding the appropriate repair approach.
2. Prepare the Surface: Before starting any repair work, ensure the surface is clean and free from debris. Use a degreaser to remove any grease or oil, then thoroughly rinse with water. Dry the area with a microfiber cloth to create a smooth base for painting. In an automotive body shop, this preparation step might involve additional processes like sandblasting or using specialized cleaning solutions to achieve a perfect surface for repairs.
3. Sand and Prime: Lightly sand the damaged area to create a slightly rough texture, allowing better adhesion for the repair material. Use fine-grit sandpaper, being careful not to remove too much material. After sanding, wipe away dust with a clean cloth. Apply an automotive primer specifically designed for base coat repairs to fill in any gaps and ensure even coverage when painting later.
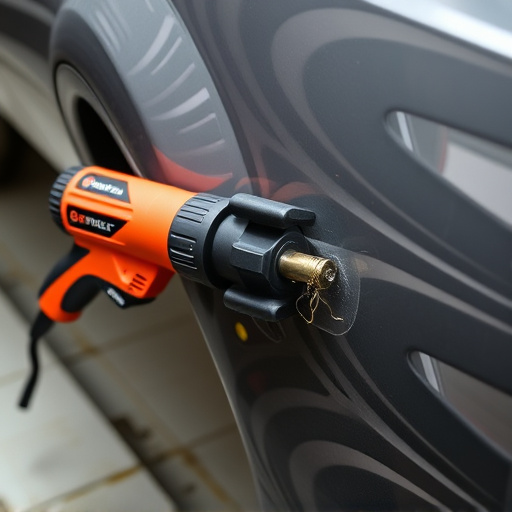
4. Apply Base Coat: Using a precision tool or airbrush, carefully apply the base coat over the repaired area. Ensure complete coverage without overlapping into undamaged areas. Allow it to dry according to the manufacturer’s instructions. This step is vital as it provides the necessary foundation for the clear coat.
5. Final Touches and Clear Coat Application: Once the base coat dries, inspect your work and make any necessary adjustments. Apply a thin, even layer of clear coat over the base coat. This will protect the repair and match the original finish. Let it cure fully, following the product guidelines for the best results in a car paint repair.
Base coat clear coat repair is a vital skill for maintaining the integrity and aesthetics of painted surfaces. By understanding the purpose of both base and clear coats, recognizing common damage scenarios, and following a structured repair process, you can effectively restore damaged finishes. This article has provided a comprehensive guide to help you navigate various situations, ensuring your repairs enhance, not alter, the original look. Remember, prompt action and proper techniques are key to achieving a seamless, professional-looking base coat clear coat repair.