
Tesla splitter shield repair addresses aesthetic and safety concerns after damage from road debris or minor collisions. Initial steps include removing loose debris and inspecting for cracks, dents, or breaks. For minor damages, autobody repairs restore appearance; severe cases require shield replacement. Proper bumper realignment, guided by service manual, ensures optimal aesthetics and safety standards post-repair.
Tesla owners often face the challenge of damaging their iconic splitter shields, a vital component for both aesthetics and performance. This comprehensive guide tackles Tesla splitter shield repair and front bumper realignment. We’ll break down common causes of damage, such as road debris and minor collisions, and provide a step-by-step process for DIY repairs. Learn techniques to accurately realign your front bumper, ensuring optimal vehicle safety and aesthetic appeal. Discover expert tips and must-have tools for tackling these tasks effectively.
- Understanding Tesla Splitter Shield Damage
- Repair Process: Step-by-Step Guide
- Realigning Your Front Bumper: Techniques and Tips
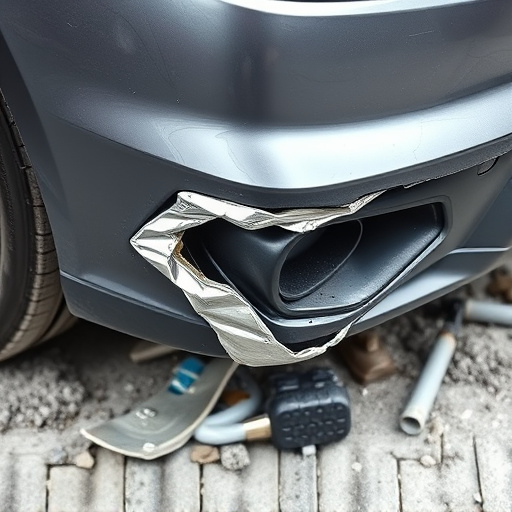
Understanding Tesla Splitter Shield Damage

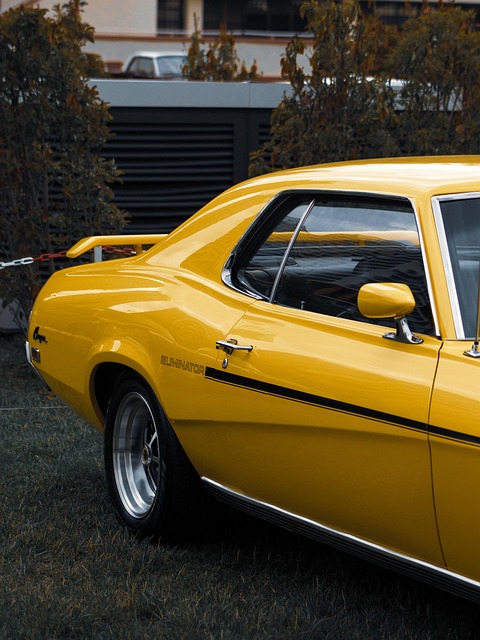
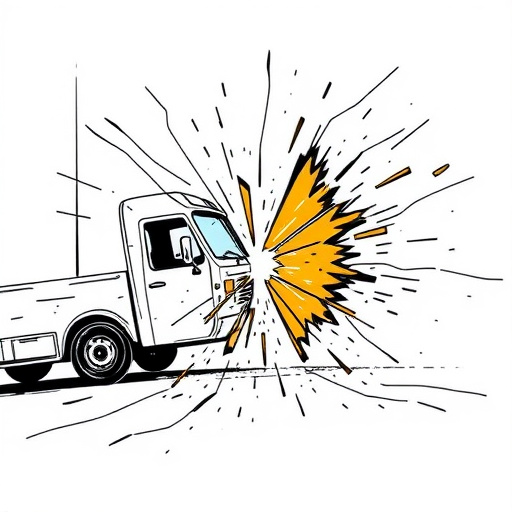
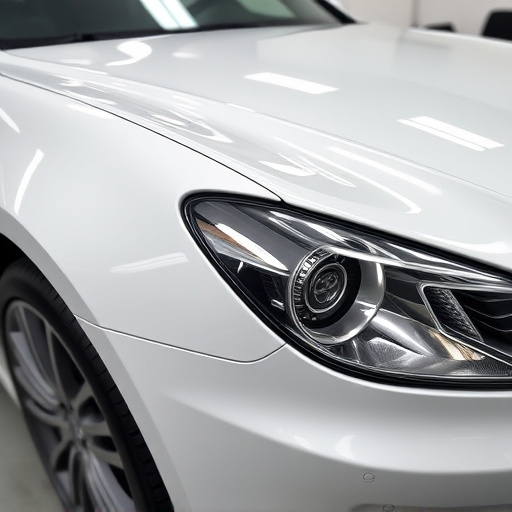
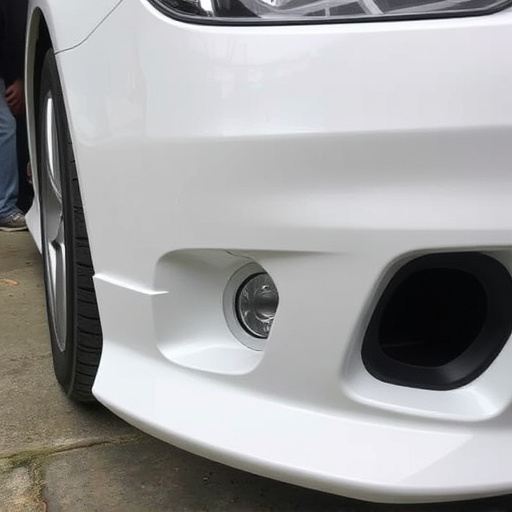
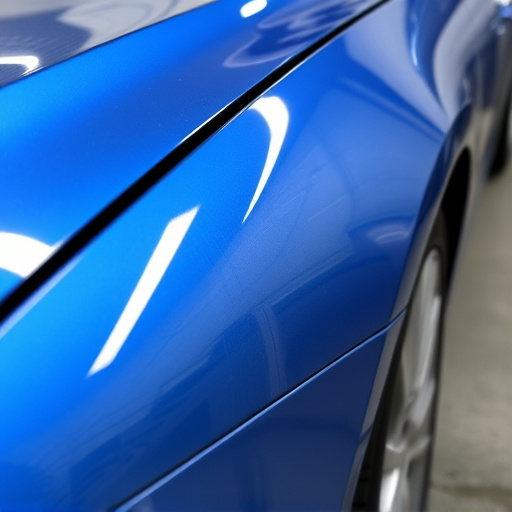
Tesla splitter shields, located at the front of Tesla vehicles, are a unique and distinctive feature designed to enhance aerodynamics and provide extra protection. However, they can be susceptible to damage due to various factors, such as collisions, road debris, or even minor impacts. Understanding the common types of Tesla splitter shield damage is crucial for both owners and collision repair services.
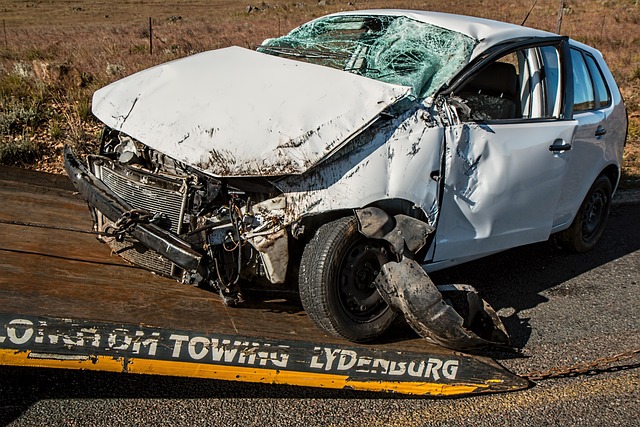
Small cracks, chips, or dents are often the result of minor incidents or road hazards. These can affect the aesthetic appeal but usually don’t compromise the shield’s structural integrity. More severe cases may involve deeper cracks, complete separations from the car body, or significant deformities, which require professional automotive body work for effective Tesla splitter shield repair and front bumper realignment. Such damage could be caused by major collisions, requiring expert intervention from a reputable car repair shop to ensure both safety and the vehicle’s original appearance.
Repair Process: Step-by-Step Guide

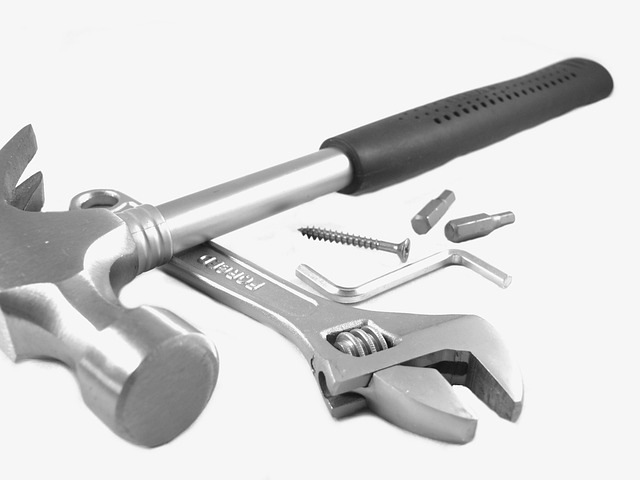
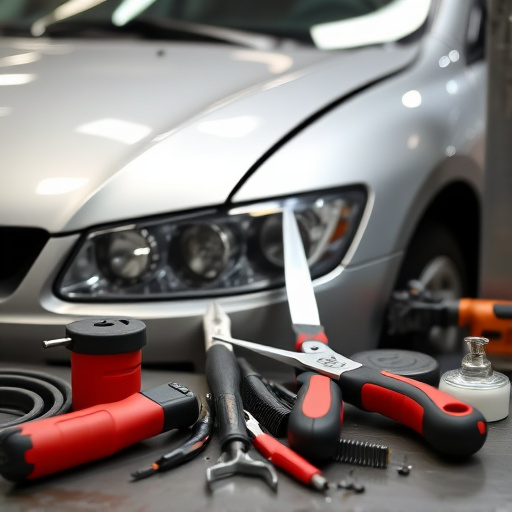
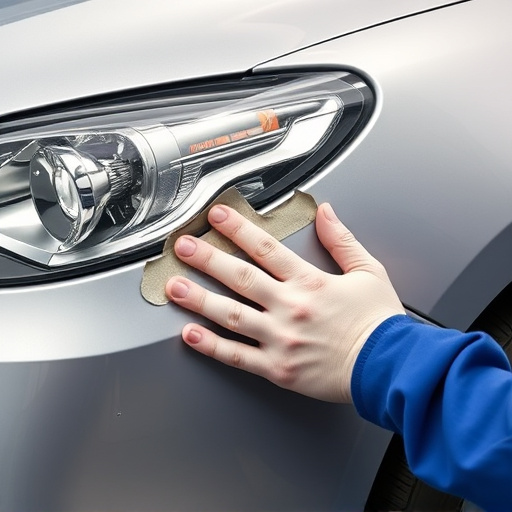
The Tesla splitter shield, a key component for both aesthetics and vehicle protection, can suffer damage from road debris or minor collisions. Fortunately, Tesla splitter shield repair is a process that can be tackled by both professionals and enthusiasts with the right tools and guidance. The first step involves removing any loose debris from the damaged area using compressed air to ensure a clean surface for repair.
Next, carefully inspect the splitter shield for cracks, dents, or breaks. For minor damages, autobody repairs can often be achieved with high-quality putty and primer. Apply the putty over the damaged area, allowing it to set according to the manufacturer’s instructions. Once cured, meticulously sand the repaired area until smooth, then clean thoroughly before applying a matching primer to prepare for painting. In more severe cases where car bodywork services are required, replacing the entire splitter shield might be necessary, ensuring proper alignment during installation and completing the process with a final touch-up of paint if needed.
Realigning Your Front Bumper: Techniques and Tips

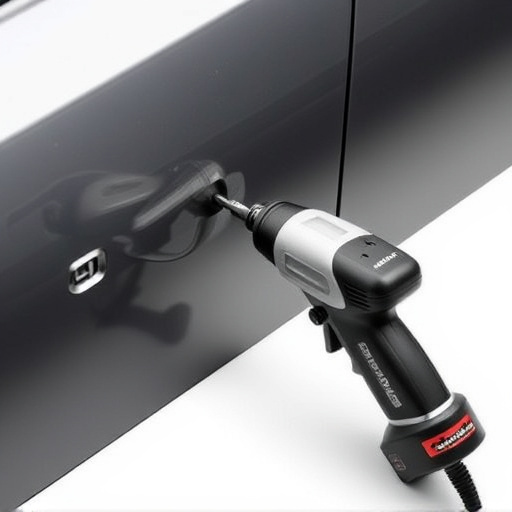
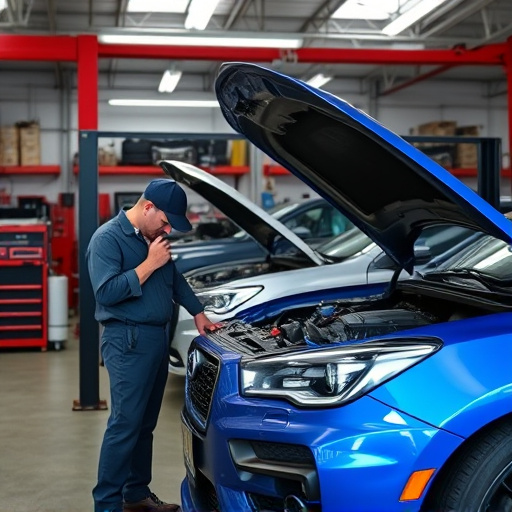
Realigning your Tesla’s front bumper is a crucial step after any Tesla splitter shield repair, ensuring your vehicle’s aesthetic and safety standards are maintained. Begin by inspecting the damage, identifying misaligned components, and gathering the necessary tools for the job, including specialized hardware and adjustment equipment. It’s essential to refer to your vehicle’s service manual for specific guidelines tailored to your Tesla model.
Next, carefully separate the bumper from the car body, taking note of any connected sensors or electrical components. With the bumper accessible, locate the alignment points on both sides. Using a combination of adjustable clamps and jack stands, gently adjust the bumper until it sits flush against the car’s front end. This process requires precision to avoid further collision damage repair or autobody repairs. Once satisfied with the alignment, securely reattach the bumper, ensuring all hardware is tightly fastened for optimal stability. Remember, a correctly aligned front bumper not only enhances your Tesla’s appearance but also contributes to its overall safety during future drives.
In conclusion, repairing a Tesla splitter shield or realigning your front bumper is a task best left to professionals for optimal results. However, with a thorough understanding of common damage types and a step-by-step guide, owners can effectively tackle these repairs themselves. Remember, a well-maintained exterior not only enhances the vehicle’s aesthetics but also contributes to its overall safety and resale value, making Tesla splitter shield repair a valuable investment.