


Tesla ultrasonic sensor repair is crucial for enhancing vehicle safety and efficiency. Sensor failures due to physical damage, environmental factors, or software glitches require skilled EV technicians. Specialized tools and precise techniques ensure accurate repairs, minimizing associated car damage costs. This guide provides a step-by-step process for Tesla owners, emphasizing safety and efficient replacement using correct EV repair tools.
Tesla vehicles rely on advanced technology, and one critical component is the ultrasonic sensor. When this sensor malfunctions, it can impact key safety features. Understanding Tesla ultrasonic sensor failure is essential for effective repairs. This article guides you through the process, highlighting the need for specialized EV tools. Learn about the step-by-step replacement process to ensure your Tesla’s safety systems function optimally after repair.
- Understanding Tesla Ultrasonic Sensor Failure
- Specialized Tools for Accurate Repair
- Step-by-Step Guide to Effective Replacement
Understanding Tesla Ultrasonic Sensor Failure

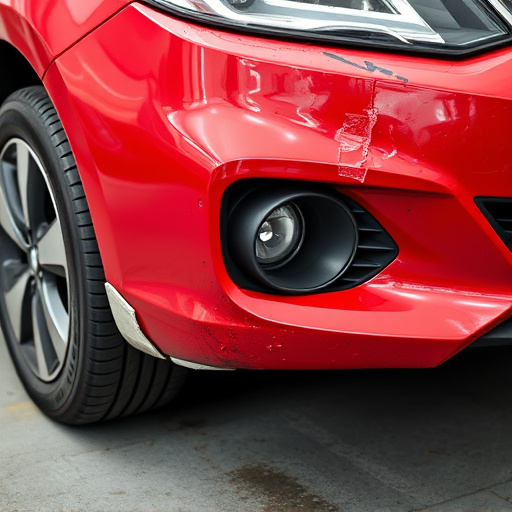
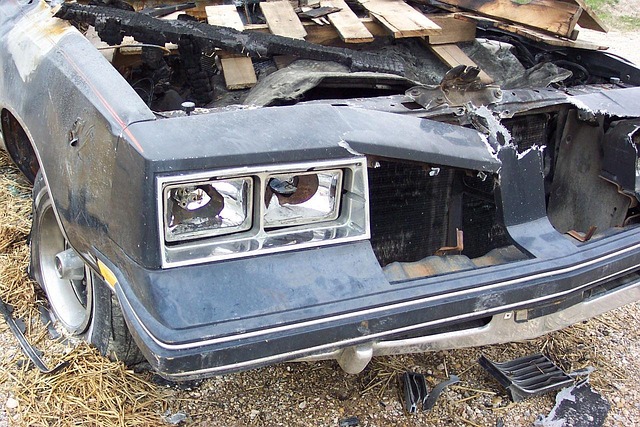
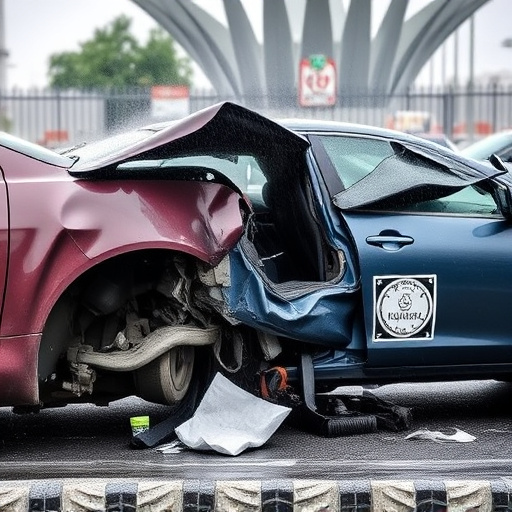
Tesla ultrasonic sensors are integral to the safety and efficiency of their vehicles, responsible for tasks like parking assistance and collision avoidance. Failure of these sensors can lead to a range of issues, from inaccurate readings to complete system malfunction. Understanding Tesla ultrasonic sensor failure is crucial for both owners and repair technicians. Common causes include physical damage, such as road debris or minor car accidents, which can cause scratches or cracks on the sensor’s surface, leading to compromised performance or total failure.
Over time, environmental factors like extreme temperatures and exposure to moisture can also contribute to sensor degradation. Moreover, software glitches or outdated firmware can cause malfunctions, necessitating specialized Tesla ultrasonic sensor repair tools for accurate diagnosis and effective solutions. Professionals skilled in electric vehicle (EV) technology are best equipped to handle these repairs, ensuring not just functional restoration but also minimizing potential car damage repair costs.
Specialized Tools for Accurate Repair

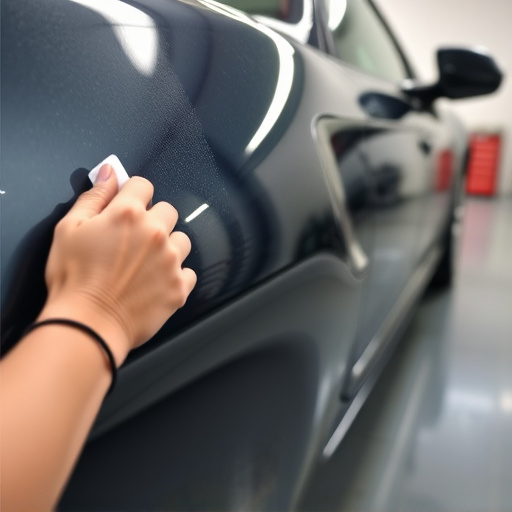
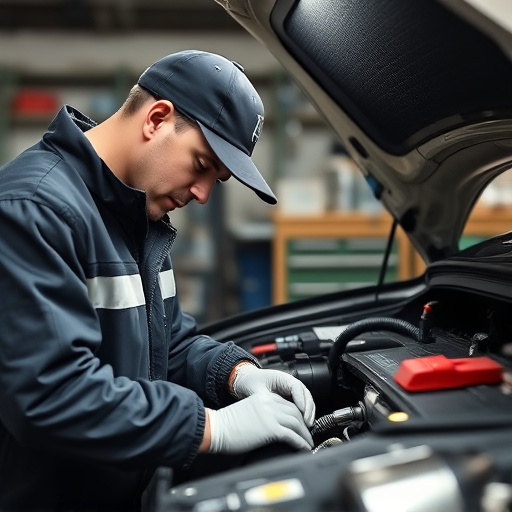
When it comes to Tesla ultrasonic sensor repair, accuracy is paramount. Specialized EV (electric vehicle) tools are designed to navigate the intricate components and delicate systems within modern cars, ensuring precise repairs. These tools aren’t your typical car paint services or even your standard paintless dent repair equipment; they’re tailored for the specific needs of electric vehicle bodywork, including sensors that play a crucial role in safety features like automatic emergency braking and lane-keeping assist.
The right set includes diagnostic devices capable of identifying sensor malfunctions, as well as precision instruments for replacing faulty parts without damaging surrounding components. Because these sensors are integral to the vehicle’s overall functionality and safety, using the correct tools is not just recommended—it’s essential. This ensures that repairs are done efficiently, effectively, and with minimal disruption to the vehicle’s sophisticated systems.
Step-by-Step Guide to Effective Replacement

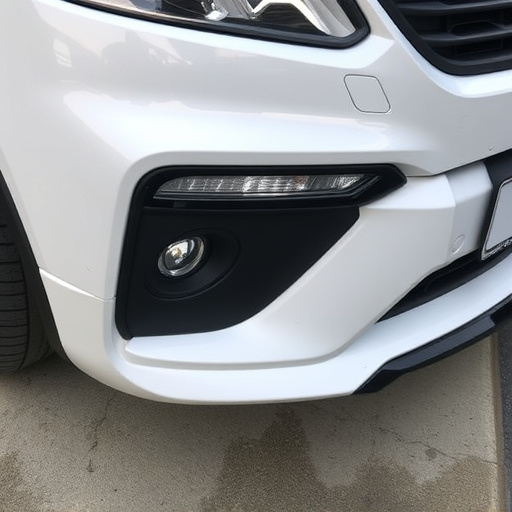
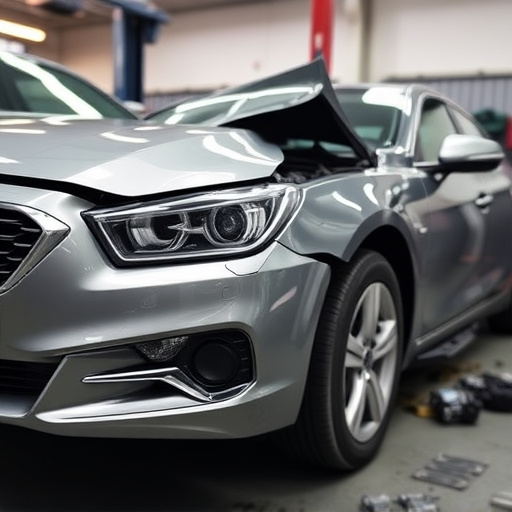
Replacing a Tesla ultrasonic sensor requires precision and the right tools, especially when navigating the intricate design of modern electric vehicles (EVs). Here’s a step-by-step guide to ensure effective replacement, tailored for Tesla owners facing this specific challenge. Begin by identifying the damaged or faulty sensor, often located near the vehicle’s bumper or front end, using a visual inspection and diagnostic tools. Next, prepare your workspace by gathering specialized EV tools designed for precise adjustments and repairs, such as those used in automotive body work and frame straightening.
Safety is paramount; disconnect the battery to prevent any accidents during the repair process. Remove any surrounding components that might interfere with access to the sensor, taking note of their location for easy reassembly. With the sensor exposed, carefully unplug its wires and gently detach it from its mounting point. Inspect the sensor and its connections for damage or debris. Clean the area thoroughly to ensure a clean connection before installing a new sensor, following manufacturer guidelines for replacement.
Tesla ultrasonic sensor repair is a specialized task that requires precise tools and expertise. By understanding the failure modes of these sensors and employing the right equipment, owners can ensure their vehicles’ safety features remain functional. Following a structured guide for replacement guarantees accurate and efficient repairs, addressing potential issues before they escalate. This process underscores the importance of specialized EV tools in maintaining modern electric vehicle systems.