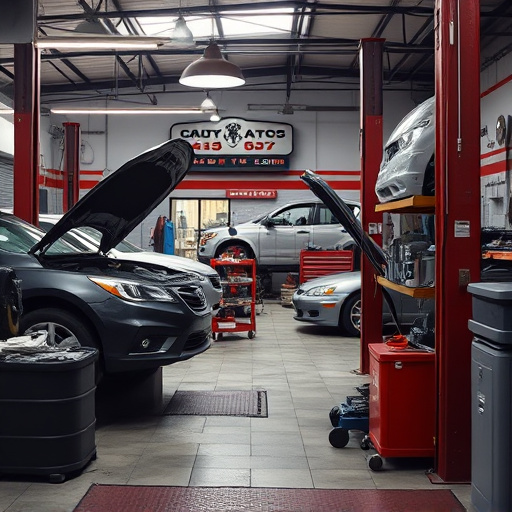

Cowl panel replacement is a critical auto body repair, demanding skill and preparation. Shops follow stringent safety measures, use specialized tools, and refer to vehicle-specific procedures. They remove old panels, clean areas, align new ones, and secure with tight fasteners for both structural integrity and aesthetic appeal.
In auto body repair, the cowl panel is a vital component that protects essential components beneath it. When damaged, its replacement requires precision and expertise. This comprehensive guide walks you through the process of replacing a cowl panel in a shop setting. From understanding the panel’s function to implementing safety measures and following step-by-step instructions, learn how to ensure a successful installation. Mastering these steps is key for efficient auto body repair services.
- Understanding the Cowl Panel and Its Function
- Preparing for Replacement: Tools and Safety Measures
- Step-by-Step Guide to Successful Cowl Panel Installation
Understanding the Cowl Panel and Its Function
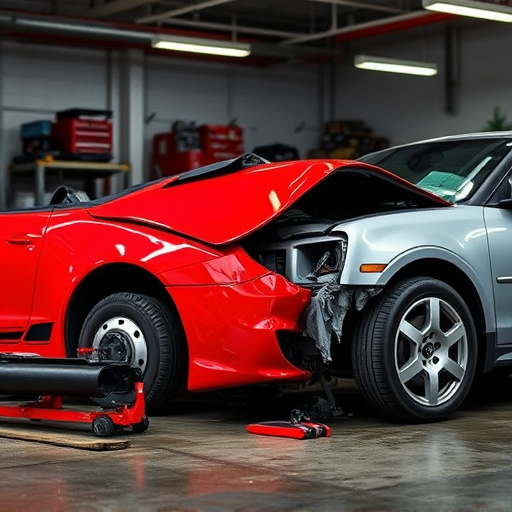
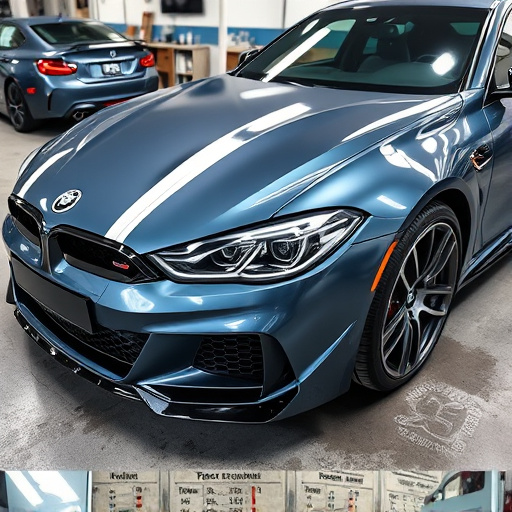
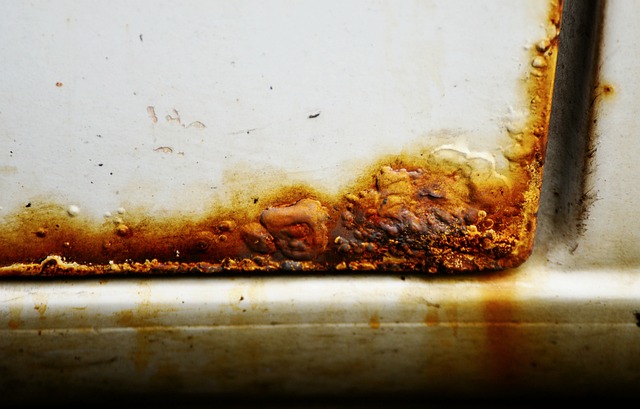
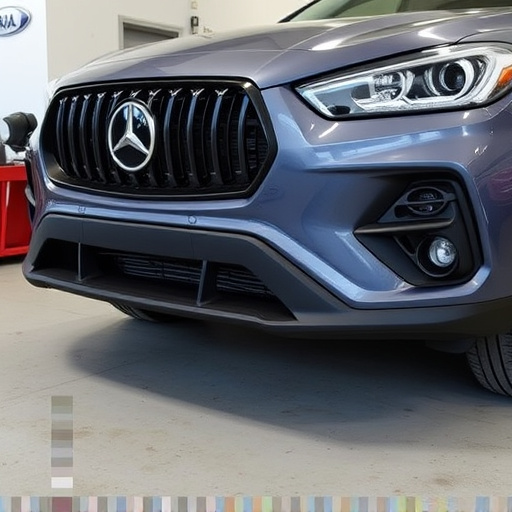
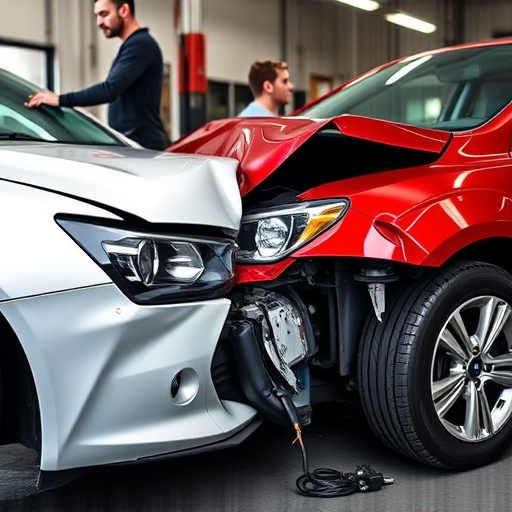
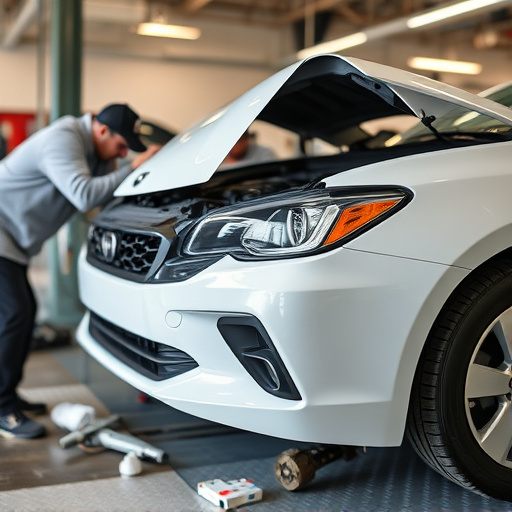
The cowl panel is a significant component in the front end of a vehicle, serving as a protective barrier between the engine and the passenger compartment. It houses various essential components such as the hood latches, hinges, and weather sealing, making it crucial for both structural integrity and vehicle aesthetics. When damaged, whether from a collision or routine wear and tear, efficient cowl panel replacement is vital in restoring the vehicle’s safety and appearance.
Understanding the intricate details of the cowl panel is key to successful replacement. Auto body repair shops skilled in bumper repair and collision repair center services can expertly navigate this process. They’ll assess the damage, acquire the necessary parts, and execute precise cuts and installations while ensuring a seamless fit, ultimately returning your vehicle to its pre-incident condition or even enhancing its look with updated designs, catering to both safety and style requirements.
Preparing for Replacement: Tools and Safety Measures
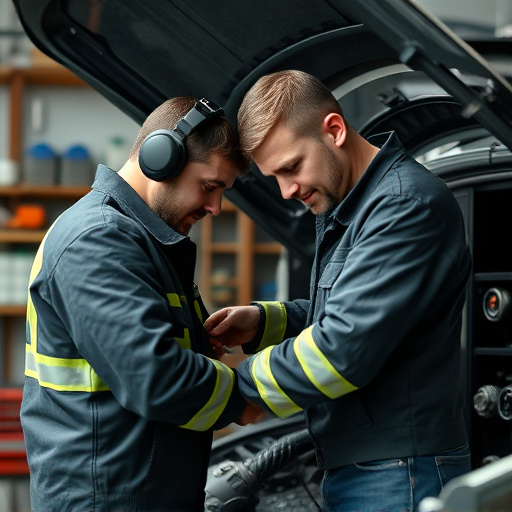
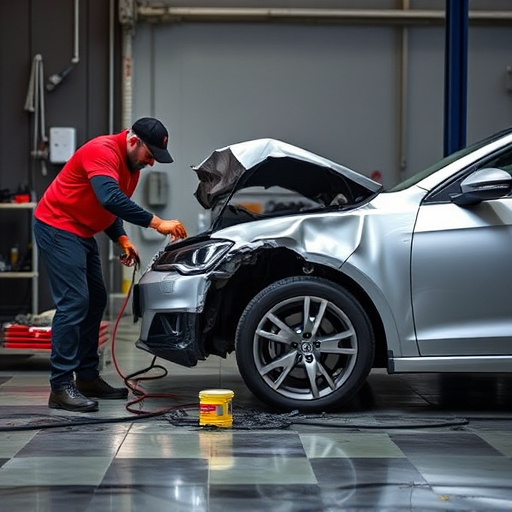
Before diving into the cowl panel replacement process, auto body repair shops must ensure they have all the necessary tools and take safety precautions to prevent accidents and injuries. This involves gathering specific equipment such as jack stands, a floor jack, a new cowl panel, and any required hardware. Safety measures include donning appropriate personal protective equipment (PPE), ensuring proper ventilation in the workshop, and adhering to manufacturer guidelines for the replacement part.
Additionally, the collision repair services team should familiarize themselves with vehicle-specific procedures outlined in the owner’s manual or by the manufacturer. This preparation is crucial when dealing with complex components like the cowl panel, which often involves intricate alignment and fitting processes. Such meticulous planning not only ensures a successful cowl panel replacement but also minimizes risks associated with vehicle collision repair in the collision center.
Step-by-Step Guide to Successful Cowl Panel Installation
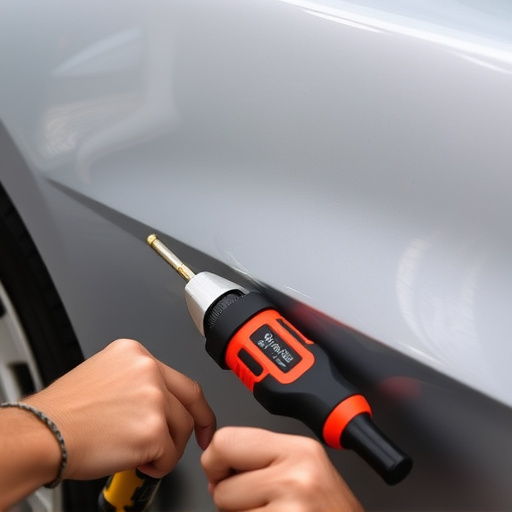
To successfully install a new cowl panel, follow these step-by-step guidelines from start to finish. First, prepare your work area by ensuring adequate space and proper lighting. Gather all necessary tools and materials, including the new cowl panel, fasteners, sealing agents, and safety gear. Safety should always be paramount, so wear gloves, eye protection, and a respirator to prevent injury or inhalation of harmful fumes.
Next, carefully remove the old cowl panel by unfastening any bolts or brackets securing it in place. Take note of how the components are arranged for easier reinstallation later. Once the old panel is removed, clean the area thoroughly to ensure optimal adhesion for the new panel. Apply a bead of sealant around the perimeter of the cowl panel’s mounting points, then align and secure the new panel using new fasteners. Ensure all fasteners are tight and secure before proceeding.
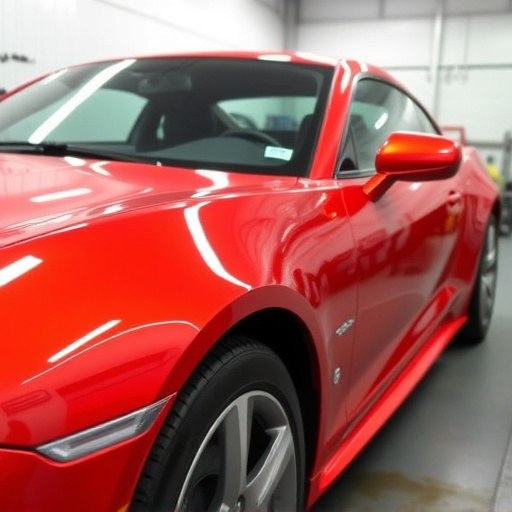
Cowl panel replacement is a specialized task in auto body repair, demanding precision and safety. By understanding the panel’s role, preparing adequately, and following a structured guide, professionals can ensure successful installations that restore vehicles to their original condition. These steps not only enhance the car’s aesthetics but also contribute to improved structural integrity and safety on the road.