

Fiberglass panel damage in cars from environmental exposure or accidents needs suitable repair techniques. This ranges from simple patching to complex replacement. Essential tools and materials include sandpaper, resin, hardener, safety gear, and for advanced repairs, a paintless dent kit. Assess damage, clean, apply resin/mat, pour, cure, then sand for seamless results; professional help recommended for complex jobs.
Looking to fix that damaged fiberglass panel yourself? You’ve come to the right place! This guide offers a comprehensive approach to tackling common fiberglass panel repairs with a DIY attitude. We’ll break down the causes of damage and walk you through gathering the necessary tools and materials. Then, follow our step-by-step instructions for successful restoration, ensuring your fiberglass panel looks good as new. Master these tips and tricks, and you’ll be well on your way to mastering fiberglass panel repair.
- Understanding Fiberglass Panel Damage and Causes
- Gathering Essential Tools and Materials for Repair
- Step-by-Step Guide to Effective Fiberglass Panel Restoration
Understanding Fiberglass Panel Damage and Causes
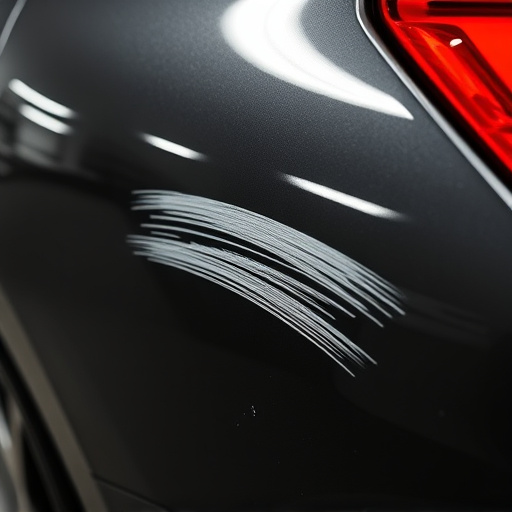
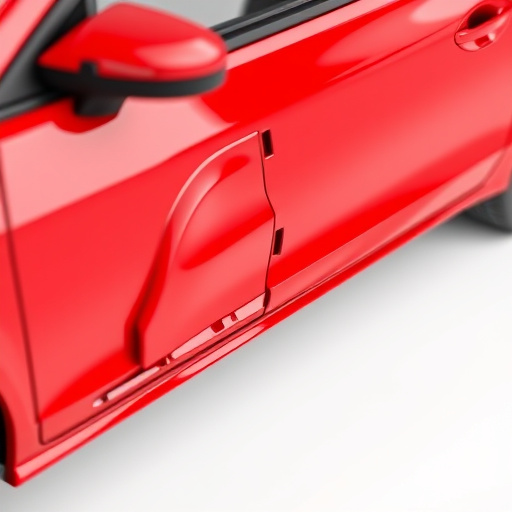
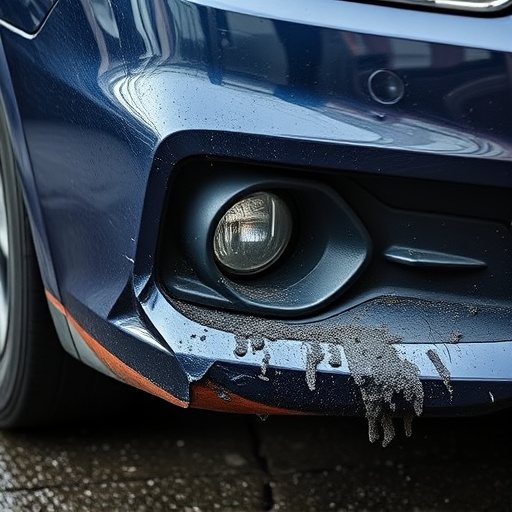
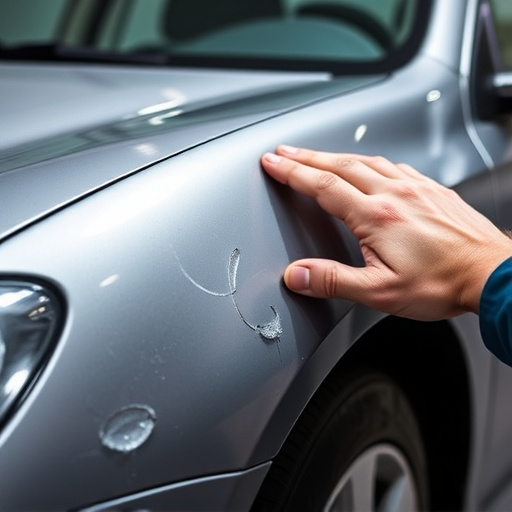
Fiberglass panel damage can arise from various factors, especially for DIY enthusiasts tackling auto repairs or classic car restoration projects. Common causes include environmental exposure, such as UV radiation and harsh weather conditions, which can weaken and deteriorate the fiberglass over time. Additionally, accidental damage like dents, cracks, or breaks due to improper handling, collisions, or road debris is not uncommon.
Automotive repair and bodywork repairs often require meticulous attention to detail when fixing these issues. The key to successful fiberglass panel repair lies in identifying the specific type of damage and using appropriate techniques. For smaller imperfections, patching and painting may suffice, while more significant structural damage might demand complete replacement or advanced composite repair methods. Understanding these causes is the first step towards effective fiberglass panel repair for both practical applications and classic car enthusiasts.
Gathering Essential Tools and Materials for Repair
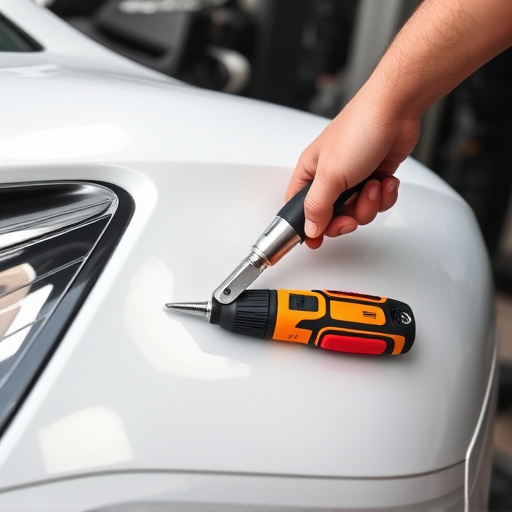
Before tackling any fiberglass panel repair, ensure you have all the necessary tools and materials at your disposal. This typically includes a variety of sandpaper (from coarse to fine), a suitable polyester resin, hardener, and a mix paddle or stir stick. For more intricate repairs, consider adding a paintless dent repair kit to restore smooth surfaces, as these kits are specifically designed for auto body shop-like results without the need for extensive sanding or painting. Additionally, gather safety gear such as gloves, goggles, and a mask to protect against chemicals and fine particles.
Having the right supplies is key; using subpar materials can lead to weak repairs that may not hold up over time. Remember, while some fiberglass panel repairs can be done by enthusiasts at home, complex or large-scale jobs might require the expertise of a professional auto body shop, especially when vehicle paint repair is involved for a seamless finish.
Step-by-Step Guide to Effective Fiberglass Panel Restoration
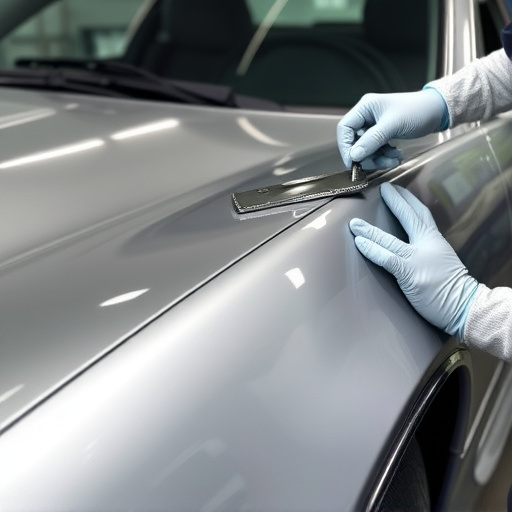
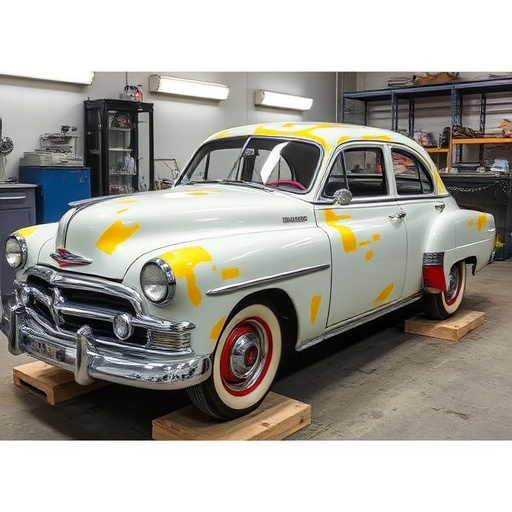
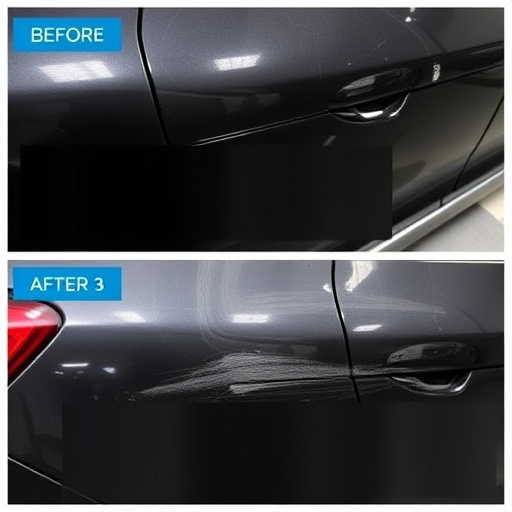
Restoring a fiberglass panel requires careful steps to ensure a seamless and durable fix. Begin by assessing the damage, which can range from small cracks to significant breaks. For minor cracks, use an epoxy resin designed for fiberglass repair. Apply it along the crack using a fine-tipped syringe or brush, ensuring complete coverage. Let the epoxy cure according to the manufacturer’s instructions before sanding gently with 320-grit sandpaper to blend the repaired area with the surrounding panel.
For more severe damage, such as large breaks or holes, follow these steps: first, clean the affected area thoroughly to remove any debris. Next, apply a layer of fiberglass mat over the damage, ensuring it covers the entire affected zone. Use a resin and hardener kit specifically formulated for auto body repairs, mixing them according to the instructions. Pour the mixed resin onto the mat, spreading it evenly across the damaged panel. Allow it to cure fully before sanding and shaping as needed with progressively finer grits of sandpaper until the repair is seamless.
Repairing fiberglass panels may seem daunting, but with the right knowledge and tools, DIY enthusiasts can tackle these repairs effectively. By understanding common damage causes and following a structured approach, you can restore your fiberglass panels to their original condition. With this guide’s step-by-step instructions and essential tool recommendations, you’re equipped to handle minor to moderate fiberglass panel repair needs, ensuring your spaces remain in top shape. Remember, proper preparation and attention to detail are key to achieving professional-looking results. Happy repairing!