


Rocker panel replacement is vital for vehicle safety and aesthetics, especially for luxury brands like Mercedes Benz. Proper tools like shears, measuring tapes, and safety gear are essential. This guide outlines a step-by-step process: prepare, remove debris, inspect, replace old panels, clean, align, secure with fasteners, seal joints for accurate, durable results.
Looking to refresh your vehicle’s exterior? Rocker panel replacement is a popular way to improve aesthetics and protect your car. This comprehensive guide breaks down the process, from understanding rocker panels’ essential function to outlining the tools needed for a successful install. We’ll walk you through each step, ensuring a confident and efficient project. Discover the key tools, techniques, and tips for achieving a flawless rocker panel replacement.
- Understanding Rocker Panels and Their Function
- Essential Tools for Efficient Replacement Process
- Step-by-Step Guide to Successful Installation
Understanding Rocker Panels and Their Function

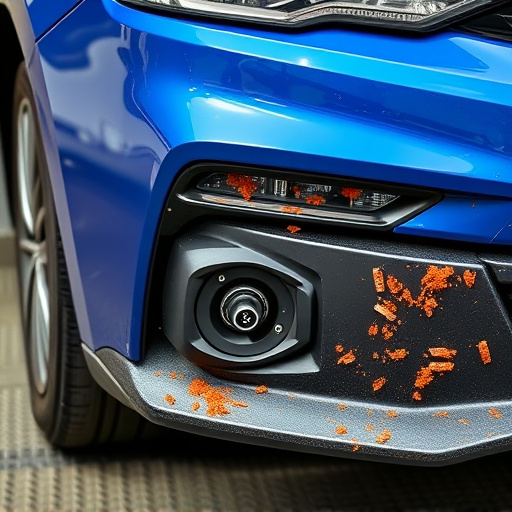
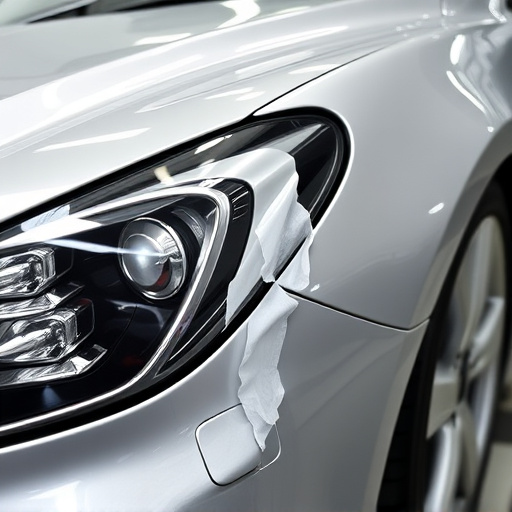
Rocker panels are an integral part of a vehicle’s exterior design and structural integrity. They serve both aesthetic and functional purposes, providing protection to the sides of cars from minor impacts and debris. These panels, typically made of metal or composite materials, enclose and safeguard the area between the doors and the wheels, also known as the wheel arches. In case of a car collision repair, especially in Mercedes Benz repairs, understanding the role of rocker panels is crucial for effective and accurate rocker panel replacement.
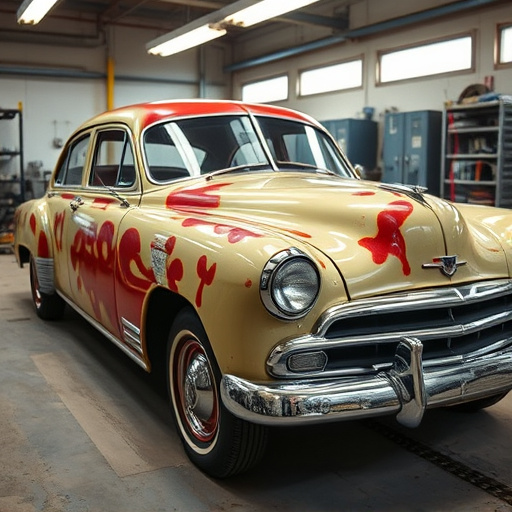
During a collision, rocker panels often bear the brunt of impact, leading to dents, dings, or even complete deformation. A well-executed rocker panel replacement not only enhances the car’s visual appeal but also ensures the vehicle’s structural safety. At a reputable collision repair center, technicians are trained to handle these replacements efficiently, utilizing specialized tools and equipment tailored for precise measurements and seamless integration of new panels.
Essential Tools for Efficient Replacement Process
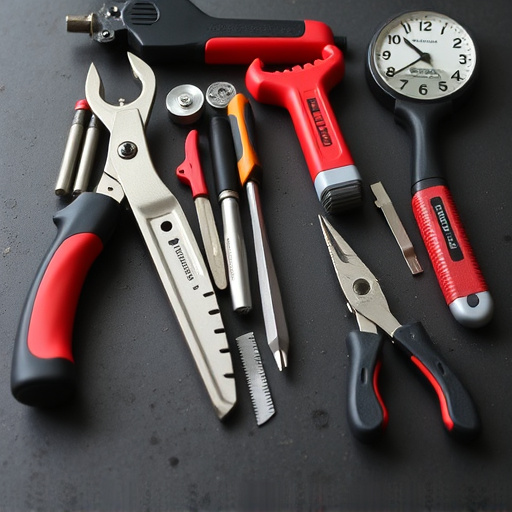
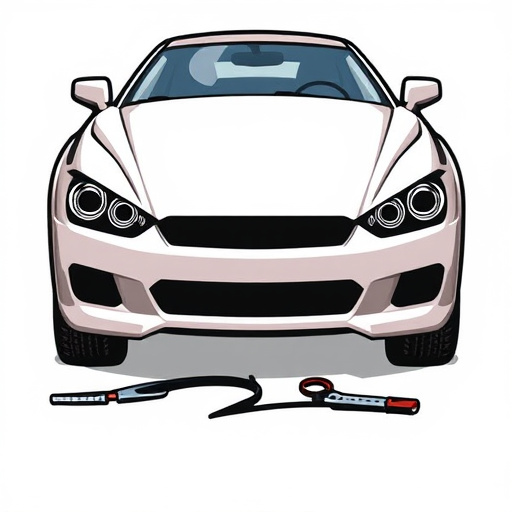
When undertaking a rocker panel replacement, having the right tools is paramount to an efficient and successful job. Essential tools for this process include a variety of specialized equipment designed to facilitate precise cuts, measurements, and installations. Among these are high-quality shears or cutters capable of handling different materials like metal and plastic without compromising accuracy. Additionally, a set of measuring tapes and markers will be invaluable for taking exact dimensions and marking cut lines.
For safer and cleaner cuts, consider investing in a good pair of safety glasses and gloves. An air compressor can also be beneficial, especially if your rocker panels have intricate designs or require specialized adhesive application. Moreover, having access to auto glass replacement tools and automotive body work kits will ensure you’re prepared for any unforeseen challenges during the rocker panel replacement process, ultimately streamlining your auto body services.
Step-by-Step Guide to Successful Installation

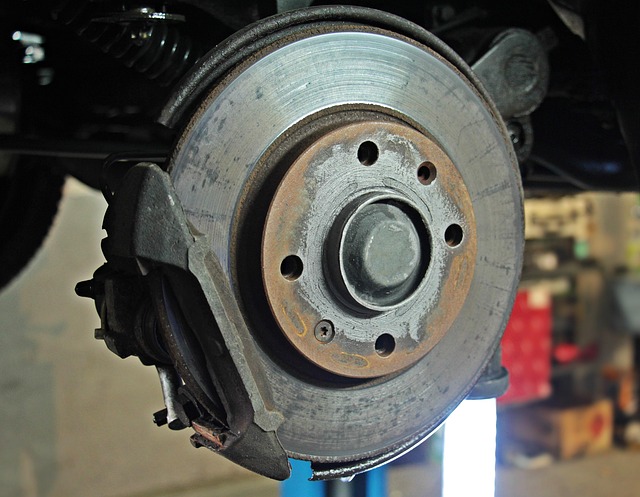
Starting a rocker panel replacement project requires careful preparation and a systematic approach to ensure a successful installation. Before diving in, gather all necessary tools and equipment, including specialized panels, fasteners, and protective gear. A well-lit workspace is crucial for precision work, so set up fluorescent lights or work lamps. Next, remove any loose debris and inspect the vehicle’s body for any underlying damage that might affect the panel replacement process. This initial preparation phase sets the stage for a smooth and efficient rocker panel replacement, transforming your vehicle’s appearance and enhancing its overall durability through high-quality auto repair services.
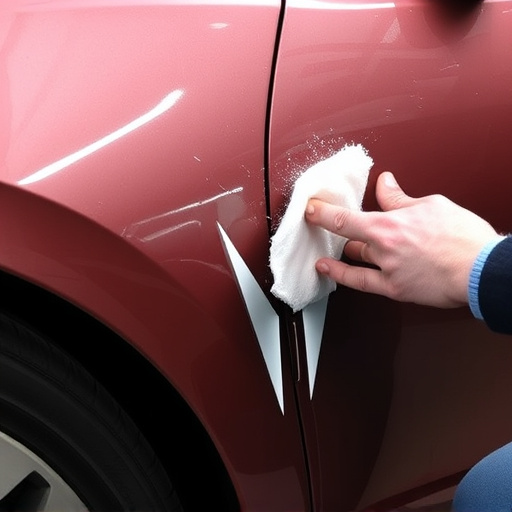
During the installation, begin by carefully removing the damaged or old rocker panel using suitable tools like plastic cutters and hammer. Once exposed, thoroughly clean the area to eliminate any dirt or debris. Ensure proper alignment of the new panel with the vehicle’s body lines before securing it in place with mechanical fasteners. Tighten these securely, following the manufacturer’s guidelines. Finish by sealing the joints with an appropriate sealant to protect against rust and enhance collision damage repair outcomes, preserving your vehicle’s bodywork.
When it comes to ensuring your vehicle’s structural integrity and enhancing its aesthetic appeal, rocker panel replacement is a crucial task. With the right tools and equipment, as outlined in this article, you can efficiently navigate the process. From understanding the function of rocker panels to following a step-by-step guide, you’re now equipped with the knowledge to tackle this job head-on. Whether you’re an experienced DIY enthusiast or a novice, these guidelines will facilitate a successful rocker panel replacement, leaving your vehicle looking as good as new.