

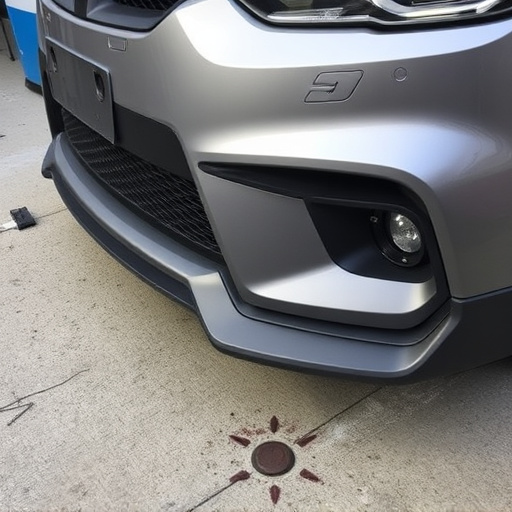
Inspect Tesla front radar sensor housing for structural damage and water leaks. Replace cover with specialized screws, outdoor adhesive, new hardware. Test and calibrate radar system post-repair for optimal performance and safety.
Tesla owners often face the challenge of a damaged front radar cover, a critical component for safe driving. This guide delves into the process of repairing your Tesla’s front radar cover, emphasizing the importance of meticulous inspection. We’ll walk you through evaluating damage to the sensor housing, providing a step-by-step replacement tutorial tailored for DIY enthusiasts, and ensuring the system’s safety through testing and calibration.
- Evaluating Damage: Inspecting Tesla's Front Radar Sensor Housing
- Radar Cover Replacement: A Step-by-Step Guide for DIYers
- Ensuring Safety: Testing and Calibrating the Replaced Radar System
Evaluating Damage: Inspecting Tesla's Front Radar Sensor Housing
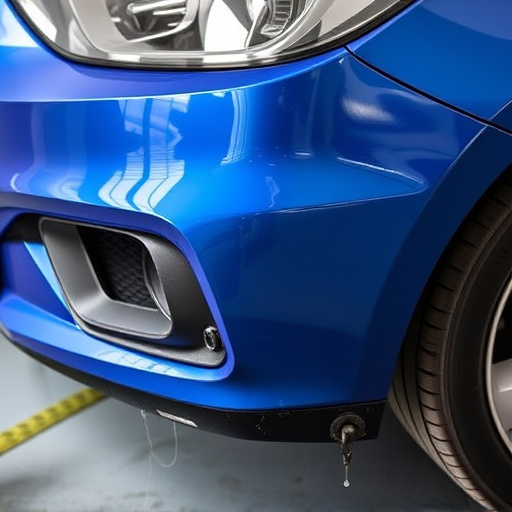
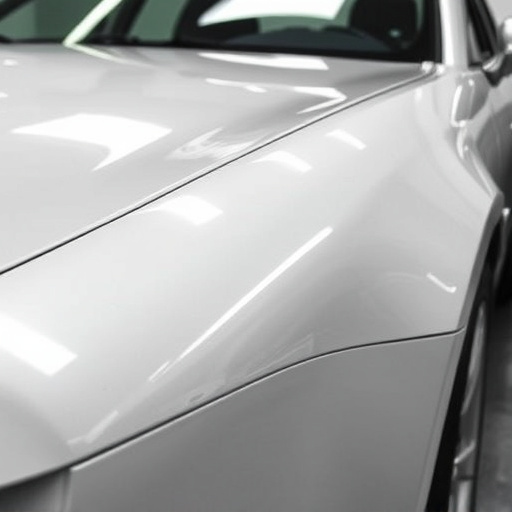
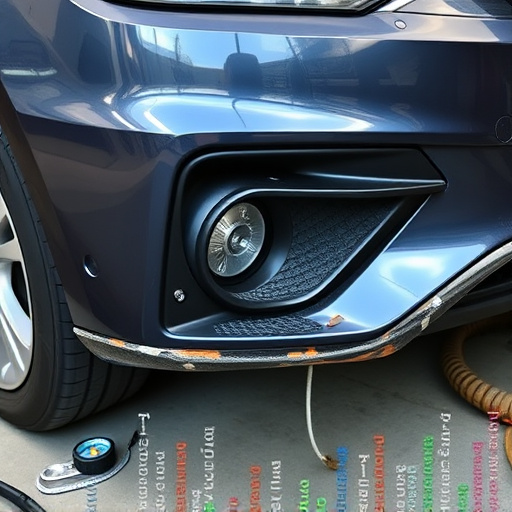
When evaluating damage to a Tesla’s front radar sensor housing, it’s crucial to assess both the structural integrity and functionality of the component. Start by examining the cover for any cracks, dents, or deformations that could compromise its ability to protect the underlying sensor. Look closely at the edges for signs of wear or misalignment, as these areas are particularly vulnerable to impact.
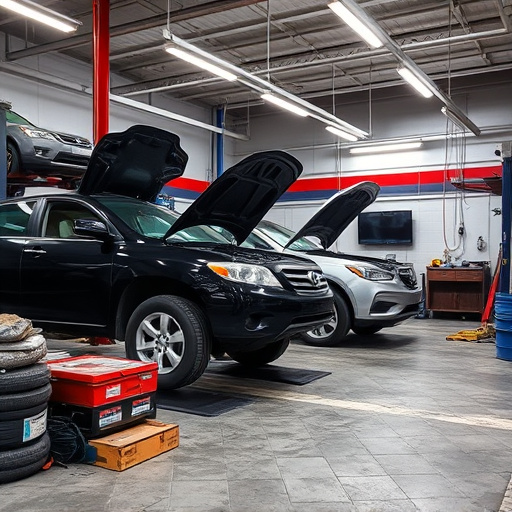
The front radar sensor housing is a vital part of Tesla’s advanced driver-assistance systems (ADAS), so any issues must be thoroughly inspected. Check for any leaks that could indicate water damage, as this can affect the sensor’s performance. Additionally, assess the condition of the wiring and connectors associated with the housing to ensure they are secure and undamaged. If you’re considering a Tesla front radar cover repair, it’s best to consult professional auto repair services or collision repair specialists who have experience with vehicle bodywork to guarantee optimal restoration and continued safety features.
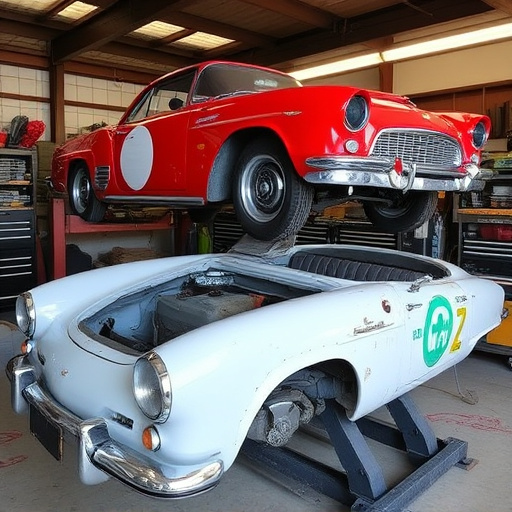
Radar Cover Replacement: A Step-by-Step Guide for DIYers
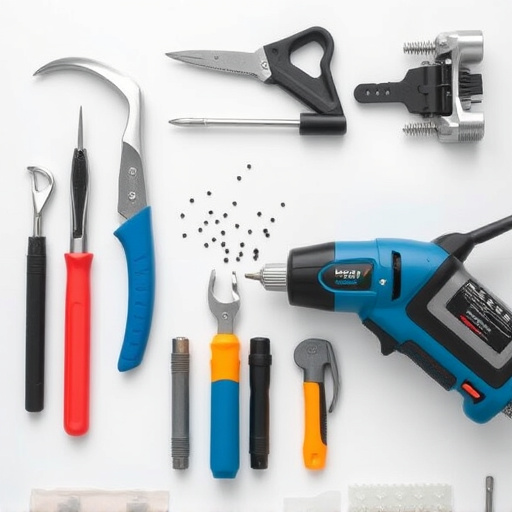
Replacing a Tesla front radar cover is a DIY-friendly project that can help restore your vehicle’s aesthetic and ensure optimal sensor performance. Here’s a step-by-step guide tailored for enthusiasts tackling this task themselves, focusing on Tesla front radar cover repair.
Begin by gathering the necessary tools: specialized screws for Tesla models, a new radar cover, and possibly some automotive adhesive suitable for outdoor use. Next, carefully remove the existing cover, taking note of how it’s secured. This often involves unscrewing the cover from its mounting points. With the old cover removed, inspect the sensor housing for any signs of damage or debris. Clean the area thoroughly to ensure a seamless fit for the new cover. Once ready, attach the new radar cover securely, ensuring all screws are tightened evenly to prevent future issues. Verify that the sensors are unobstructed and properly aligned before closing out your Tesla front radar cover repair project.
Ensuring Safety: Testing and Calibrating the Replaced Radar System

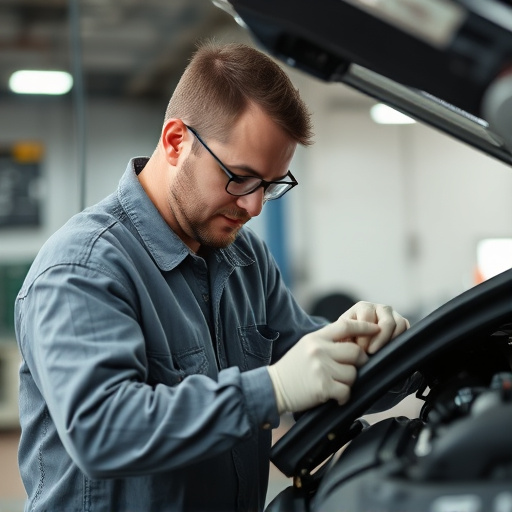
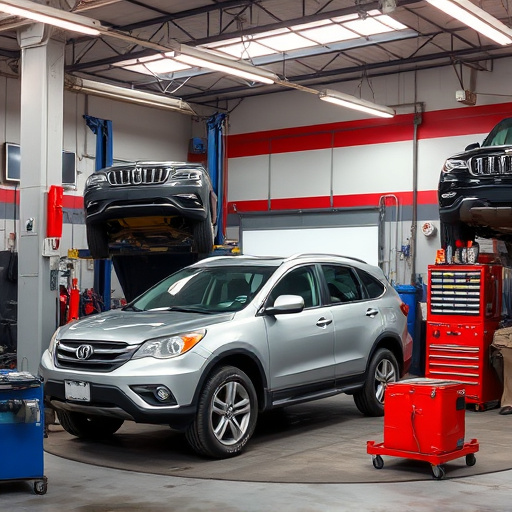
After repairing or replacing a Tesla front radar cover, ensuring the safety and proper functioning of the vehicle’s sensor system is paramount. This involves rigorous testing and calibration to verify that the radar system accurately detects obstacles and adjusts accordingly. At a trusted auto repair shop, professionals use specialized tools to check the sensitivity, range, and accuracy of the radar sensors, simulating real-world driving scenarios. Any misalignments or malfunctions are meticulously adjusted to guarantee optimal performance.
Proper calibration goes beyond tire services; it’s about maintaining the vehicle’s advanced driver-assistance systems (ADAS). This meticulous process ensures that your Tesla can safely navigate highways, park precisely, and respond promptly to potential hazards. With these safety measures in place, you can drive with confidence, knowing that your car’s radar system is ready to protect you on the road.
Repairing your Tesla’s front radar cover not only enhances the vehicle’s aesthetics but also ensures optimal safety performance. By following a structured approach—from evaluating damage, replacing the cover, to testing and calibrating the system—you can effectively tackle this DIY project. Remember, a thorough inspection of the sensor housing is crucial for ensuring the radar system functions correctly after the repair. With these steps, you’re well-equipped to handle minor repairs, keeping your Tesla safe and stylish on the road.