

Quarter panel dent repair crucial for maintaining luxury vehicle aesthetics and resale value. Skilled technicians use diverse techniques and tools, from traditional to advanced, to minimize scarring and match original specifications. Process involves damage assessment, tool preparation, cleaning, removal, and final inspection. Safety gear essential. Comprehensive guide covers steps from assessment to completion, suitable for professionals and DIY enthusiasts.
“Discover how to restore your car’s sleek appearance with this comprehensive guide to quarter panel dent repair. Quarter panel dents can significantly impact a vehicle’s aesthetics, but with the right tools and techniques, you can effectively remove them. This article delves into the process, offering a step-by-step approach to achieving a flawless finish. From understanding the damage to gathering the necessary materials, you’ll learn how to navigate this repair process, ensuring your car regains its former beauty.”
- Understanding Quarter Panel Dents and Their Impact
- Tools and Materials Required for Repair
- Step-by-Step Guide to Effective Dent Removal
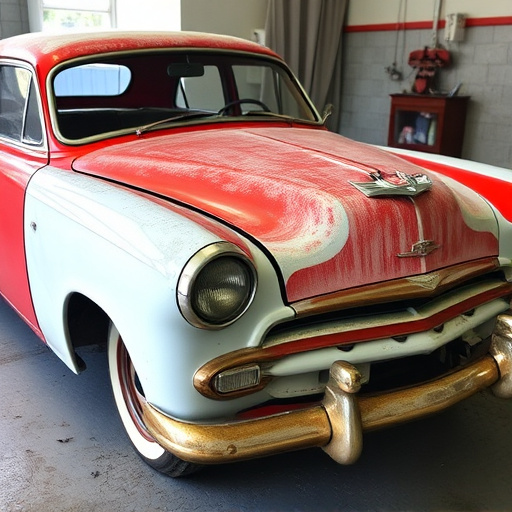
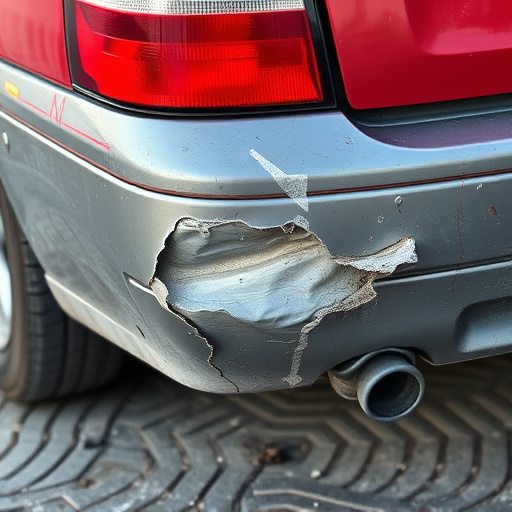
Understanding Quarter Panel Dents and Their Impact
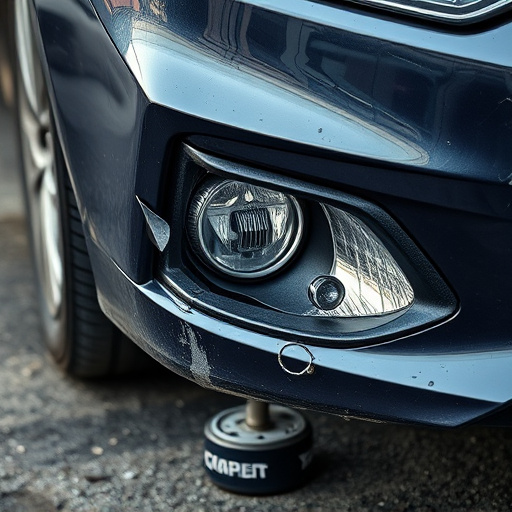
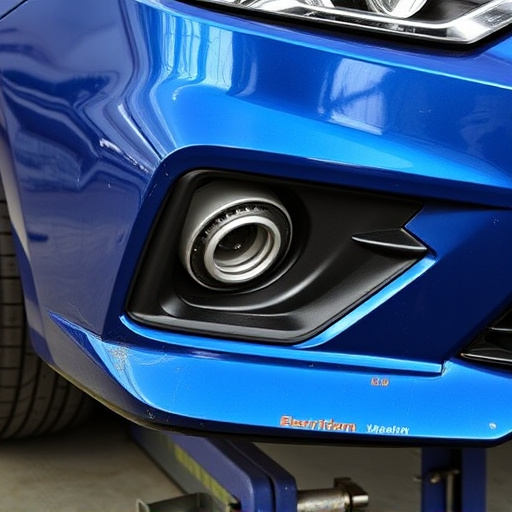
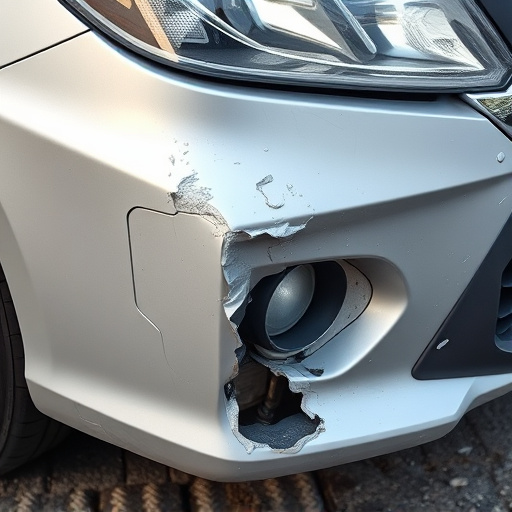
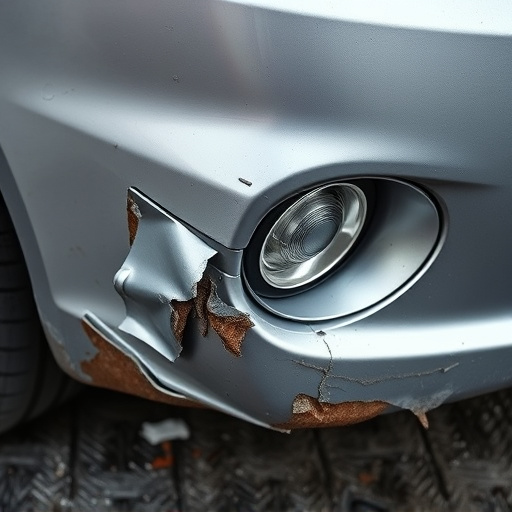
Quarter panel dents can significantly impact a vehicle’s appearance, particularly in the context of luxury vehicles that boast intricate designs and sleek lines. These dents, often caused by minor collisions or parking mishaps, mar the smooth surface of the car body repair, leading to a less-than-perfect aesthetic. In the realm of car body repair, addressing quarter panel dents promptly is crucial for maintaining the vehicle’s overall value and its luxurious first impression.
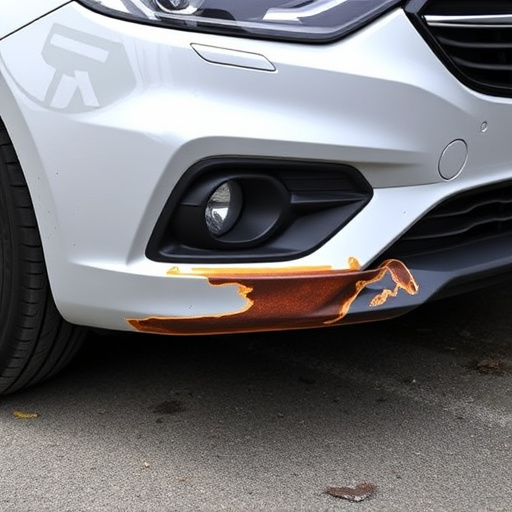
The expertise involved in quarter panel dent repair goes beyond merely fixing the physical damage. Skilled technicians employ various methods, from traditional manual techniques to advanced technologies, to ensure minimal scarring and a seamless finish that matches the car’s original specifications. This meticulous process is especially critical for luxury vehicle repair, where every detail contributes to the overall owner experience and the vehicle’s resale value. Even minor scratches repair can make a noticeable difference in the car’s appearance, enhancing its overall allure.
Tools and Materials Required for Repair
To undertake a successful quarter panel dent repair, several specific tools and materials are essential. At the core, you’ll need a set of precision dent removal tools like pry bars, air guns, and putty knives. These are instrumental in carefully lifting and smoothing out the depressed area. Additionally, a supply of body filler, primer, paint, and clear coat is vital for restoring the car’s original finish.
For effective bonding, you might require a heat gun to warm the surface slightly and ensure the filler adheres properly. Sandpaper with varying grit levels is also crucial for smoothing and refining the repair. Lastly, don’t overlook safety gear such as gloves and goggles, which are indispensable in any vehicle restoration project, ensuring both your safety and the longevity of your work on the car bodywork.
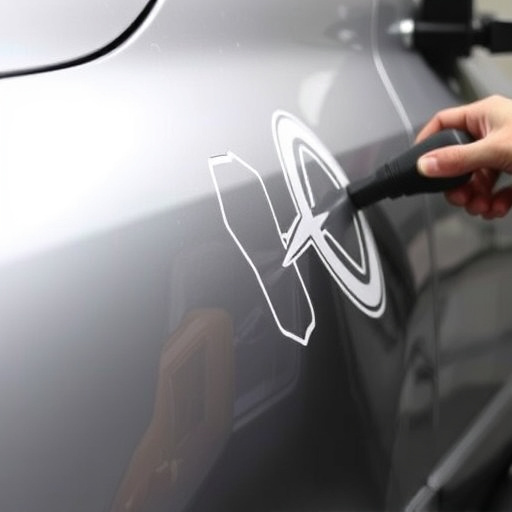
Step-by-Step Guide to Effective Dent Removal
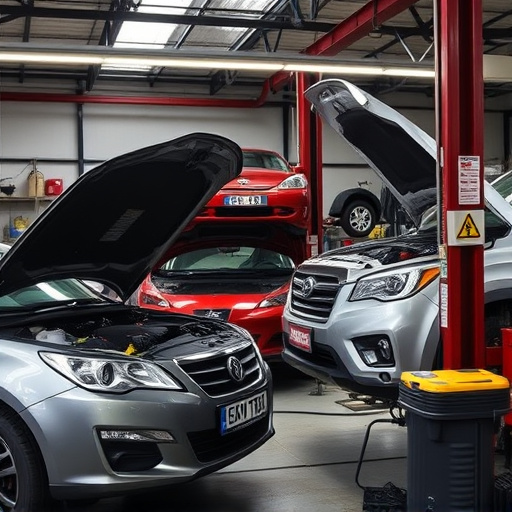
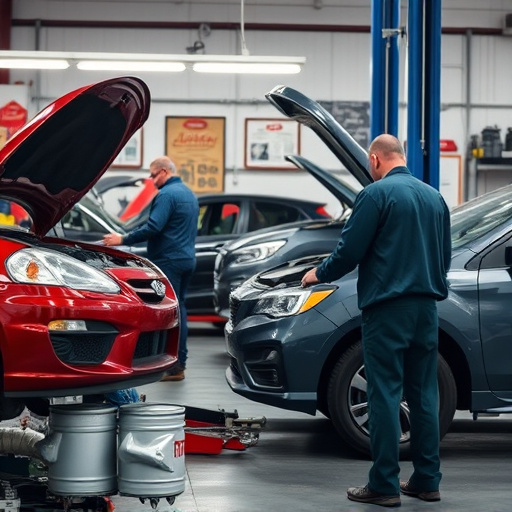
Repairing a quarter panel dent is a common task for both professional auto body shops and DIY enthusiasts. The process involves several precise steps to ensure the dent is removed effectively without causing further damage. Here’s a step-by-step guide to help you with this car collision repair:
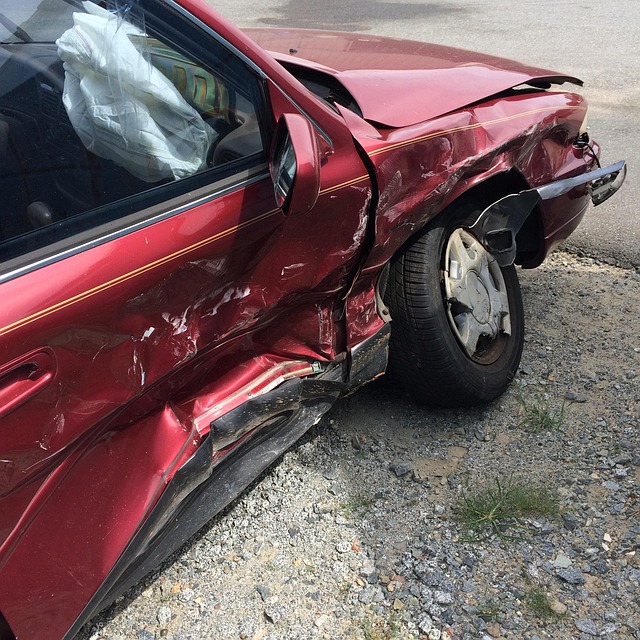
1. Assess the Damage: Begin by thoroughly inspecting the dented area, ensuring it’s accessible for repair. Check if there are any underlying structural issues that might complicate the process. If the quarter panel has been damaged in a collision, consider taking your vehicle to a trusted collision center where experienced technicians can accurately assess and provide solutions.
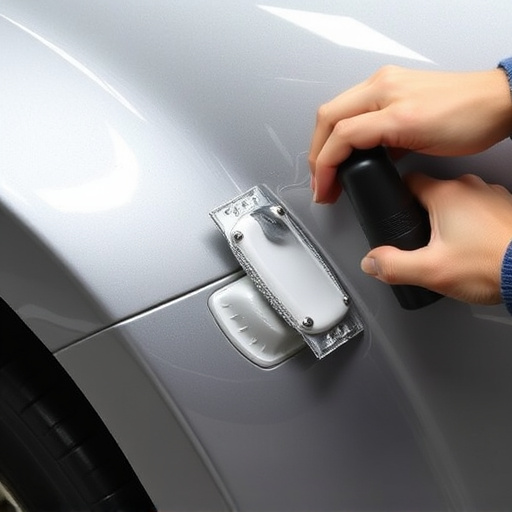
2. Preparation: Gather the necessary tools such as a dent puller (also known as a slide hammer), a mallet, and some rubber or plastic wedges. Clean the area around the dent to ensure there’s no debris that could interfere with the repair process. Remove any tape or paint over the dented surface to expose it fully.
3. Insert the Dent Puller: Position the dent puller tool along the edge of the dent, applying gentle pressure. As you activate the tool, it should slowly begin to pop out the dent. Be patient and consistent with your pressure to avoid causing further damage.
4. Use Wedges (if needed): In some cases, especially for deeper dents, you might need to insert wedges between the puller and the metal to prevent the dent from setting back in as you remove it. Be cautious not to pry too hard, as this could lead to cracks or other structural issues.
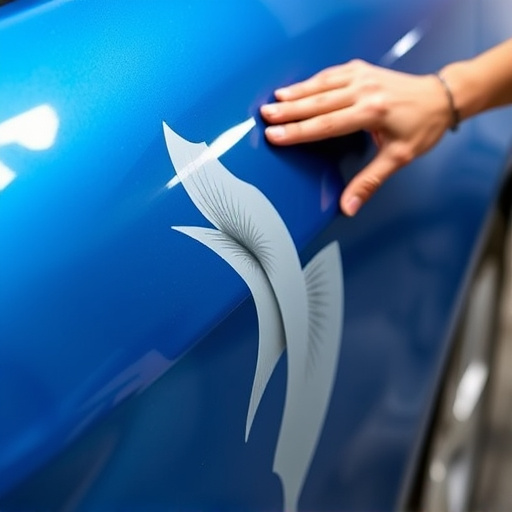
5. Repeat for Best Results: If there are multiple dents, repeat the process for each one, ensuring they’re all removed effectively. Once all dents are gone, inspect your work and clean the area thoroughly.
Quarter panel dent repair is a straightforward process that can significantly enhance your car’s appearance. By understanding the impact of these dents and equipping yourself with the right tools, you can restore your vehicle’s sleek profile. Following the step-by-step guide provided, you’ll be able to effectively remove dents, achieving professional-looking results. Remember, taking care of minor damages promptly not only improves aesthetics but also retains the value of your vehicle.