


Mercedes light sensors, placed on headlamps, fog lights, and rear-view mirrors, detect lighting conditions and adjust vehicle's lighting output. Calibration after repair is vital for safety and optimal performance. Park in well-lit area, gather diagnostic tools, test each sensor, adjust settings to standard specs, retest, and seek professional help if needed for Mercedes light package repair.
After a Mercedes light package repair, calibrating sensors is crucial for optimal lighting performance. This guide breaks down the process into manageable steps, ensuring your Mercedes’ lights function perfectly post-repair. We’ll walk you through understanding Mercedes light sensors, gathering necessary tools, and implementing safety precautions. By following our comprehensive, step-by-step calibration process, you’ll restore your Mercedes’ illuminating efficiency, enhancing both safety and style on the road.
- Understanding Mercedes Light Sensors: Function and Location
- Preparing for Calibration: Tools and Safety Precautions
- Step-by-Step Calibration Process: A Comprehensive Guide
Understanding Mercedes Light Sensors: Function and Location
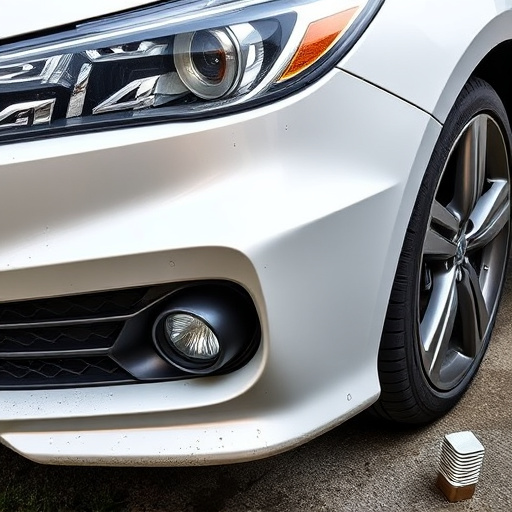
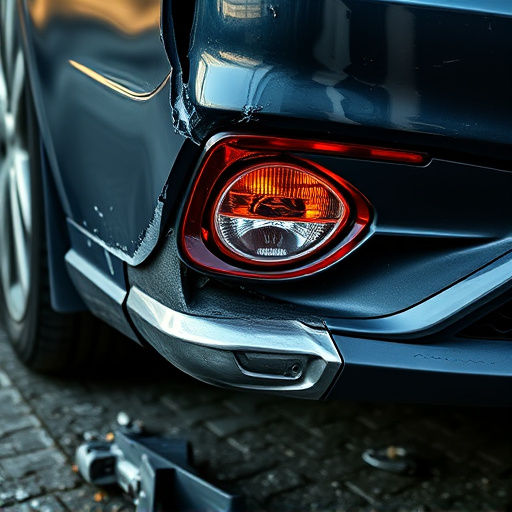
Mercedes light sensors play a crucial role in enhancing safety and visibility for drivers. These sensors are strategically located around the vehicle to detect ambient lighting conditions, enabling various adaptive functions. In Mercedes vehicles, they’re commonly found on the headlamps, fog lights, and sometimes even in the rear-view mirrors. Each sensor is designed to send signals to the vehicle’s control unit, which then adjusts lighting output accordingly, ensuring optimal illumination during different driving scenarios.
Understanding the location and function of these sensors is essential when dealing with a Mercedes light package repair. The automotive body shop experts need to pinpoint each sensor’s position, whether it’s mounted on the exterior or integrated into the vehicle body. During repairs, these sensors might require recalibration to ensure they operate at peak performance after a replacement or fix, especially in an automotive repair setting.
Preparing for Calibration: Tools and Safety Precautions

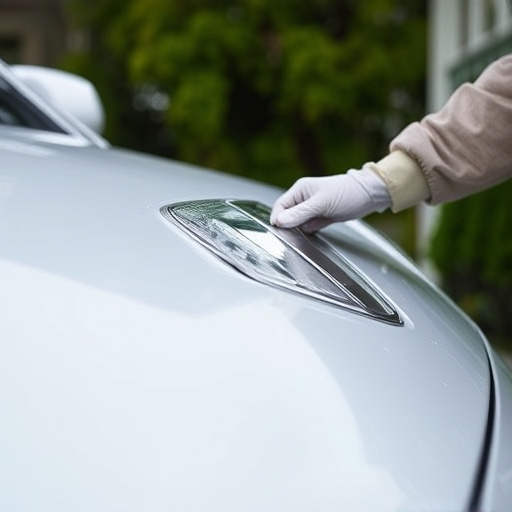
Before you begin calibrating your Mercedes light sensors, ensuring you have all the necessary tools and adhering to safety precautions is paramount. This process often requires specific equipment designed for precision adjustments, including a multimeter, an infrared thermometer (for temperature checks), and a set of high-quality screwdrivers tailored to Mercedes models. Always refer to your vehicle’s service manual for model-specific instructions.
Safety should never be compromised during any car repair services, especially with sensitive components like light sensors. Wear protective gear, such as safety glasses and gloves, to shield yourself from debris or potential hazards. Ensure the work area is well-lit and clear of obstructions to facilitate a meticulous job on the car body repair.
Step-by-Step Calibration Process: A Comprehensive Guide
Calibrating Mercedes light sensors after a repair is an essential step to ensure optimal performance and safety. The process involves a systematic approach to adjust the sensitivity and accuracy of these sensors, which are critical for various vehicle functions, from headlights to brake lights.
Here’s a step-by-step guide:
1. Preparation: Ensure your vehicle is parked in a well-lit area, away from direct sunlight or other strong light sources that might interfere with the test. Gather all necessary tools, including a diagnostic scanner compatible with Mercedes vehicles, and refer to the manufacturer’s guidelines for specific instructions.
2. Power On and Scan: Start the vehicle and allow systems to initialize. Use the diagnostic scanner to perform a complete system scan, focusing on the lighting package repair. This step identifies any existing codes or issues related to the sensors.
3. Sensor Testing: With the scanner, individually test each light sensor, comparing readings against known good data for similar Mercedes models. Any discrepancies indicate a need for calibration.
4. Calibration Procedure: Adjust the sensor settings using the diagnostic software, fine-tuning sensitivity levels until readings match the standard specifications. This precise step ensures accurate light detection and output.
5. Verification: After calibration, conduct another round of tests to confirm proper sensor function. Ensure all lights operate as intended under various lighting conditions.
A successful calibration means your Mercedes’ light sensors will now provide reliable data for optimal performance and safety. Remember that professional vehicle repair services, especially in a collision center or car body repair shop, can assist with this process if you encounter any challenges.
After successfully repairing your Mercedes light package, calibrating the sensors is a crucial step to ensure optimal performance. By following the outlined steps and adhering to safety precautions, you can accurately adjust the sensor settings, resulting in improved lighting functionality. Remember, proper calibration enhances both safety and the overall driving experience, so take the time to understand and master this process for your Mercedes vehicle.