


Plasma cutting technology revolutionizes collision repair with precision and efficiency, cutting through diverse materials while minimizing heat input. Choosing the right plasma cutter, considering power output, cut quality, and portability, is crucial for specific needs. Proper workspace setup, settings adjustment, secure workpiece positioning, and consistent arc distance ensure flawless cuts, preventing damage and enhancing workshop productivity in plasma cutting collision repair.
In the realm of automotive collision repair, precision and efficiency are paramount. This complete guide explores the art and science of plasma cutting techniques tailored for collision repair. We delve into the latest advancements in plasma cutting technology, helping you choose the perfect tool for your workshop. From selecting the right plasma cutter to mastering step-by-step cutting methods, this resource is your roadmap to achieving seamless, time-efficient results in plasma cutting collision repair.
- Understanding Plasma Cutting Technology for Collision Repair
- Choosing the Right Plasma Cutter for Your Workshop
- Step-by-Step Guide to Efficient Plasma Cutting Techniques
Understanding Plasma Cutting Technology for Collision Repair
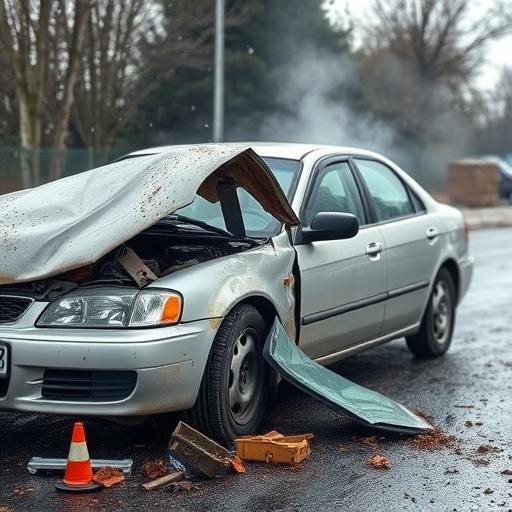
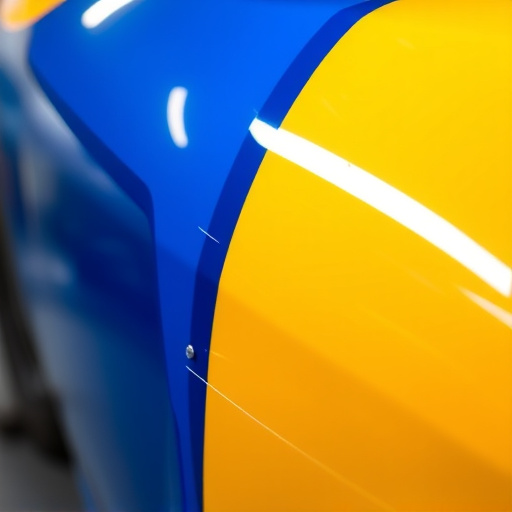
Plasma cutting technology has revolutionized the landscape of collision repair, offering precision and efficiency that were once unimaginable. This advanced method utilizes a high-velocity jet of ionized gas to cut through various materials, from metal bodies of cars to complex automotive components. The process is not just about cutting; it ensures minimal heat input, preserving the integrity of surrounding materials and reducing the risk of warping or damaging the intricate details of modern vehicles during collision repair.
In the realm of car collision repair, plasma cutting stands out for its ability to deliver clean, accurate cuts. This precision translates into more effective dent removal and allows for intricate automotive body work that can restore a vehicle’s original appearance. With plasma cutting, technicians can navigate complex geometries with ease, making it an indispensable tool in achieving flawless results during the repair process.
Choosing the Right Plasma Cutter for Your Workshop

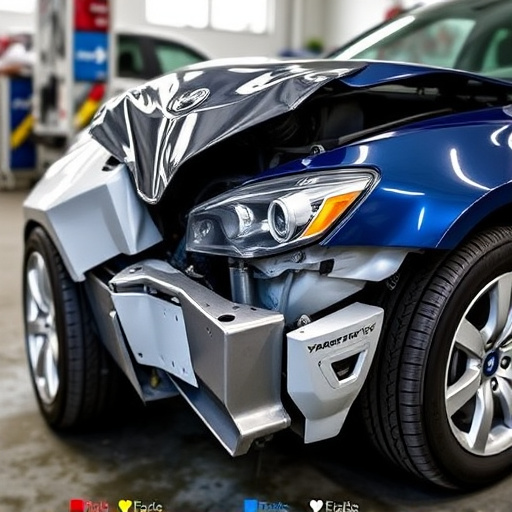
When setting up a plasma cutting collision repair station, selecting the ideal plasma cutter is paramount. The right tool can streamline your work, ensuring precision and efficiency in auto body repair and car dent repair processes. Consider factors like power output, cut quality, and ease of use to align the cutter with your specific needs. For instance, heavy-duty projects may demand a high-current plasma cutter capable of handling thick metal, while lighter tasks could benefit from a more portable, compact model.
For plasma cutting collision repair professionals, investing in a versatile machine that can adapt to various materials and thicknesses is crucial. Look for features like adjustable current settings, precise control over arc length, and advanced safety mechanisms. These ensure consistent performance during car collision repair and minimize downtime for maintenance, making your workshop more productive and competitive in the market.
Step-by-Step Guide to Efficient Plasma Cutting Techniques

Plasma cutting is a precise and powerful technique that plays a pivotal role in plasma cutting collision repair. To achieve efficient results, follow this step-by-step guide:
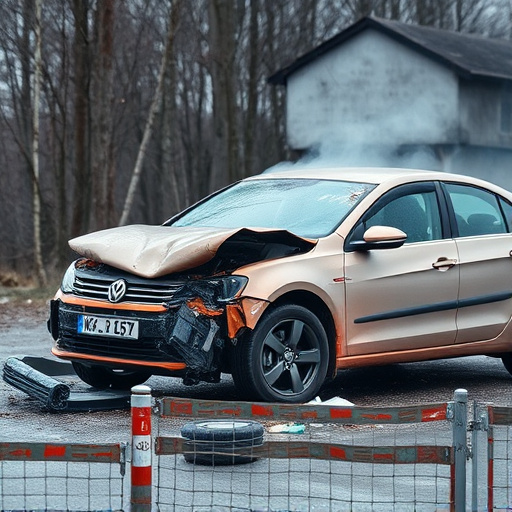
1. Preparation: Begin by preparing your workspace and gathering all necessary tools. Ensure proper ventilation and wear protective gear, including safety glasses and gloves. Inspect the damaged area of the vehicle body repair or car body restoration piece to identify any debris or contaminants that might affect cutting accuracy. Clean the surface as needed.
2. Setting Up the Plasma Cutter: Adjust the plasma cutter settings according to the material you’re working on. Different metals require different voltage, gas flow rates, and arc distance. Position the plasma torch comfortably, allowing for easy maneuverability while maintaining stability. Secure the workpiece firmly in place using clamps or a suitable holding mechanism to prevent movement during cutting.
3. Starting the Cut: Initiate the cut by slowly applying the torch to the material. Maintain a steady speed, adjusting as necessary for smoother cuts. Keep the arc distance consistent to achieve precise, clean cuts. Be mindful of heat input, as excessive heat can cause warping or damage to the surrounding area.
4. Navigating Complex Shapes: For intricate collision repair shapes, use a combination of straight and angled cuts to follow the contoured path precisely. Move the torch smoothly along the desired cut line, applying consistent pressure. If needed, pause briefly to allow the cut to cool before continuing, especially for longer runs.
5. Finishing Touches: Once the primary cutting is complete, refine the edges using a plasma cutter with a lower heat setting. This step helps create cleaner, more finished edges, which are crucial for car body restoration projects. Remove any remaining debris or slag from the cut surface to ensure a smooth finish.
Plasma cutting collision repair has revolutionized the automotive industry, offering a precise and efficient method for metal fabrication. By understanding the technology, selecting the right tools, and mastering cutting techniques, professionals can achieve unparalleled results in their workshops. This guide has provided an extensive overview, from the fundamentals to advanced practices, ensuring readers are equipped with the knowledge to excel in plasma cutting collision repair.