


DIY Tesla chrome delete repairs require precision and proper tools to avoid damaging paintwork. Emphasize safety with gear and workspace prep. Inspect and prepare damaged areas. Follow a step-by-step guide using sandpaper and a chrome restoration kit for professional results matching vehicle specs, even enhancing them compared to generic solutions.
“Uncover the secrets to restoring your Tesla’s damaged chrome with our comprehensive guide. The ‘Tesla Chrome Delete Repair’ is an ideal DIY project for enthusiasts eager to rejuvenate their vehicle’s aesthetic. We’ll walk you through identifying common chrome delete issues, gathering the right tools and materials, and providing a detailed, step-by-step process. From preparation to finishing touches, this tutorial ensures your Tesla shines with restored glamour. Get ready to tackle this repair and give your car the makeover it deserves.”
- Understanding Tesla Chrome Delete Damage
- Tools and Materials for Repair
- Step-by-Step Guide to Chrome Restore
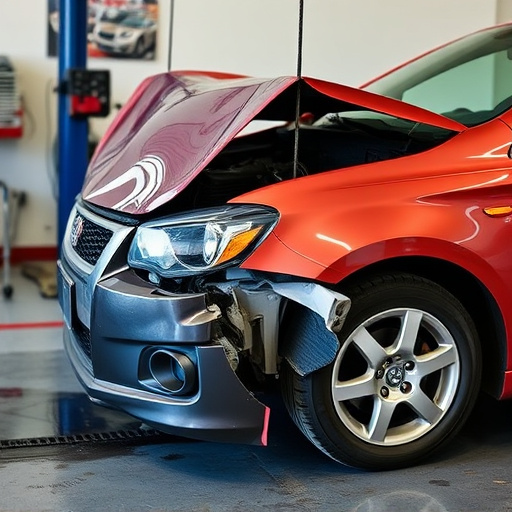
Understanding Tesla Chrome Delete Damage
Tesla Chrome Delete Damage: A Common DIY Challenge
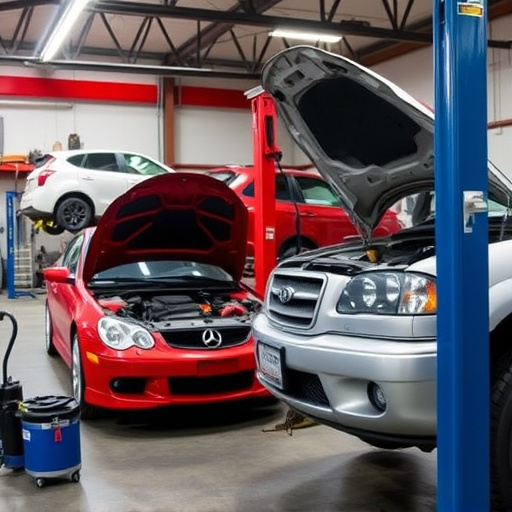
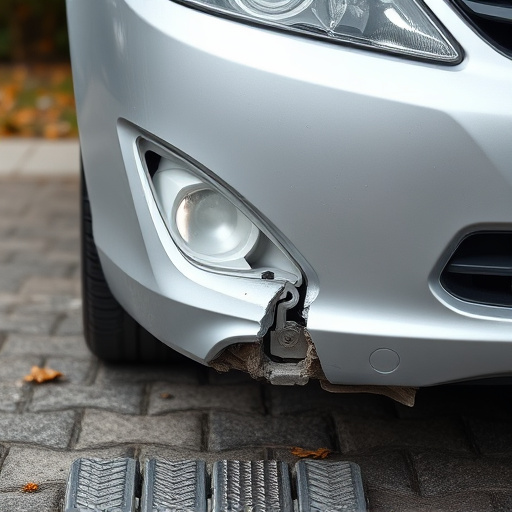
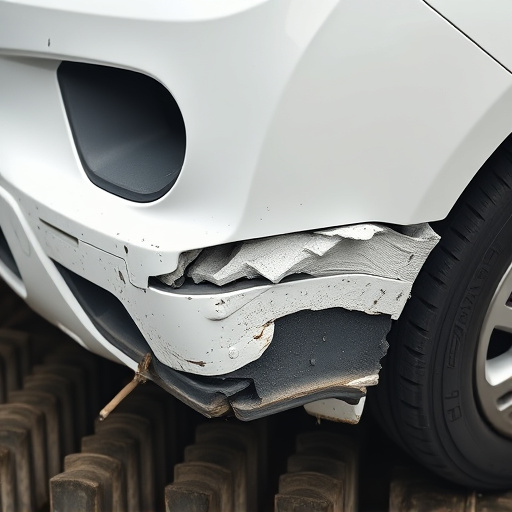
When tackling a Tesla chrome delete repair, it’s crucial to understand the nature of the damage. This process involves removing or modifying the vehicle’s chrome accents, which can lead to various issues with the paintwork and overall aesthetics. Common problems include chipping, peeling, or uneven removal, especially around intricate designs like bumpers or door handles. These defects often occur due to improper techniques or lack of experience in vehicle paint repair.
For DIY enthusiasts, a Tesla chrome delete job can transform their car’s look, but it requires precision and attention to detail. While some may opt for an auto body shop for professional bumper repair, others prefer the satisfaction of completing the task themselves. With the right tools and guidance, they can achieve a factory-like finish, ensuring both functionality and style in their modified Tesla.
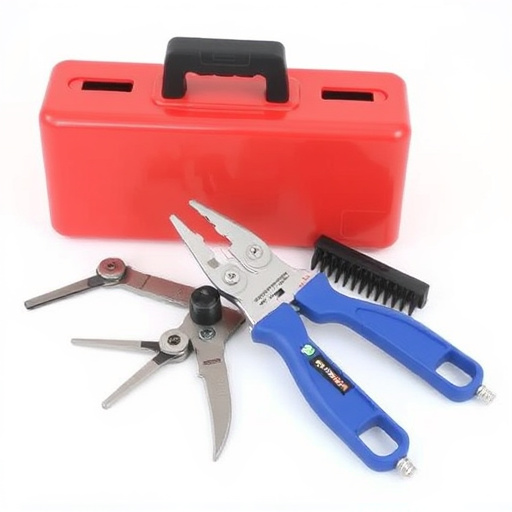
Tools and Materials for Repair
When taking on a Tesla chrome delete repair as a DIY project, having the right tools and materials is paramount. For this job, you’ll require a mix of specialized automotive tools designed for precise work. Start with high-quality mechanical grippers or pliers for safely removing and replacing the chrome trim pieces without damaging the underlying components. Additionally, a set of fine-tipped screwdrivers, both flathead and Phillips, will be essential for disassembling and reassembling various parts.
Don’t forget about protective gear, such as safety glasses and gloves, to shield yourself from any sharp edges or debris. For the actual repair process, you’ll need a chrome restoration kit that includes putty, primer, and paint tailored for automotive applications. These materials ensure a seamless finish that matches the vehicle’s original specification, sometimes even surpassing it, especially when compared to generic solutions like those used in mercedes benz collision repair scenarios. Remember, meticulous preparation is key to achieving professional-looking results, rivaling even top collision repair services.
Step-by-Step Guide to Chrome Restore
Repairing a Tesla with a chrome delete can be a straightforward process for DIY enthusiasts. Here’s a step-by-step guide to help you restore your vehicle’s chrome features:
1. Safety First: Begin by ensuring your workspace is well-lit and organized. Put on protective gear, including gloves and safety glasses, as some chemicals may be involved. Gather all necessary tools, such as sandpaper (starting with a coarse grit and progressing to finer ones), cleaning solution suitable for chrome, a microfiber cloth, and a chrome restoration kit.
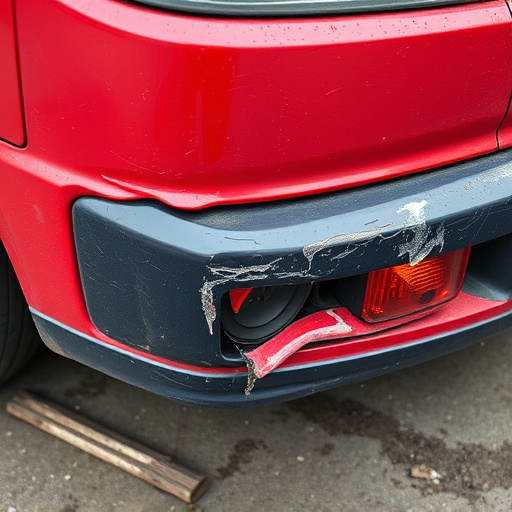
2. Inspect and Prepare: Examine the affected areas closely. If there’s any damage beyond simple chrome deletion, like dents or scratches, address these first using techniques like fender repair or frame straightening, as needed. Clean the surface thoroughly to remove any debris or contaminants. This step is crucial for achieving a professional finish.
For DIY enthusiasts looking to restore their Tesla’s damaged chrome delete, this guide offers a comprehensive solution. By understanding the issue, gathering the right tools and materials, and following a detailed step-by-step process, you can effectively reverse chrome fade and bring your Tesla back to its original gleam. Master this skill, and you’ll not only save on professional repairs but also enhance your vehicle’s aesthetic appeal with a sparkling chrome finish.