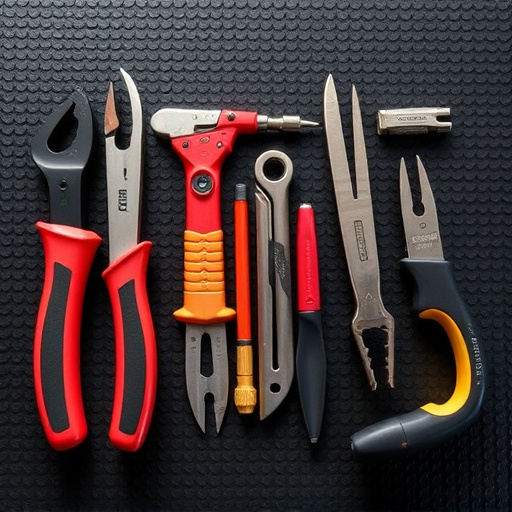

Prepare auto body surfaces by cleaning and repairing damages. Use high-quality primer for enhanced adhesion and imperfection filling. Apply auto body seam sealers for long-lasting repairs, preventing water intrusion and corrosion. Choose sealers suited to surface type and environmental conditions, following manufacturer instructions.
“Transform your car’s damaged or worn-out seams into a protective barrier with this comprehensive guide to applying auto body seam sealers. Discover a step-by-step process that ensures a durable, professional finish. From preparing the surface for optimal adhesion to choosing the right primer and finishing with a high-quality sealer, this tutorial covers everything. Learn how to enhance your vehicle’s appearance and protect its structural integrity using top-tier auto body seam sealers.”
Prepare the Auto Body Surface
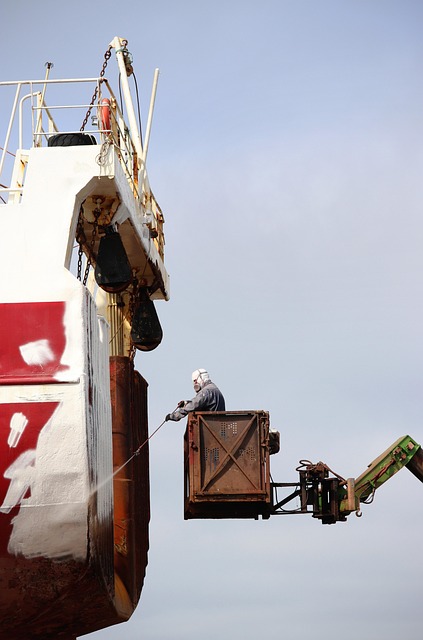
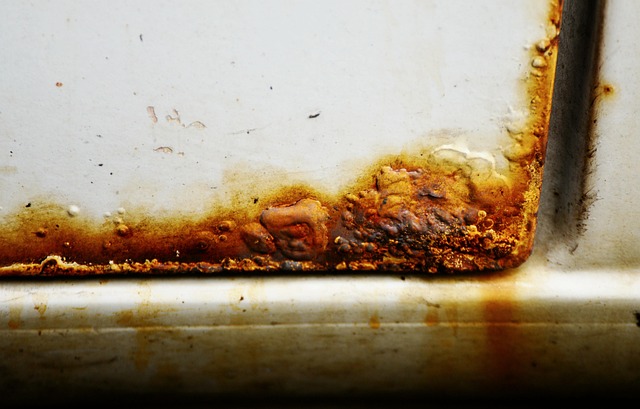
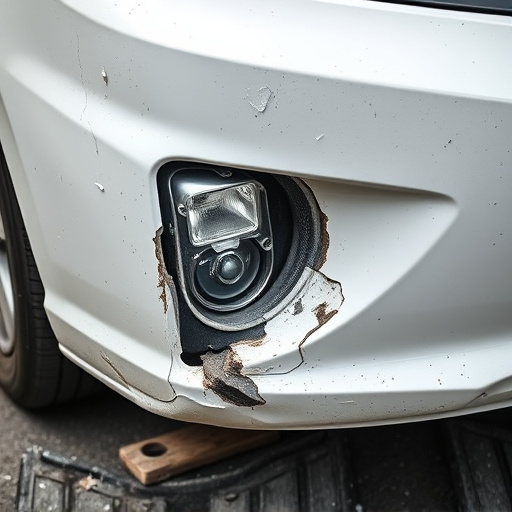
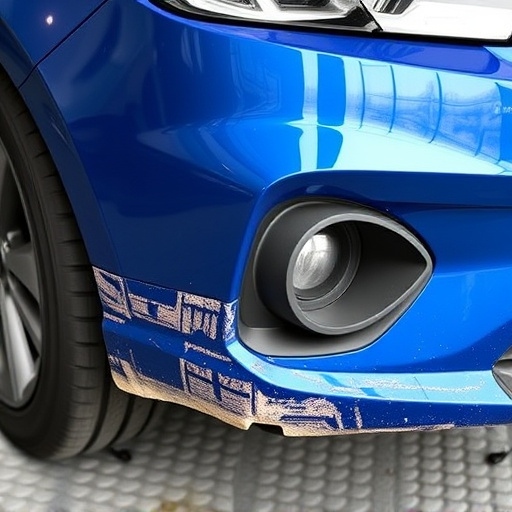
Before applying any auto body seam sealers, it’s crucial to prepare the surface meticulously. Start by thoroughly cleaning the area to be sealed, removing all dirt, grease, and loose debris. This step is essential as impurities can hinder adhesion, leading to compromised sealing effectiveness. Use a suitable degreaser for automotive applications and ensure the surface is free from any residue.
Once cleaning is complete, inspect the auto body for any signs of damage or misalignment, such as dents or uneven panels. Minor repairs like frame straightening or auto glass repair might be necessary before sealing to achieve a seamless finish. Addressing these issues guarantees that your auto body seam sealers will create a durable and long-lasting bond, enhancing overall auto body repair quality.
Choose and Apply Primer
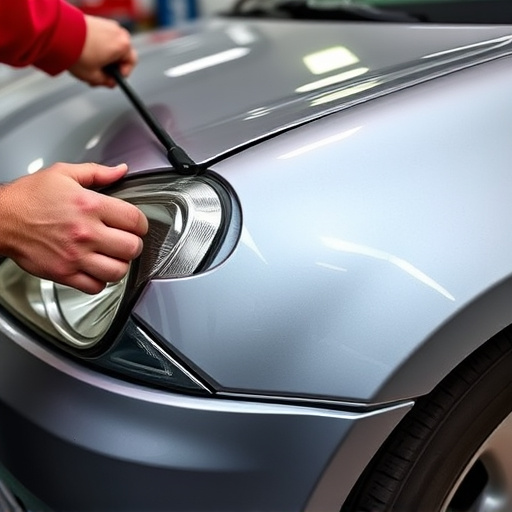
When preparing your car for auto body seam sealer application, choosing the right primer is a crucial step in the process. Not only does it ensure better adhesion, but it also helps to fill minor imperfections and create a smooth surface for the final coat. Look for a high-quality automotive primer designed specifically for seamless applications. This will usually be a two-part product that requires mixing before use, ensuring optimal performance.
Applying the primer evenly across the repair area is essential for successful auto body seam sealing. Start by ensuring your work zone is clean and well-lit. Prepare the primer according to the manufacturer’s instructions, then use a fine-toothed brush or a spray gun for even distribution. Allow the primer to dry completely; this step may take longer than expected, so be patient. Proper drying ensures that the sealer adheres correctly, preventing bubbles or uneven application later in the process.
Finish with Seam Sealer Application
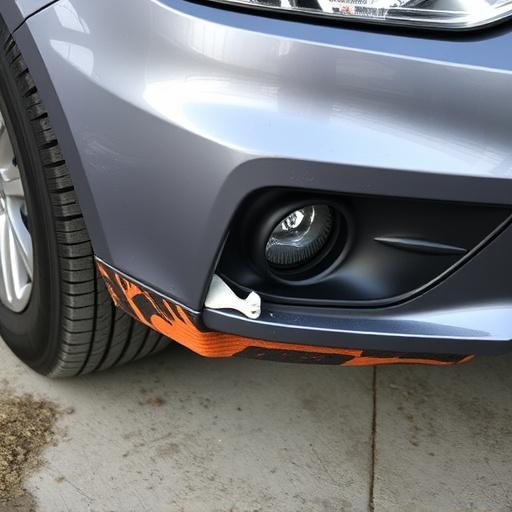
After sanding and preparing the damaged area, it’s time to apply the final touch – auto body seam sealers. These specialized products are designed to create a robust bond between panels, ensuring long-lasting repairs for your car or luxury vehicle. Choose a sealer suitable for your project, considering factors like surface type and environmental conditions.
When ready, carefully follow the manufacturer’s instructions. Apply the sealer evenly using the recommended tools, ensuring complete coverage of the seam. This step is crucial in preventing water intrusion and corrosion, which can compromise the repair work, especially after a car collision repair. A well-applied sealer acts as a protective barrier, enhancing the overall quality of the car dent repair process.
Applying auto body seam sealers is a meticulous process that, when followed step-by-step, can greatly enhance the durability and appearance of your vehicle. By preparing the surface appropriately, selecting the right primer, and finishing with a high-quality seam sealer, you’re not just repairing damage but also investing in the long-term protection of your car’s exterior. Remember, proper application is key to achieving a seamless, professional finish that shows off your vehicle’s true potential.