


Repairs or replacements of Tesla taillight assemblies require adherence to OEM specifications for safety and aesthetic integrity. Use genuine Tesla parts or certified aftermarket options. Specialized body shops with collision center expertise and trained technicians handle these precise installations. Diagnose common issues like loose connections, misalignment, and water intrusion. Inspect, clean, align, and replace parts using OEM-spec components for safe and reliable repairs. Safety and optimal performance necessitate meticulous care during repair processes.
Tesla vehicle owners often face a critical maintenance task: repairing or replacing their taillight assemblies. Ensuring these components meet Original Equipment Manufacturer (OEM) specifications is paramount for safety and aesthetic integrity. This article guides you through the process, from understanding the unique requirements of Tesla taillight assemblies to diagnosing common issues and following a step-by-step repair process for optimal performance.
- Understanding Tesla Taillight Assembly Requirements
- Diagnosing Common Taillight Assembly Issues
- Step-by-Step Repair Process for Optimal Performance
Understanding Tesla Taillight Assembly Requirements
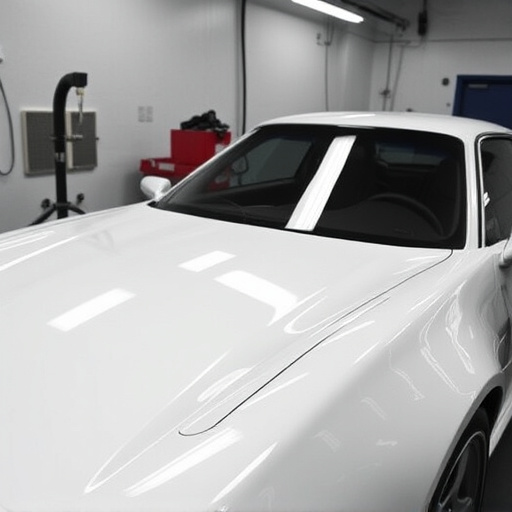
When undertaking Tesla taillight assembly repair, it’s paramount to grasp the specific requirements for a seamless fit and optimal performance. These assemblies are designed with precision engineering in mind, incorporating advanced lighting technology and aerodynamic considerations unique to Tesla vehicles. Therefore, any replacement parts must strictly adhere to OEM (Original Equipment Manufacturer) specifications to maintain safety standards and preserve the vehicle’s aesthetic integrity.
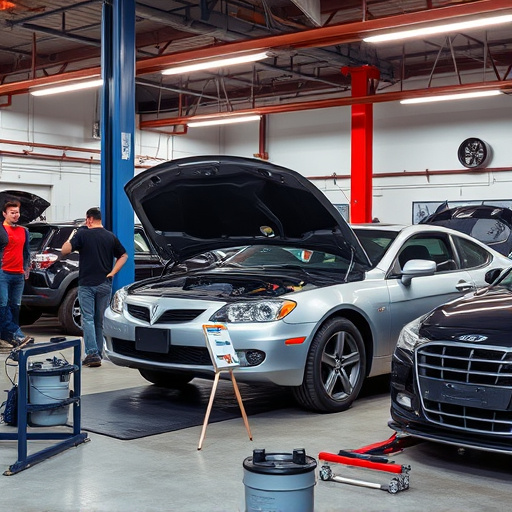
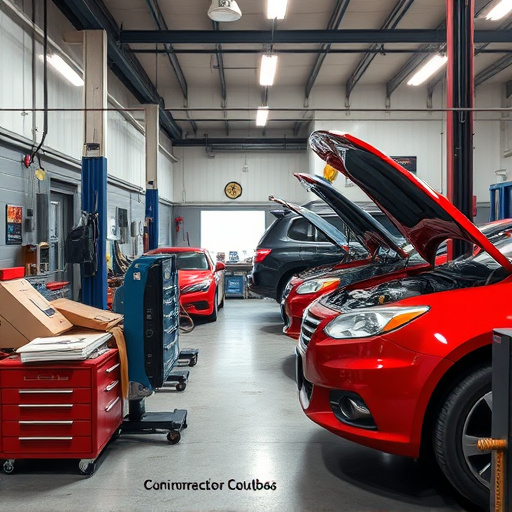
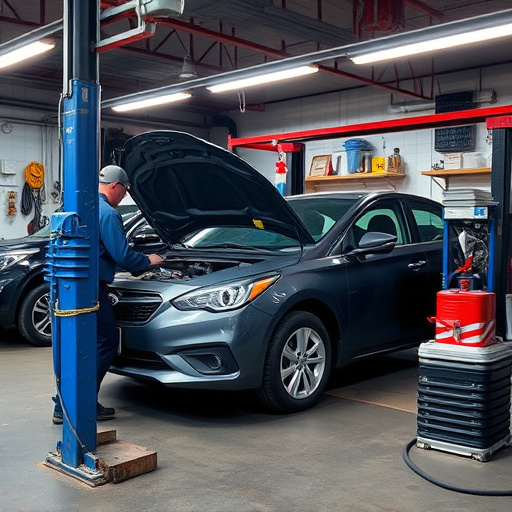
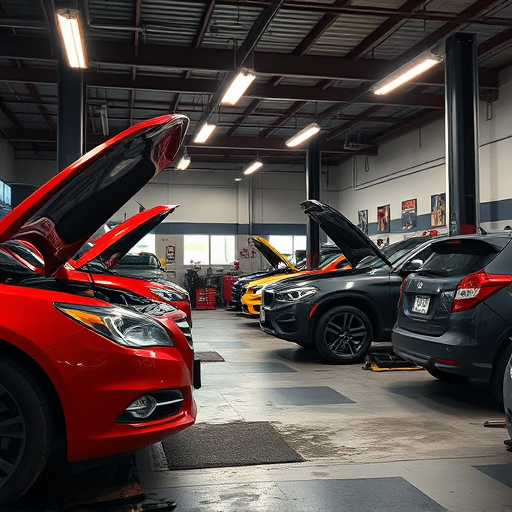
Choosing genuine Tesla taillight assemblies or certified aftermarket alternatives ensures compatibility and a secure fit. An automotive body shop specializing in Tesla repairs, ideally one offering collision center-level expertise, is best equipped to handle these intricate installations. Their skilled technicians have the tools and training to accurately measure, align, and install the taillights, ensuring they function correctly and enhance the vehicle’s overall appearance, just like the original equipment.
Diagnosing Common Taillight Assembly Issues

Diagnosing common issues with Tesla taillight assemblies is a critical step in ensuring proper repairs. One frequent problem is loose or damaged connections within the assembly, which can lead to flickering or intermittent lighting. These connections are often affected by exposure to moisture or severe weather conditions, requiring careful inspection and cleaning during the repair process. Another prevalent issue is misalignment of the taillight itself, resulting in a distorted or blurred light pattern visible from other vehicles. This misalignment might occur due to fender repairs or autobody work, emphasizing the need for precision when handling these parts.
Additionally, aging or damaged seals around the taillight assembly can contribute to water intrusion, causing internal components to corrode over time. Such issues manifest as persistent fogging or cloudy lenses, necessitating replacement parts that meet OEM specifications for a reliable Tesla taillight assembly repair. Proper diagnosis is key to addressing these problems effectively, ensuring both safety and adherence to original equipment standards.
Step-by-Step Repair Process for Optimal Performance
Repairing a Tesla taillight assembly requires precision and adherence to OEM (Original Equipment Manufacturer) specifications for optimal performance and safety. Here’s a step-by-step guide:
1. Safety First: Park your Tesla on a level surface, engage the parking brake, and ensure it’s in neutral gear. Remove the car key and keep it away from the ignition for safety during the repair process. This is crucial to prevent any accidents or damage.
2. Remove the Taillight Assembly: Using a jack and jack stands, safely lift your Tesla and support it securely. Locate the taillight assembly, usually on the rear bumper. Carefully disconnect the electrical harness and remove any retaining bolts or clips. The process might vary slightly depending on your Tesla model, so consult your owner’s manual for specific instructions.
3. Inspect and Replace: Examine the damaged taillight assembly. If it’s beyond repair, replace it with a new OEM part to ensure proper functioning. Ensure all components—lenses, housings, reflectors, and lights—are in top condition or replaced as needed.
4. Reassemble: Carefully align and reinstall the taillight assembly, ensuring all bolts and clips are secured properly. Reconnect the electrical harness and double-check for any loose connections.
5. Test and Adjust: After reassembling, test the taillights at different angles to ensure they’re functioning correctly. Adjust as necessary until they shine clearly and evenly.
When it comes to repairing a Tesla taillight assembly, adhering to OEM (Original Equipment Manufacturer) specifications is paramount. By following the step-by-step repair process outlined in this article, you can ensure optimal performance and maintain your Tesla’s safety features. Remember, proper diagnosis of common issues is key, and achieving a precise match with OEM standards guarantees a durable and reliable fix for your vehicle’s taillight assembly.